
I wanted to share a fun activity or in-class exercise I use when teaching advanced levels of digital imaging. Most of us are very familiar with the JPEG file type. It is a staple commodity in our daily digital lives; we post, share, download, and save JPEG image files all the time without much thought. However, we often forget that beyond the surface level obvious use for JPEG images, we can use this file format to rekindle the organic nature of randomly effecting change in the medium to produce unexpected and uncontrolled results.

Original JPEG Image: Taj Mahal

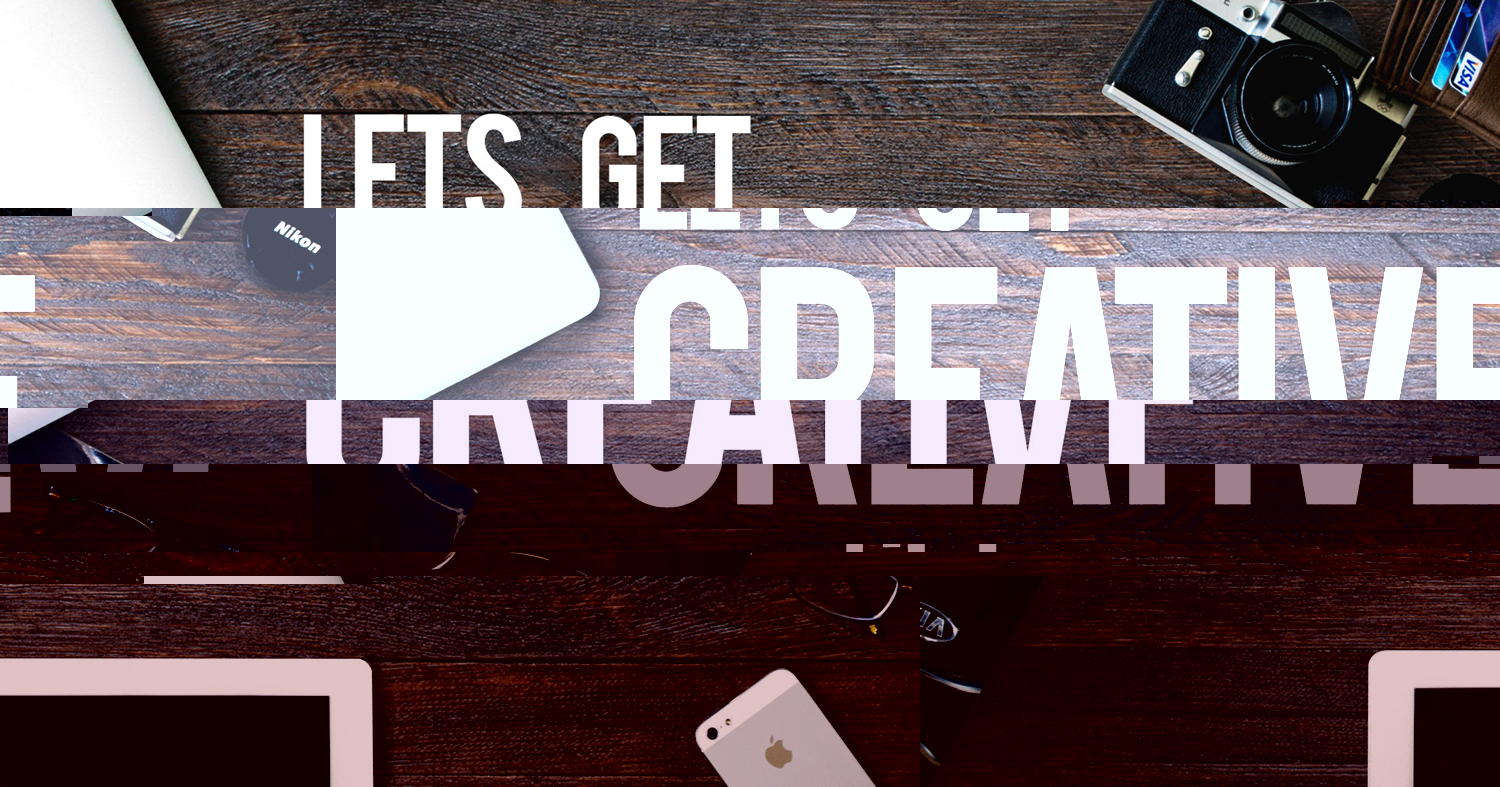
Disrupted JPEG Image
This exercise was originally based on the tutorial: "Breaking the JPEG - by Stephen Hislop of Computer Arts Magazine" before the magazine's web presence changed CMS's and lost the imagery from the post. Please feel free to follow this exercise yourself and have some fun, or to re-purpose it to fit your needs (assuming you are teaching a class or course on digital images or compression etc.) I included a short video tutorial so you can see the steps below in action.
Purpose
The Purpose of this activity is to give participants a chance to take a closer look at the code that is generated by the JPEG image compression format, and to gain an understanding of what happens when we change that code in random, arbitrary ways. This activity also provides each participant the tools to create unique and "organic" works of art that defy the original code structure of the JPEG file by disrupting the source code.
You might be asking how are we going to do this? Well, we’re going to tear an image apart from the inside out and then put it back together.
Step 1: Source image
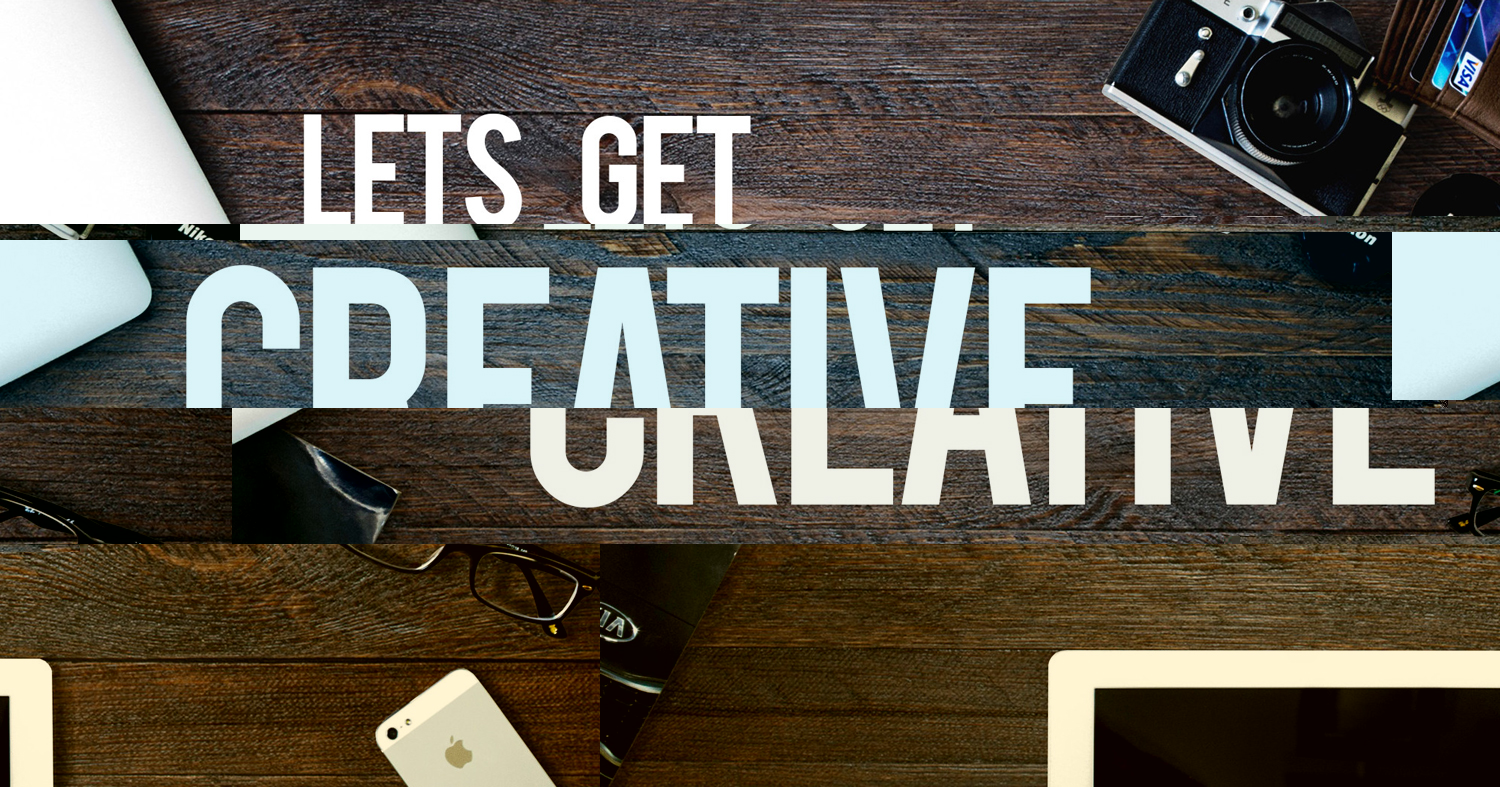
To begin with, select an image file (*.jpg, *.jpeg) that you would like to use. This activity works better if you choose a lower resolution image (web-sized) since the amount of code will be reduced in the file. I personally recommend an image around 800-1,500px in the longest dimension at a resolution of 72ppi. You can of course experiment with all kinds of sizes and resolutions once you have the process down. For this tutorial I'll show you the image I used along the way. Due to the trial and error approach to this activity, it's a good idea to use a source image, and them make copies from it to experiment with.

Source Image JPEG file (1500 x 787 px @72ppi)
Step 2: Convert JPEG to Text
Once you have your source image you will convert the image to text by renaming the file extension.
- Right click your image file and select "Rename"
- Replace the ".jpg" file extension with ".txt" to convert the image file type to a text file.
- You may get a pop-up warning dialog box asking if you want to replace the file extension - select the option to use the new ".txt" extension.
- Your image file thumbnail image may have already changed to a text icon. Now select your image text file and open the file with a text editor (TextEdit on Mac or Notepad on PC etc.).

Rename file: change extension to ".txt"

Yes - we are sure we want to ruin the file ;)
Step 3: Get your hands dirty
- With the file open you will see that the image has been converted to a mess of tortured looking text, what you are actually seeing is the ASCII representation of the file code. All of those lovely 1's and 0's are still there of course, but since we used the ".txt" extension we see what those bytes look like as text characters.
- Now comes the fun part - scroll down through the image roughly to the top 1/8th of the document.
- Make a selection of the code and copy/cut the code (big or small does not matter, you can vary the size as much as you like).
- Scroll down a ways (roughly another 1/8th of the way) and paste the code.
- Now try and grab another section and copy it (but leave in place).
- Now scroll to a new location and paste it in.
- Repeat these steps (3-6) a few times until you have jumbled up some of the code.

Grab random sections of code and copy/cut/paste the code to new locations
***Hint: When you are first trying this out, I would start off by making only a few changes maybe 3-4 changes and then see how it turns out. There is no "rule" for this, so you will need to experiment with different amounts of code and whether you are copying or cutting etc.
The main thing to keep in mind during this stage is that all of this code represents corresponding parts of the image, so the bigger chunks of code you take the bigger (or more pixels) you will be disrupting. Another tip would be to stay away from altering the very top 1/8th or very bottom 1/8th of the code, that seems to corrupt the image more often than not. But again, you are free to experiment.
Step 4: Return from whence we came
Now that you have changed up the code its time to put this file back to an image file type.
- Save your work in the current form of the text document to lock in your code changes.
- Now reverse our file naming process from Step 2 -
- Right click the file and select "Rename"
- Change the file extension to ".jpg"
- Confirm you want to use the "jpg" file extension if prompted by a warning dialog box.
- You will now have a disrupted JPEG image file. You can preview your file and see the wondrous "random" effects your copying and pasting had on the image.
- If you are unsatisfied with your first try, try again, or choose a different image. The point is to keep experimenting. Once you've learned the process it only takes a few minutes to go through the entire image transformation. Below I included a few results from the source image used in this tutorial.

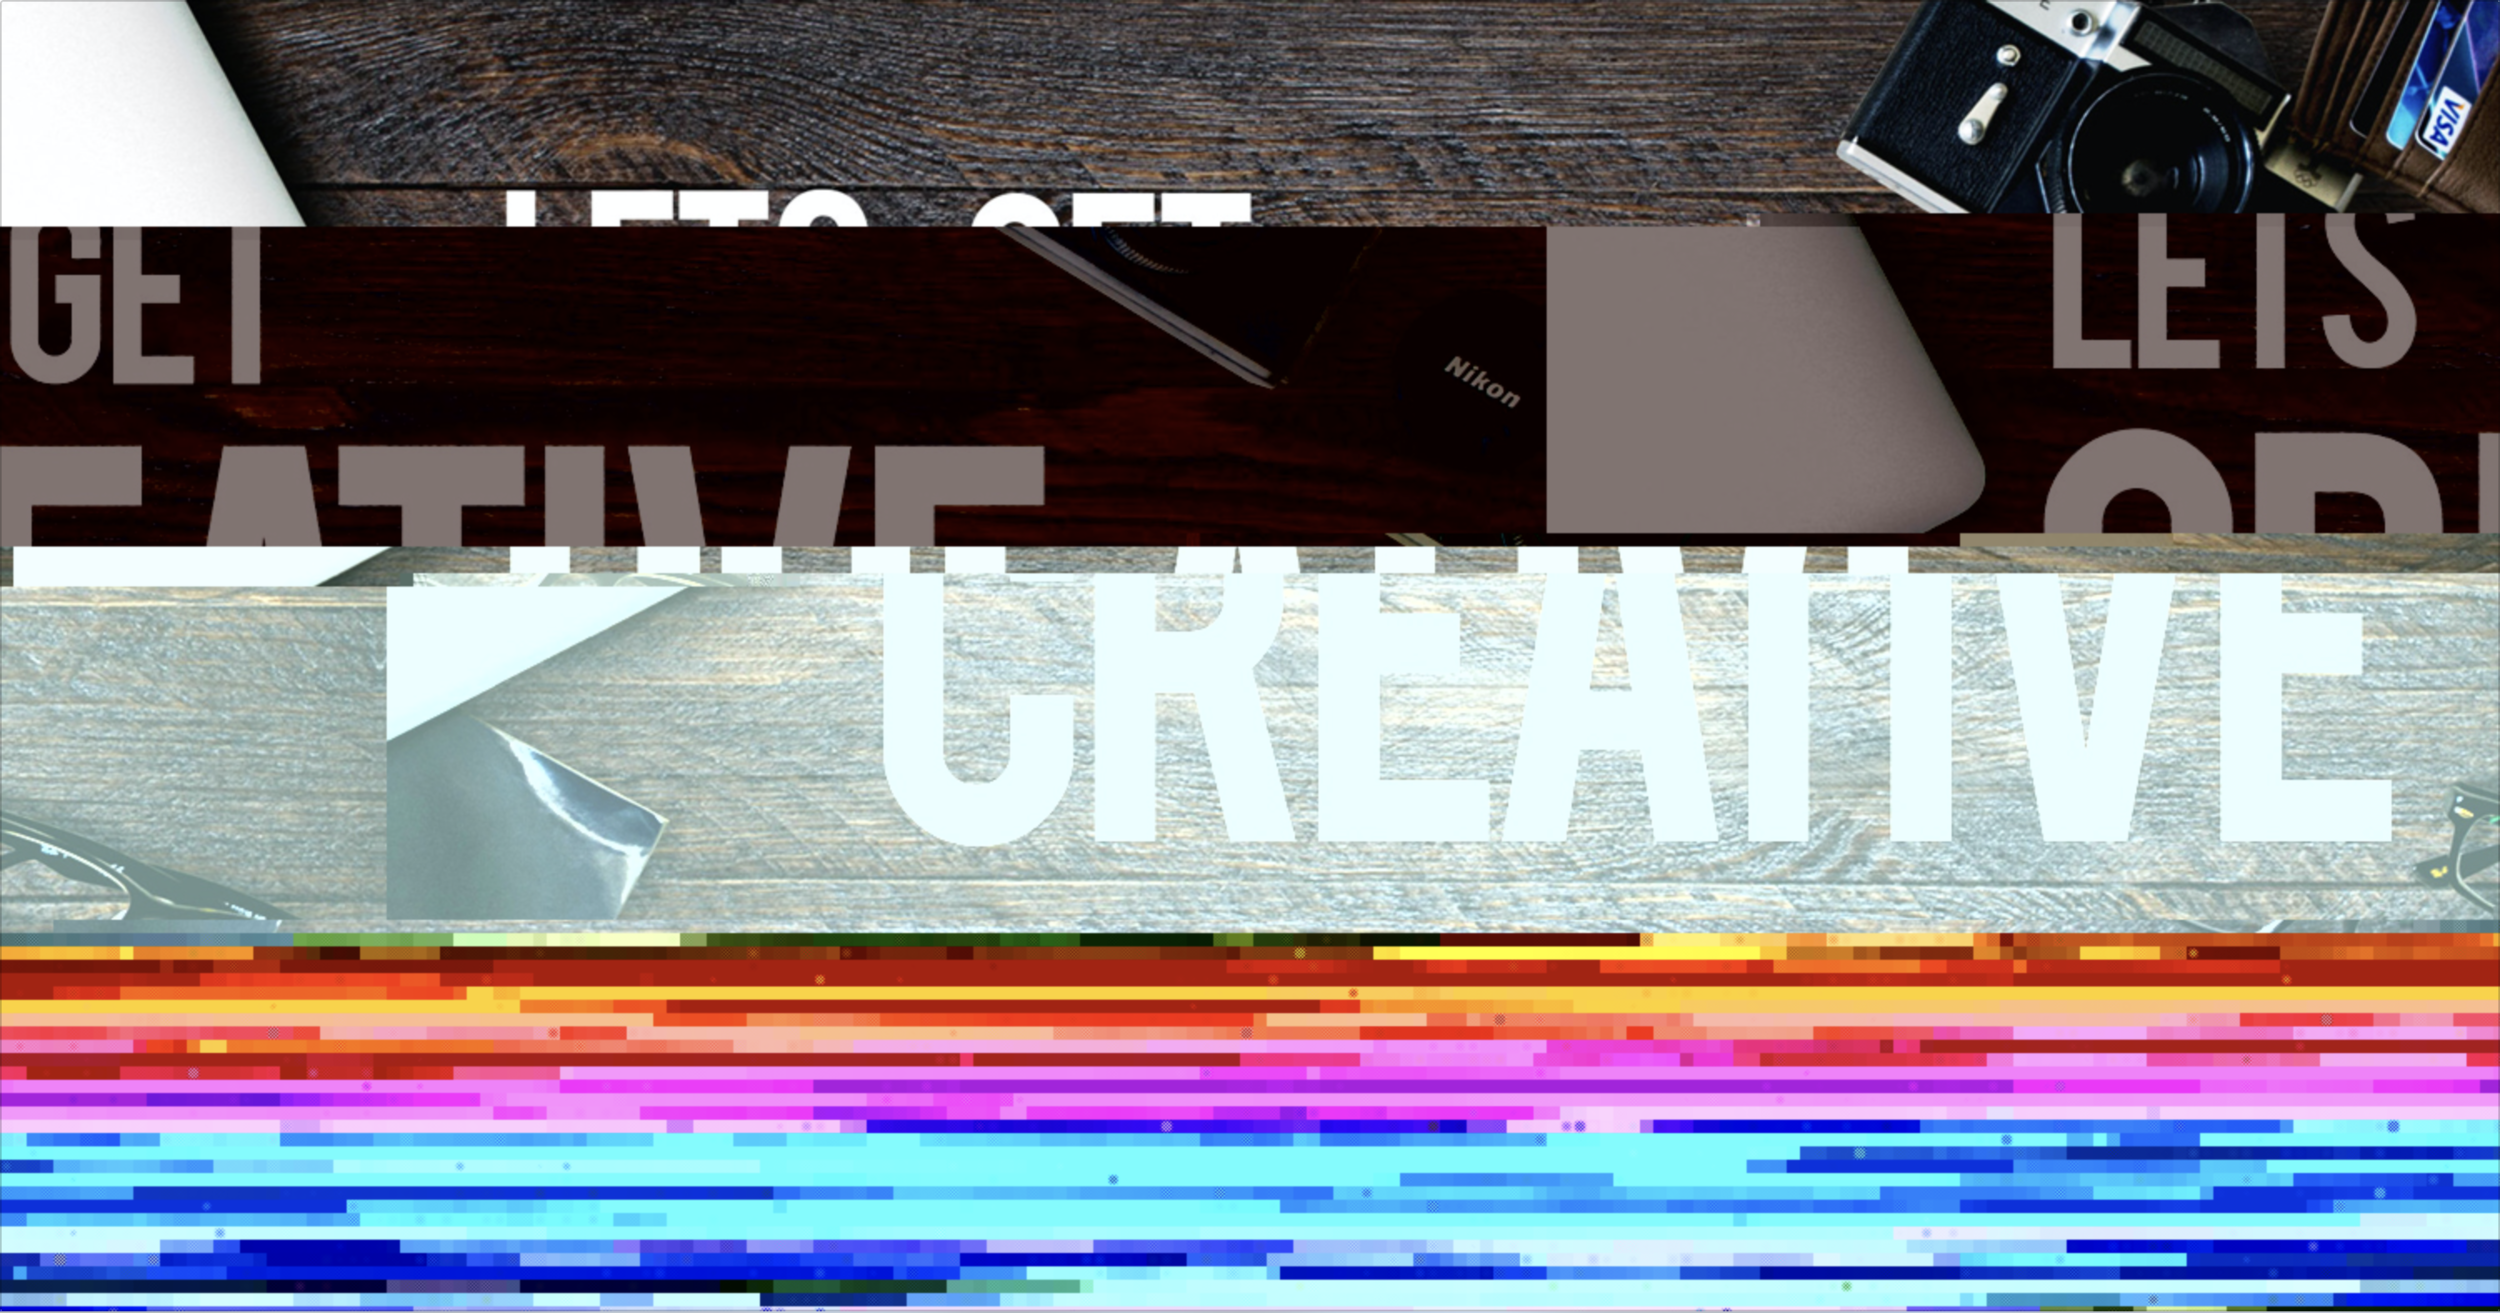
If your image is completely broken (which happens a fair amount) you might have broken parts of the code near the top or bottom of the file resulting in an image so disrupted it is no longer recognizable as an image. In this case don't sweat it, just grab another copy of the source image and try again, but use less aggressive changes, and try and stick to the middle of the image where the code is "safer".
You might have a scenario where you can preview the image fine, but it wont open in an image editing program like Photoshop. Again, no sweat, just grab a screen shot of the preview and now you have a "clean" image file of the disrupted one.
Step 5: Turn it up to 11 (optional)
- Now that you have a fun disrupted image you can further the enhancements to this by opening the file in Adobe Photoshop or whatever image editing application you like.
- You might look to enhance colors - make custom selections on the broken segments and alter them to your hearts content.
- Have fun! :D
Like what you created? Share it! Feel free to tweet your creations at me, or share via Instagram - @seanthenerd #DisruptedJpeg