Photography

Summer Photography Workshop 2016

PHOTOGRAPHY SUMMER WORKSHOP
Travel & Street Photography

This summer I am teaching a fun and exciting photography workshop focused on the contemporary methods and techniques for shooting and post-processing travel and street photography. 

During the course students will be putting their knowledge of photography into action through a series of small photographic assignments in cityscapes and street photography to prepare them for a final production assignment to capture a "City Portrait" of a city/town of their choosing. 

Creating a City Portrait

To accomplish the goal of the final project, students will be asked to create a final image series that encompasses several aspects of the city to help create a complete "portrait" of that location.  In addition to the visual elements of this assignment, students will also write short exposes on each of the main segments of their series to provide a rich context to the images. 

The City Portrait includes:

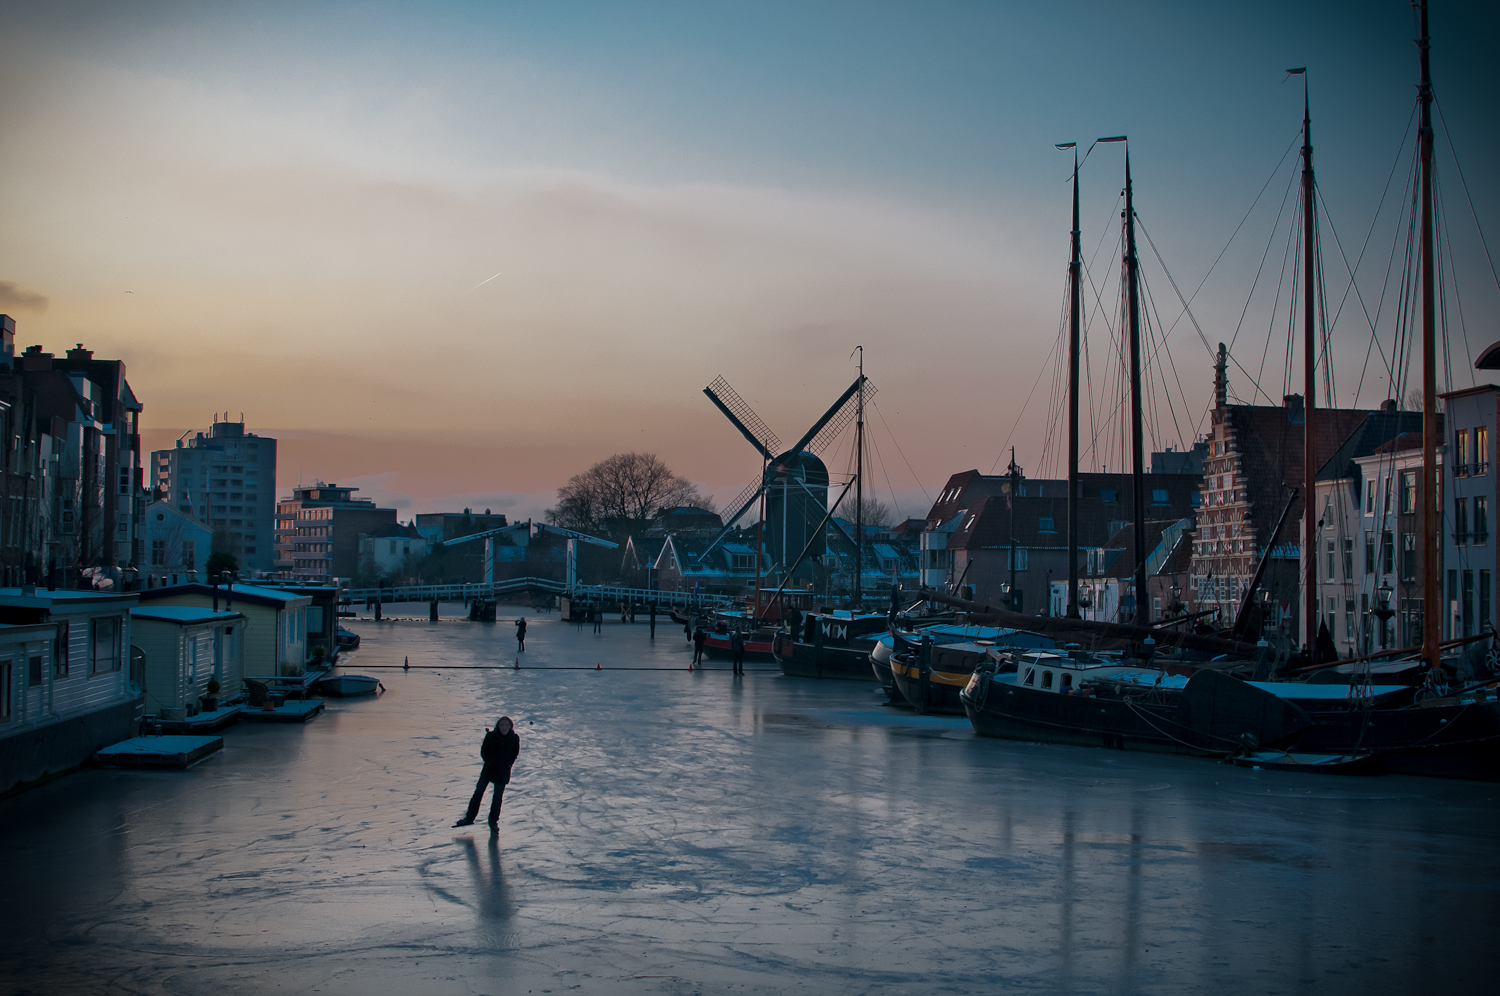
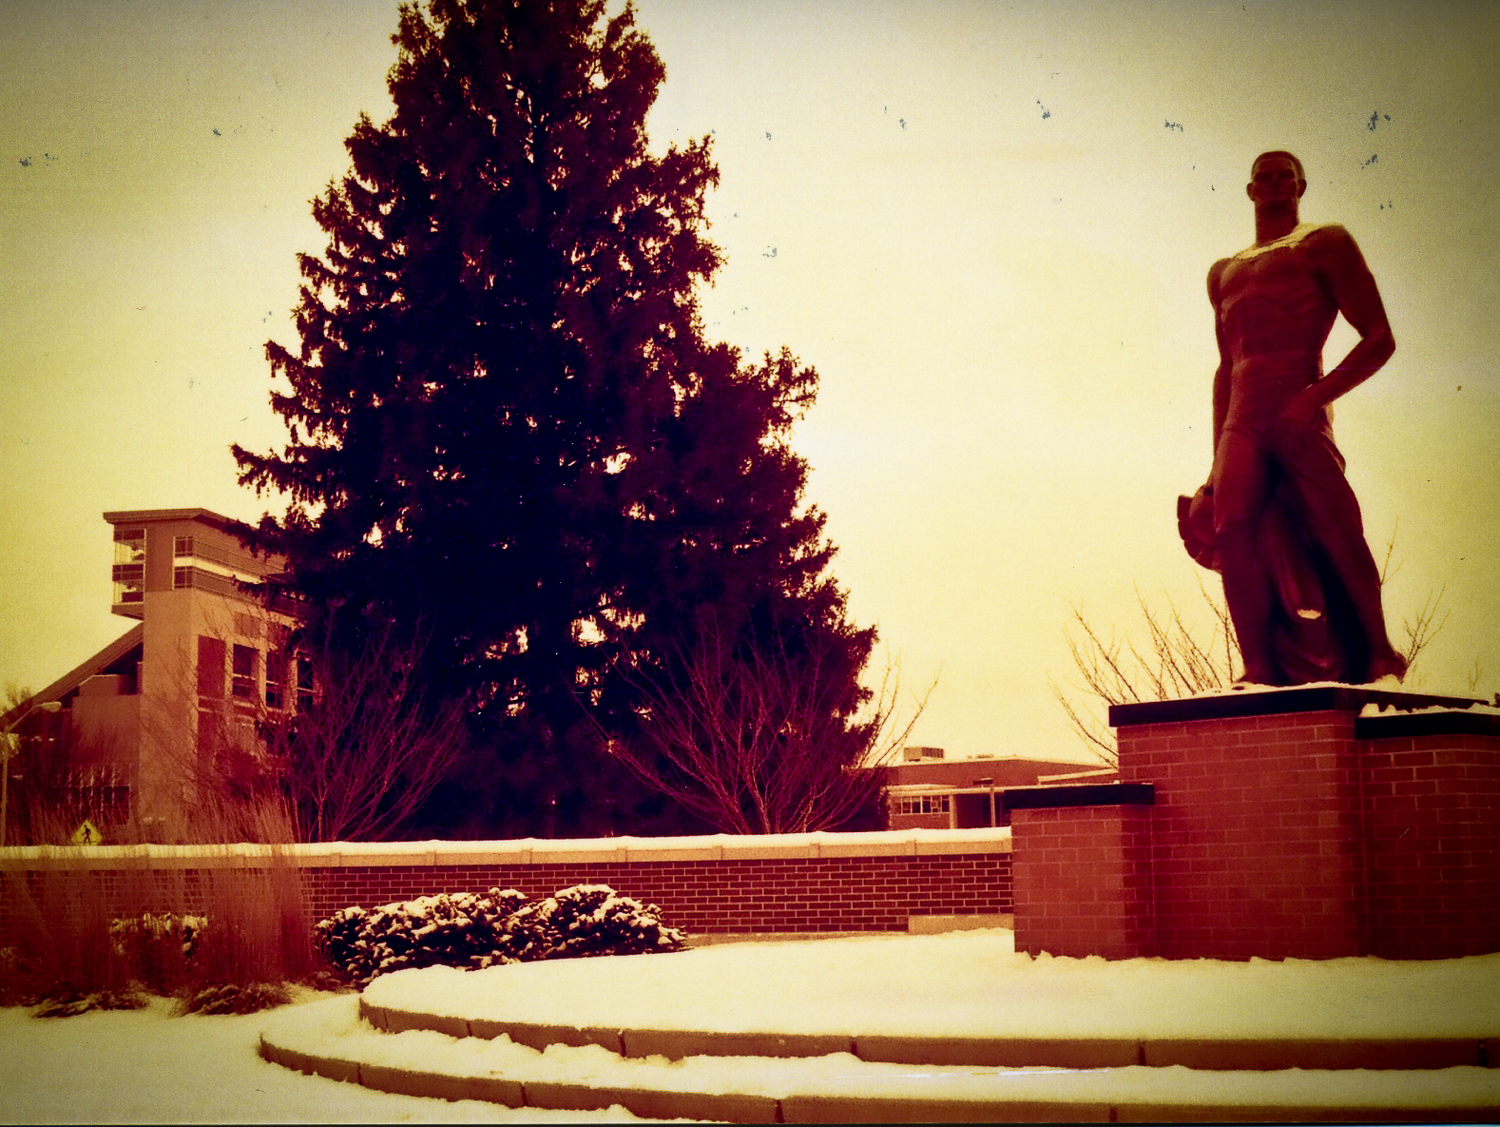
  1. A cityscape that captures the essence of the city through its architecture, or city planning, and or the the atmosphere of the city.
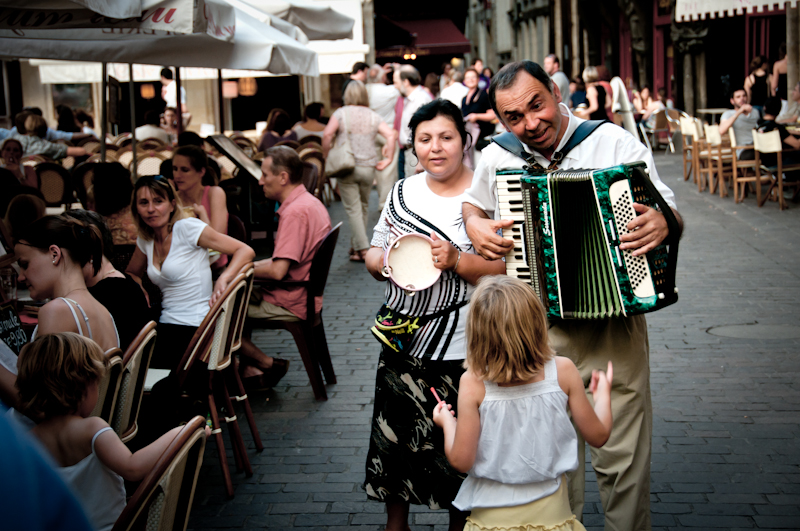
  2. The people that make that city.  Who are they? What do they think of their city? Is there any interesting characteristics of the people that stand out from other cities near or far?
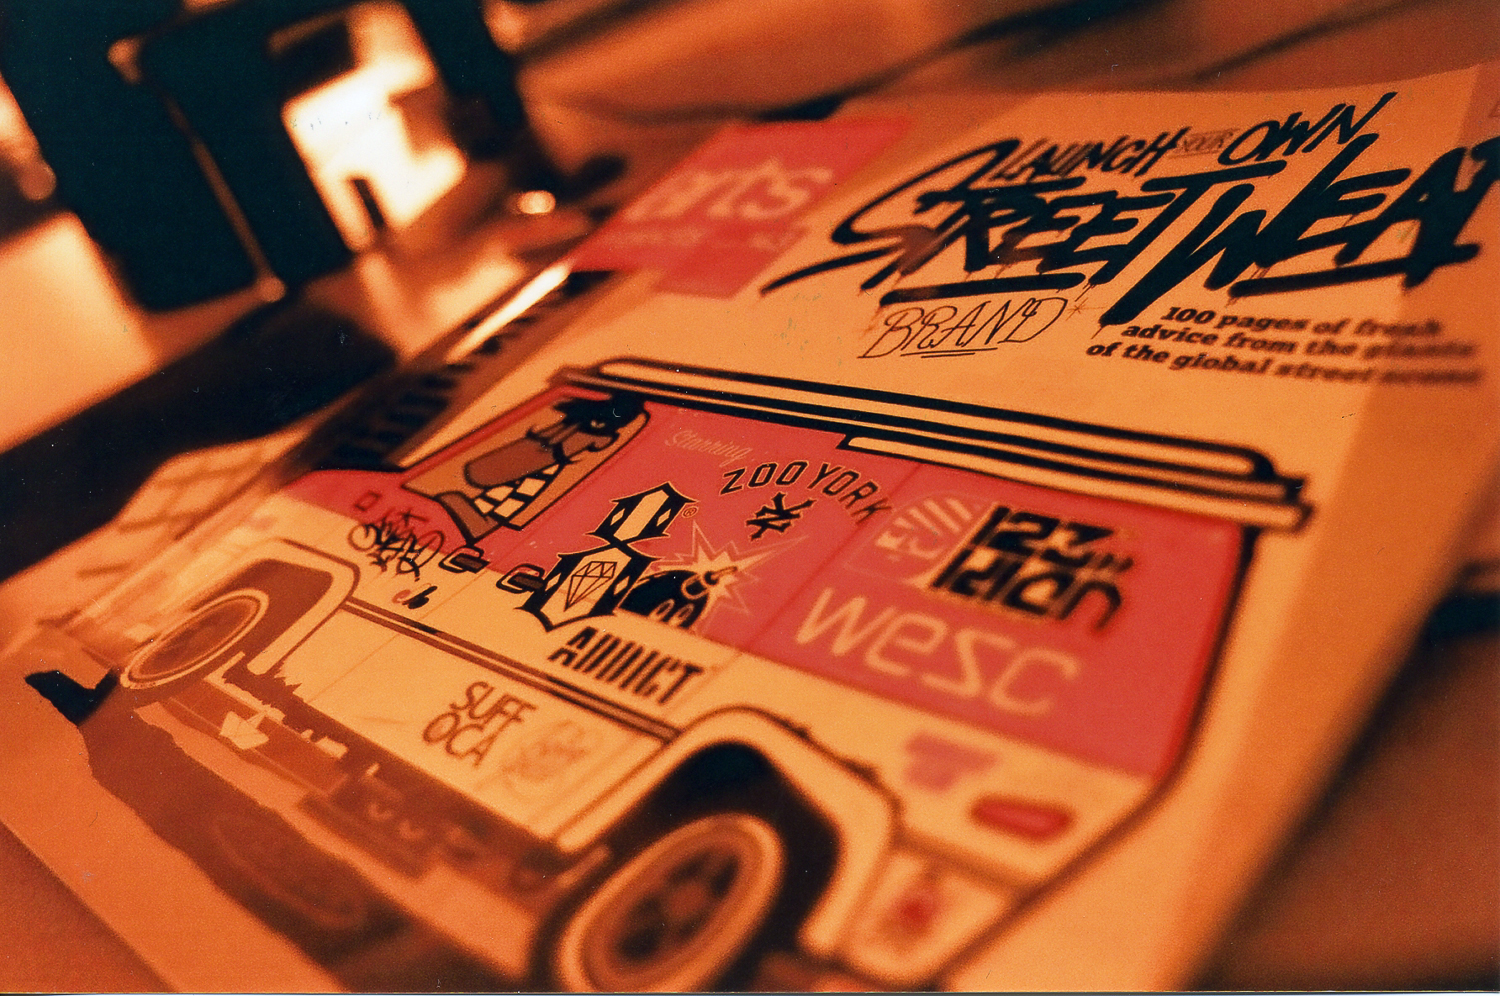
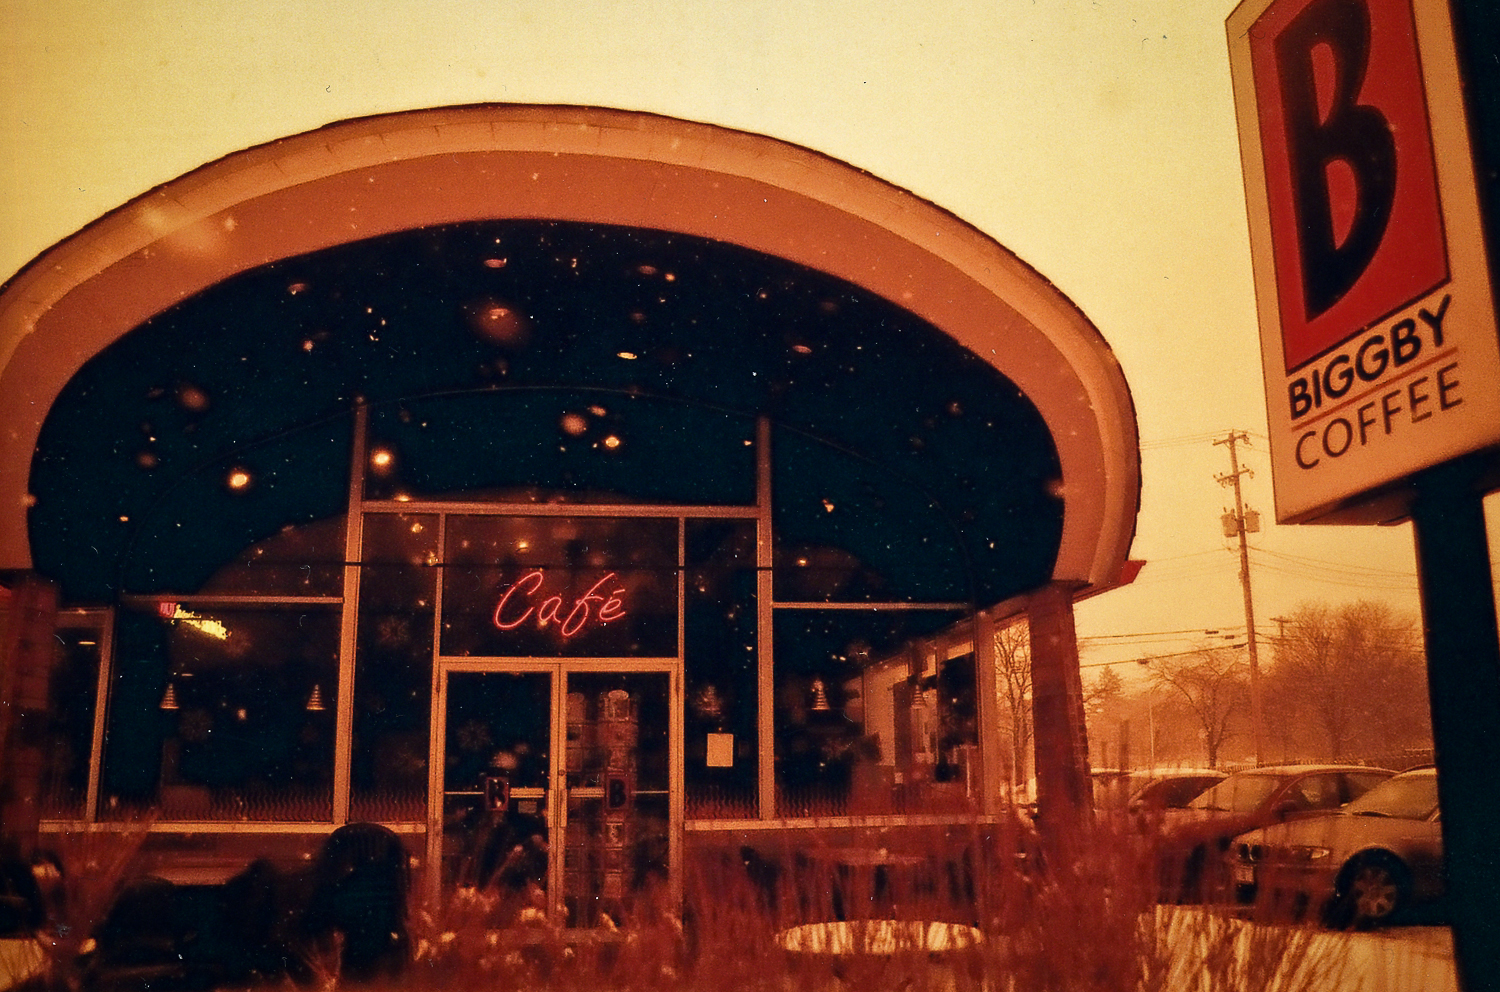
  3. Food and culture: Looking even closer at our city, what is behind the people, what do they do, where and what do they eat?  Where do they shop or go for entertainment? The final segment will focus on the culture of the city.  Get close, observe and capture the food, the coffee, the shopping etc. that fuels the city.  Are there specific places that "everyone" goes to enjoy a meal, what about the shopping, do people shop in large department stores or small locally owned shops.  Is there a "must eat" or "must try" local delicacy or traditional drink? Find out, and photograph it, capture the "essence" of what makes it unique.

Interactive Leiden Photohunt

Another feature of the class designed to give students a task that would get them out and about in the city, as well as give them locations to practice the photographic techniques discussed and learned in class was a city-wide photohunt.  Similar to a scavenger hunt, there are several (10) locations marked throughout the old city that students need to "capture" with their camera.

If you would like to use the Photohunt please feel free, this map was created using Google Maps custom map feature and has been made publicly available.  Whether you want to join in the fun of photographing the city of Leiden, or just want a map to share with visitors of "must see" please feel free to share the map. Alternatively you can make your own for your city, or one you will (or have) traveled and photographed.

I'll end this with a few words I often say in closing of my photo classes. Good luck on your photo walks, don't forget to look up, and if you're not having fun, you're doing it wrong. 

Creating a Visual Narrative: Animal Kingdom

This multidimensional photographic project was focused around the core concept of creating a visual narrative using a set series of three images to tell a story.

PHOT 3195: Fall 2015

PHOT 3195: Fall 2015

This project was created for use in my Fall Photography 3195 Digital Imaging II course to challenge the students to first think creatively about the "story" they wanted to tell with an "animal" of their choice, and then to think critically about how they would execute their vision of this story with only three images. Below you can see the various animal "characters" chosen by some of the students. 

The Assignment

Students were given a lot of creative license to interpret the assignment in a way that was meaningful to them personally, and to tell a story they felt a connection to. The students were given a set of constraints, such as choosing from a finite set of paper low-poly animal masks, all work was to be printed in Super A3 format, and all students must create an image series of three works, no more, no less.  All of the work was to follow the distinguishing characteristics of the visual narrative:

  • contain a persuasive story with a point of view
  • high quality imagery, still or moving
  • subject matter with pressing social, environmental, or spiritual value
  • an appeal (explicit or implicit) for transformation in attitudes and behaviors

The Masks: The low-poly masks are a component that I have worked with a few times before, and it is a rewarding object to use, as students assemble and decorate the masks however they like, and the ease of which they can be put together makes them very accessible, even to students who claim not to have any skill in the "arts".  The masks come from http://wintercroft.com/ where you can choose from a growing selection of masks.  They are relatively simple to put together, and only require cutting, gluing, and taping (and in some cases using some push pins) and can be assembled in a couple of hours. One of the reasons this element was incorporated into the project was to provide a prop element for the students to use when creating their work.  This provided an added element for their execution of the project, by working with elements that needed to be shot correctly in-camera and balancing the work load from in-camera and post production. 

Below you can see a few of the student projects (in no particular order).

Wolf Mask: Amanda Cochran
Hare Mas: Yogesh Sajnani
Bull Mask: Daniel Cuadra
Owl Mask: Kylie Luteraan
Stag Mask: Valentine Billette de Villemeur
 

2016 Faculty Exhibition - May Gallery

I am happy to announce that I will be showing some recent work in the annual faculty exhibition in January 2016.  The work I have selected to show was from an earlier post on Low-Poly Portraits I created.  

Gallery Dates & Times
January 22 - February 19th, 2016
May Gallery - 2nd Floor Sverdrup Building
8300 Big Bend Boulevard
Webster Groves MO 63119

Opening Reception on Friday January 22nd, 2016 from 5-7pm (CST). 
For more information on the photography exhibition, and a complete list of other artists please visit the May Gallery Website.

For more details on the creation of the portraits, please see the original Low-Poly Portraits post detailing the idea and process of how the images were created and how the masks were made.

Low-Poly Mask Project

Low-Poly Mask Project

This short portrait project combined aspects of traditional portriture with low-poly paper masks. The results were rather fun, with a range of portraits that evoke a variety of “personalities” portrayed by the actor under the mask.  The students that were photographed with their masks were asked to "play" a character using some props from their personal items. 

PHOT3190 - A new Class of Digital Artists

Course Description:

Students learn the theoretical and practical aspects of photographic digital imaging. Students develop a theoretical understanding of this technology and learn to apply these principles using Adobe Photoshop. Students learn to control, modify, and manipulate digital photographic images for both corrective and creative purposes.

In this course students used Adobe Photoshop (and Camera RAW) to explore the realm of digital image processing and manipulation. This course required students to look at taking imagery from a variety of sources and creating unique digital images. Students spent a lot of time on learning the Photoshop environment and how to work with digital files to bring their creative visions to life.

Class-Image-Web
Class-Image-Web

Reflection:

For this eight week course I used a scaffolding of projects to ratchet up the technical requirements (Photoshop manipulation skills) as well as increased creative control over the subject and composition of thier projects.  In total, three course projects were used, each building upon the previous project.  The first project (the most restrictive, and most simplistic) was focused on using state of the art equipment (cameras) and software (Photoshop) to re-create the visual aesthetics of vintage toy film cameras (styles made immensely popular via Instagram/Hipstamatic etc).  The second project focused on the theme of the self portrait, but the students were to re-imagine what the essence of a self portrait is and explore ways to visually compose an image that encompasses their abstraction of the "self image".  Finally, students were given an open ended project entitled the Uelsmann Experience, incorporating some of the free flowing design and creative process of image creation influenced by the legendary creative couple Jerry Uelsmann and Maggie Taylor.  For this final project students were to come up with their own image theme and develop a creative strategy to accomplish their vision.  This project can sometimes give "too" much creative freedom in which its vital to consult with each student to ensure the scope of their project is manageable in the timeframe of the course.

Throughout the course students engaged in small activities and in-class tutorial challenges focused on having the students learn new image manipulation techniques and put them to use in a time controlled environment.  This challenge scenario was used to enforce my belief that in the creative process, especially in digital image creation the point of failure is where we learn the most about ourselves and the techniques used.  For this class I wanted to create a "safe place to fail" - meaning I wanted the students to push themselves beyond their comfort zones and to try new techniques and ways of approaching the creative process without the fear that failing to succeed in their experiment would translate into an academic failure.

Overall, the individual growth demonstrated by each student, non only in technical proficiency, but in the creative process as artists was extensive.  Students were able to demonstrate a clear and purposeful rationale behind the technical, aesthetic, and compositional elements of each of their completed project pieces.

To cap the course off on the last day I put together a short time-lapse video of the class picture I created from a series of individual portraits taken earlier in the course (under the guise of a hands on tutorial on portraiture).  I wanted to use this simple image as both a visual "thank you" to the course, but to also serve as an example of how to re-imagine the "class picture" in a way that is contemporary and fun.  A Super A3 poster was printed in class on the last day and signed by each of the students as a momento that will be proudly displayed in my office.

For more information you can checkout the open course website: PHOT3190 Spring 2013 Webster University Leiden

Skating on Thin Ice

The weather here in The Netherlands has been unseasonably cold lately.  Last week the snow and cold was so bad it caused many delays and cancellations in both flights and the train schedule.  Although it was cold and nasty out it didn’t stop many of the Dutch residents from taking advantage of the icy conditions to strap on a pair of ice skates and hit the canals.

I was amazed to see the volume of people over the last few days take to the canals for some recreational skating.  Personally, the ice was a little too thin for my taste, not to mention the many sections of open water that had yet to freeze.  Needless to say I was happy to watch from a bridge and take some shots of those daring skaters.  The image here was taken in Leiden Netherlands, just a few miles south of Amsterdam.

The image above was a handheld shot taken with a Nikon D300s and 35mm Nikkor f1.8 lens.

1st Place - 2011 Global Focus Photography Competition

I just learned that I have received 1st Place in the 2011 Global Focus Photography contest.  I am thrilled to have my image selected as the top winner, as well as a second image I had submitted receiving an Honorable Mention. 

1st Place Image: Boat House (Maynooth Ireland - 2010)

IrelandBoatHouse-12
IrelandBoatHouse-12

Honorable Mention: Stormy Wedding (Saint Malo, France - 2011)

StormyWedding-12
StormyWedding-12

Going back to basics: shooting with 35mm film

From time to time it is important to reflect on the advancements of the technology, craft, and skill used in generations past and how the development of those areas led us to what we have today.  One of the drawbacks of the advancements in digital photography is the degradation of diminishing (or limited) resources.  What I mean by this is, as digital photography has allowed us to shoot without pause, as with each press of the shutter we are not using any film, but an endlessly reusable and configurable memory card.  While this advancement allows great advancement in technology it comes at a cost for those who are learning the art and craft of photography.  All too often in the digital realm "we" don't slow down enough, we speed through the composition, we experience less through the lens before we fire off that burst of digital captures.  So from time to time I like to go back to the basics to find that feeling of shooting with film, a volition, short lived medium by comparison to our digital cameras.  Getting absorbed in my viewfinder, working the composition and framing to satisfaction before even thinking of pressing the shutter release is a zen-like experience.  Using film helps me to slow down, and live in the moment I am trying to capture, and enjoy the surroundings in a way I often let slip by when shooting digital. 

A short time after the holidays I decided to try something a little different for a change, instead of grabbing my trusty old Nikon D300s and heading out to grab some shots, I thought I would dust off my old 35mm camera and go shoot a roll of film.  So that’s exactly what I did. I grabbed my Olympus OM-1 35mm camera (circa 1974) cleaned it up and set out to have some fun.

Of course as soon as I got it out and was getting all excited to start firing away I realized I needed a few things like film, and of course a new battery.  As luck would have it there is still quite a bit of film out there, and the folks over at lomography have quite a selection.  You can get a nice variety of 35mm or 120 size film from them, and they sell local in many retail stores (Urban Outfitters is where I found mine).  Just for fun I went with the redscale 100 speed film.  I ended up having to order a replacement battery online through Amazon since none of the local stores near me carried the right size, so if you are planning to take out your old camera, might want to think ahead on that one and get your batteries and film now.

Once I had my film loaded I was ready to set off and shoot some frames.  It was so much fun yet simultaneously torturous to shoot a frame and not be able to look at a viewfinder and check to see if its properly exposed or sharp.  Knowing I only had 36 exposures to a roll I found I became really stingy with my shots.  I passed alot of shots that I normally would take and found that I played it safe many of the times by bracketing my images of the things I was really interested in.

One of the things I loved most about this fun little exercise was that it was so refreshing to revert back to the basics, and rely on my own ability to expose an image correctly, knowing I would have to wait to get my film developed to see if I had missed the mark or not.  I was about a third of the way through my roll of film when I remembered that there was not going to be any exif data on my finished images, which prompted me to drag out an old notebook so I could write down my shutter speed and f-stops manually…as fun as that is, boy does it make me love my digital SLR all the more.

After shooting through a roll I found that I got better and better as the exposures went on, at first I overexposed my images quite a bit, but by the end of the roll I was getting some good results.  The redscale film gave a nice vintage look to the images, unfortunately I did have some trouble keeping the snow or other white surfaces from washing out.  I found that for an ISO of 100 the film was sure noisy, but after all it was pretty inexpensive film so I just made the most of it.  One thing I did like about this film, was shooting more colorful things like vivid LCD screens as the vivid colors I feel look pretty interesting in a juxtaposition with the old styled film.  Of course I was also reminded how costly those bad images can get, not only wasting the film, but without my own dark room sending these off to be developed cost another $12 or so costing me about $0.30 every time I clicked the shutter. 

Knowing the unused frames each came at a cost, it really helps to slow down and work over the entire frame before committing to a photograph.

My challenge to all my fellow photographers is to take an afternoon or a weekend, and as a great challenge for yourself and for some inspiration grab an old 35mm and head out and shoot a roll the good old fashioned way…its a fun way to get back to the basics and to step away from all the fancy tools and equipment we have in our bags if just for few hours.  I suppose if you don’t have a 35mm handy you could always tape over your LCD and only let yourself shoot 36 images at a time before you load them to see how they turned out.

Honorable Mention - 2010 MSU Global Focus Competition

SML1782-Edit1.jpg

Recently I discovered that I have received an honorable mention in the 2010 MSU Global Focus Photography Contest this year.  It is a thrill to have any of my images recognized, and I'd like to thank all the people involved for giving one of my images the nod of honorable mention.  I would alos like to thank all the people that voted for the People's Choice winner which was taken by Leigh Wolf

This image was taken in Tours France in July of 2010.  I traveled to Tours France with Bran and Leigh this summer as we went through parts of the French wine country.  I snapped this shot quickly as we walked through the city center and saw this street performing couple entertain a young girl while her mother watches intently in the background.

You can view the official winning image:

http://isp.msu.edu/awards/photocontest/byyear/2010/photos.php?i=11

You can also view all the other winners by vititing the contest page :

http://isp.msu.edu/awards/photocontest/byyear/2010/