
In an attempt to drum up some creative inspiration I began playing around with an idea of creating some fun chalk drawings in my Media Studio. The idea came to me shortly after installing a "chalkboard" wall in the studio. It is a very simple setup really; I used two coats of the chalkboard paint from a local hardware store to create the chalkboard wall measuring 1 meter by 1.5 meters or roughly (3 ft x 5ft).
After purchasing a selection of chalk, both the traditional classroom stuff and the amazingly fun liquid chalk markers I started looking for something fun to put on the wall to demonstrate how the wall can be used for fun, diagrams, or storyboarding etc. but to also show that the various types of chalk can be used for a variety of purposes. The liquid chalk is great, but it requires water to be removed. The chalk pens came in two sizes and I opted for the larger (16mm) so now it's on my list to get the smaller (8mm) size for drawings/tracings etc. with finer details. When I started looking through the chalk and started to play around with them they reminded me of crayons as a kid, then the idea struck me, "for fun, why not put up images from an old coloring book"?.
The Process: Its super easy
Interested to make your own? It's super easy and this could be a great activity for a classroom, or with kids (of all ages) at home. You could easily transfer this process to a "real" wall for some cool murals. The materials needed: an image, chalk, a place to put it (chalkboard), and a projector.
The Art - What will you draw/trace?
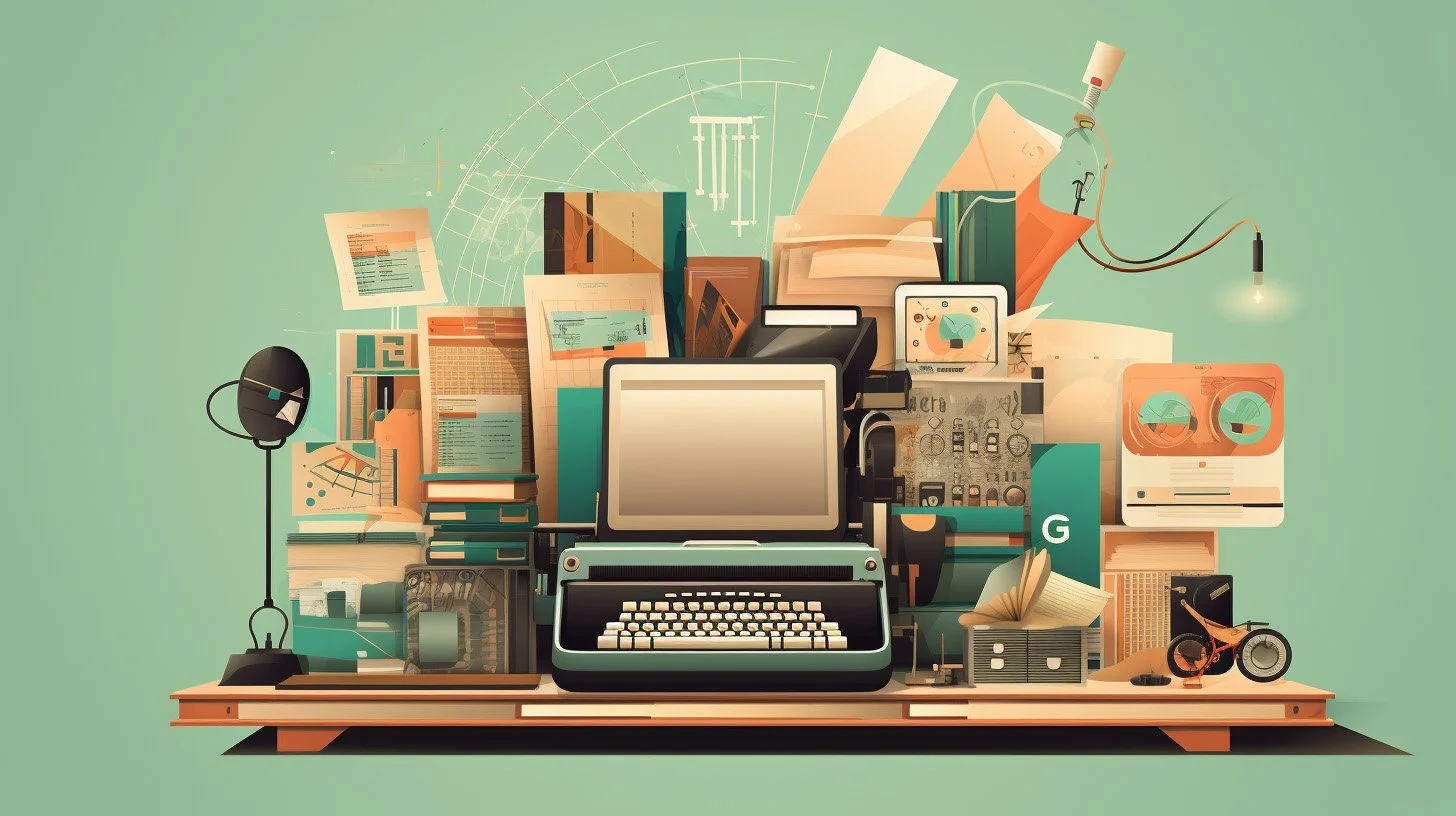
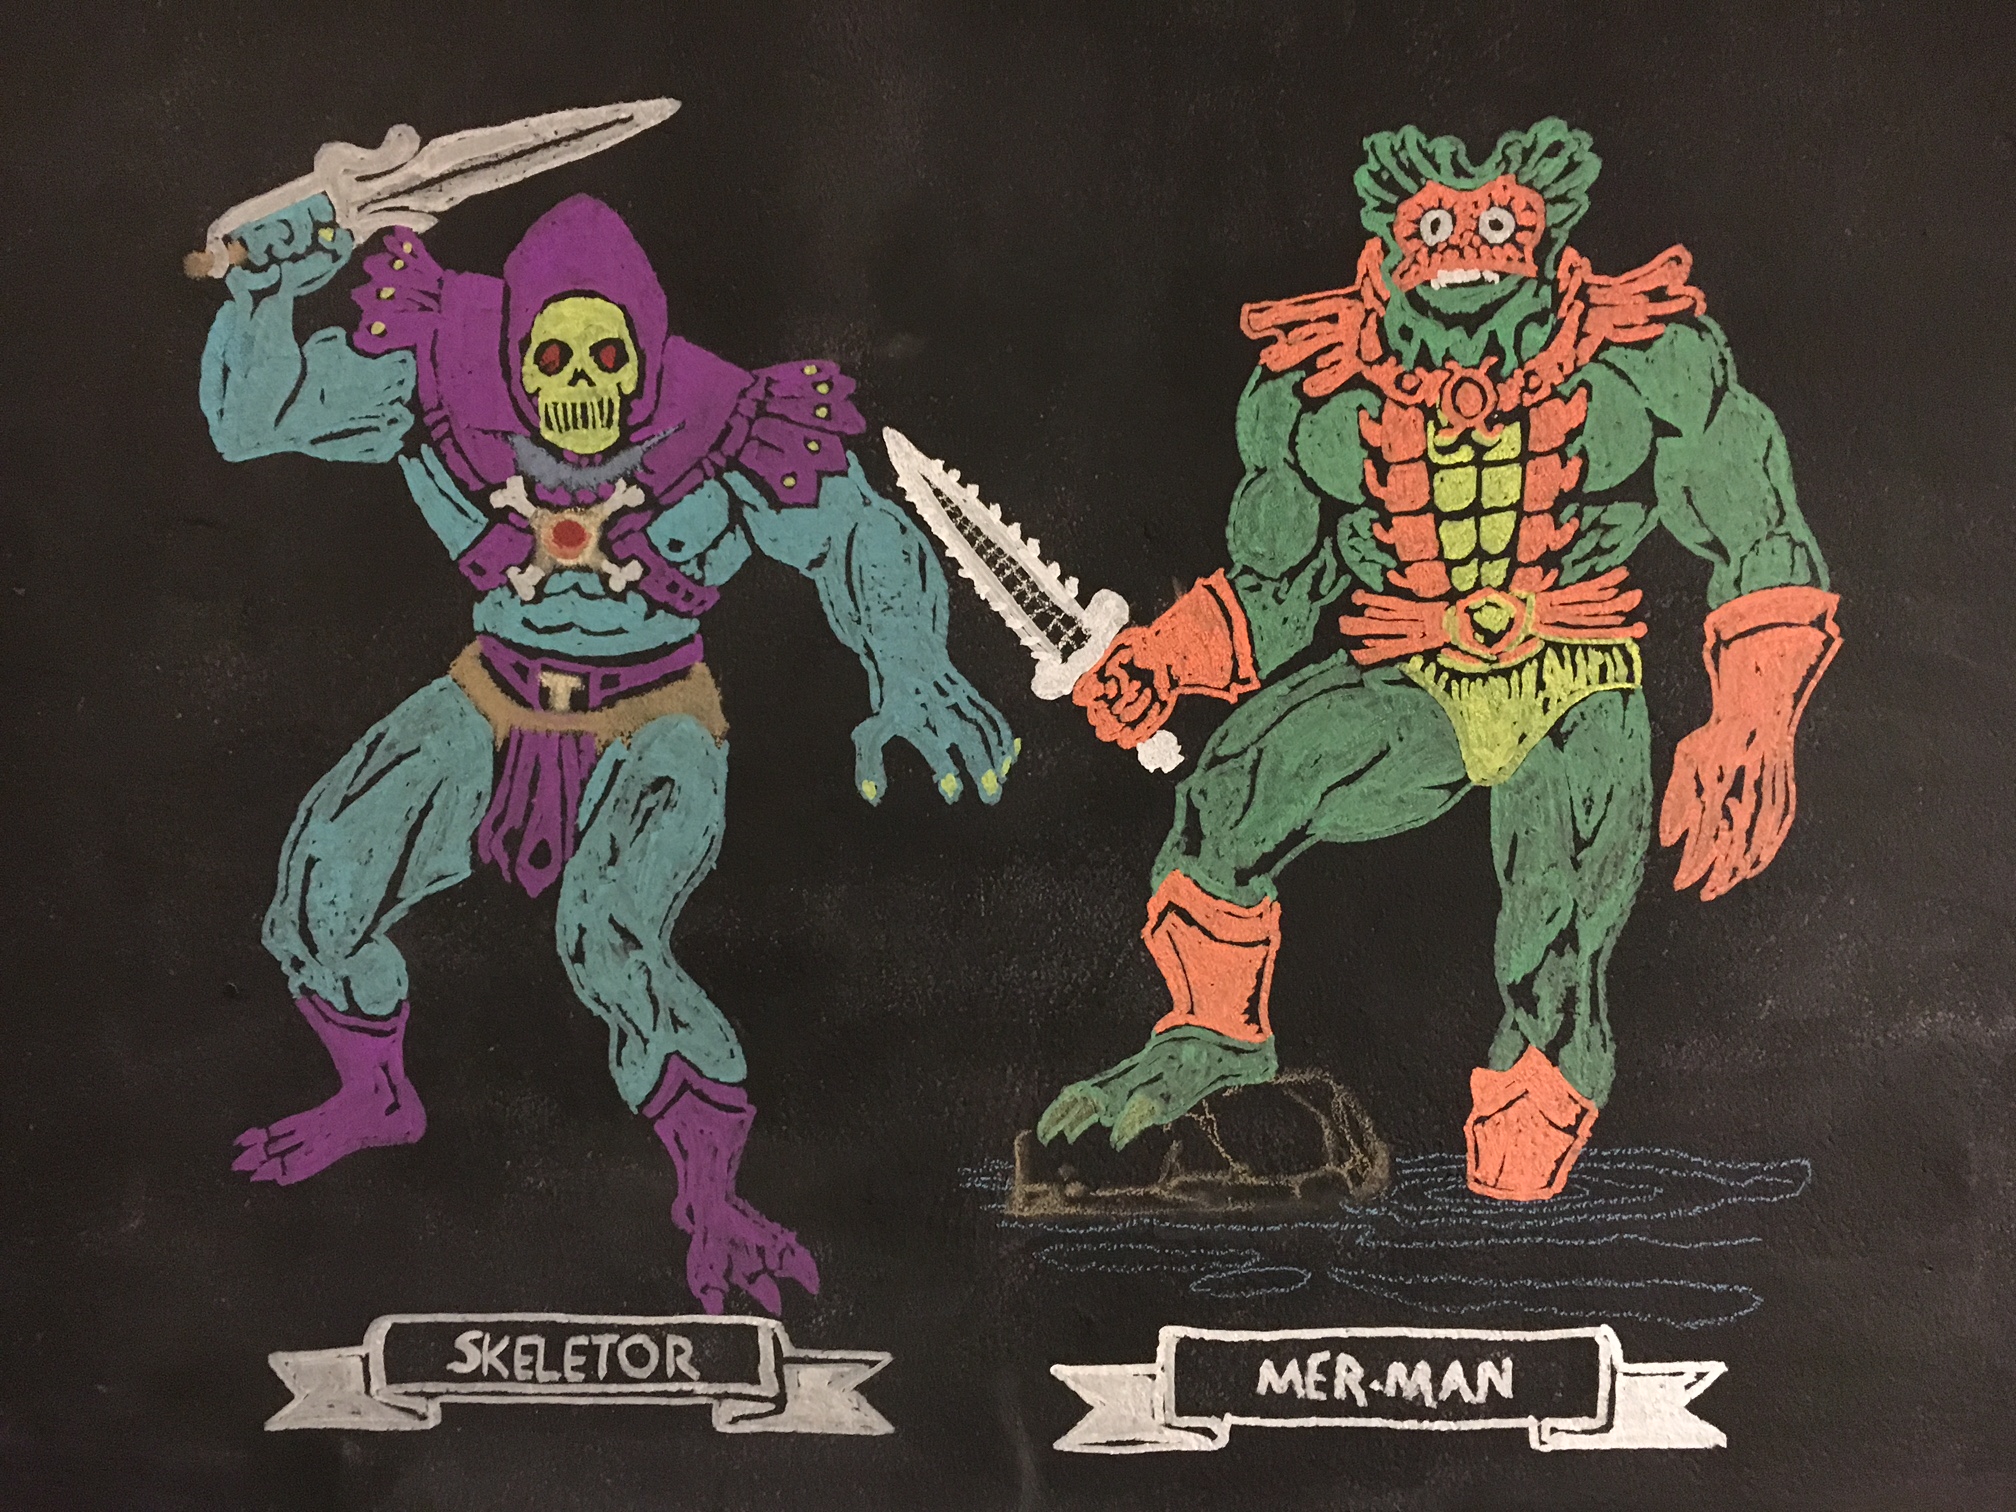
To start with, you will need some art of course, I used a scanned image from an old HE-MAN coloring book from 1984 that I colored in digitally with Adobe Photoshop (which is totally optional, but it took the decisions out of which color to use). You can do an image search for coloring pages etc. to get a sense of whats out there. Keep in mind your availability of colors etc. and I would suggest choosing something that is fairly simple (less details) to start with to get the process down. Once you've made your selection get it into an image format that you can use with your projector and get ready to draw.
Setup the space
The key here is to align the image on the chalkboard just how you like it, and to lock the projector down to ensure that it won't move on you, since you will trace the image stability is key. Tip: the fancier your projector the more flexible it can be based on distance, keystone, and scale. See the image below of my setup, just had a projector on a nearby table and scaled the image to fit the right size.
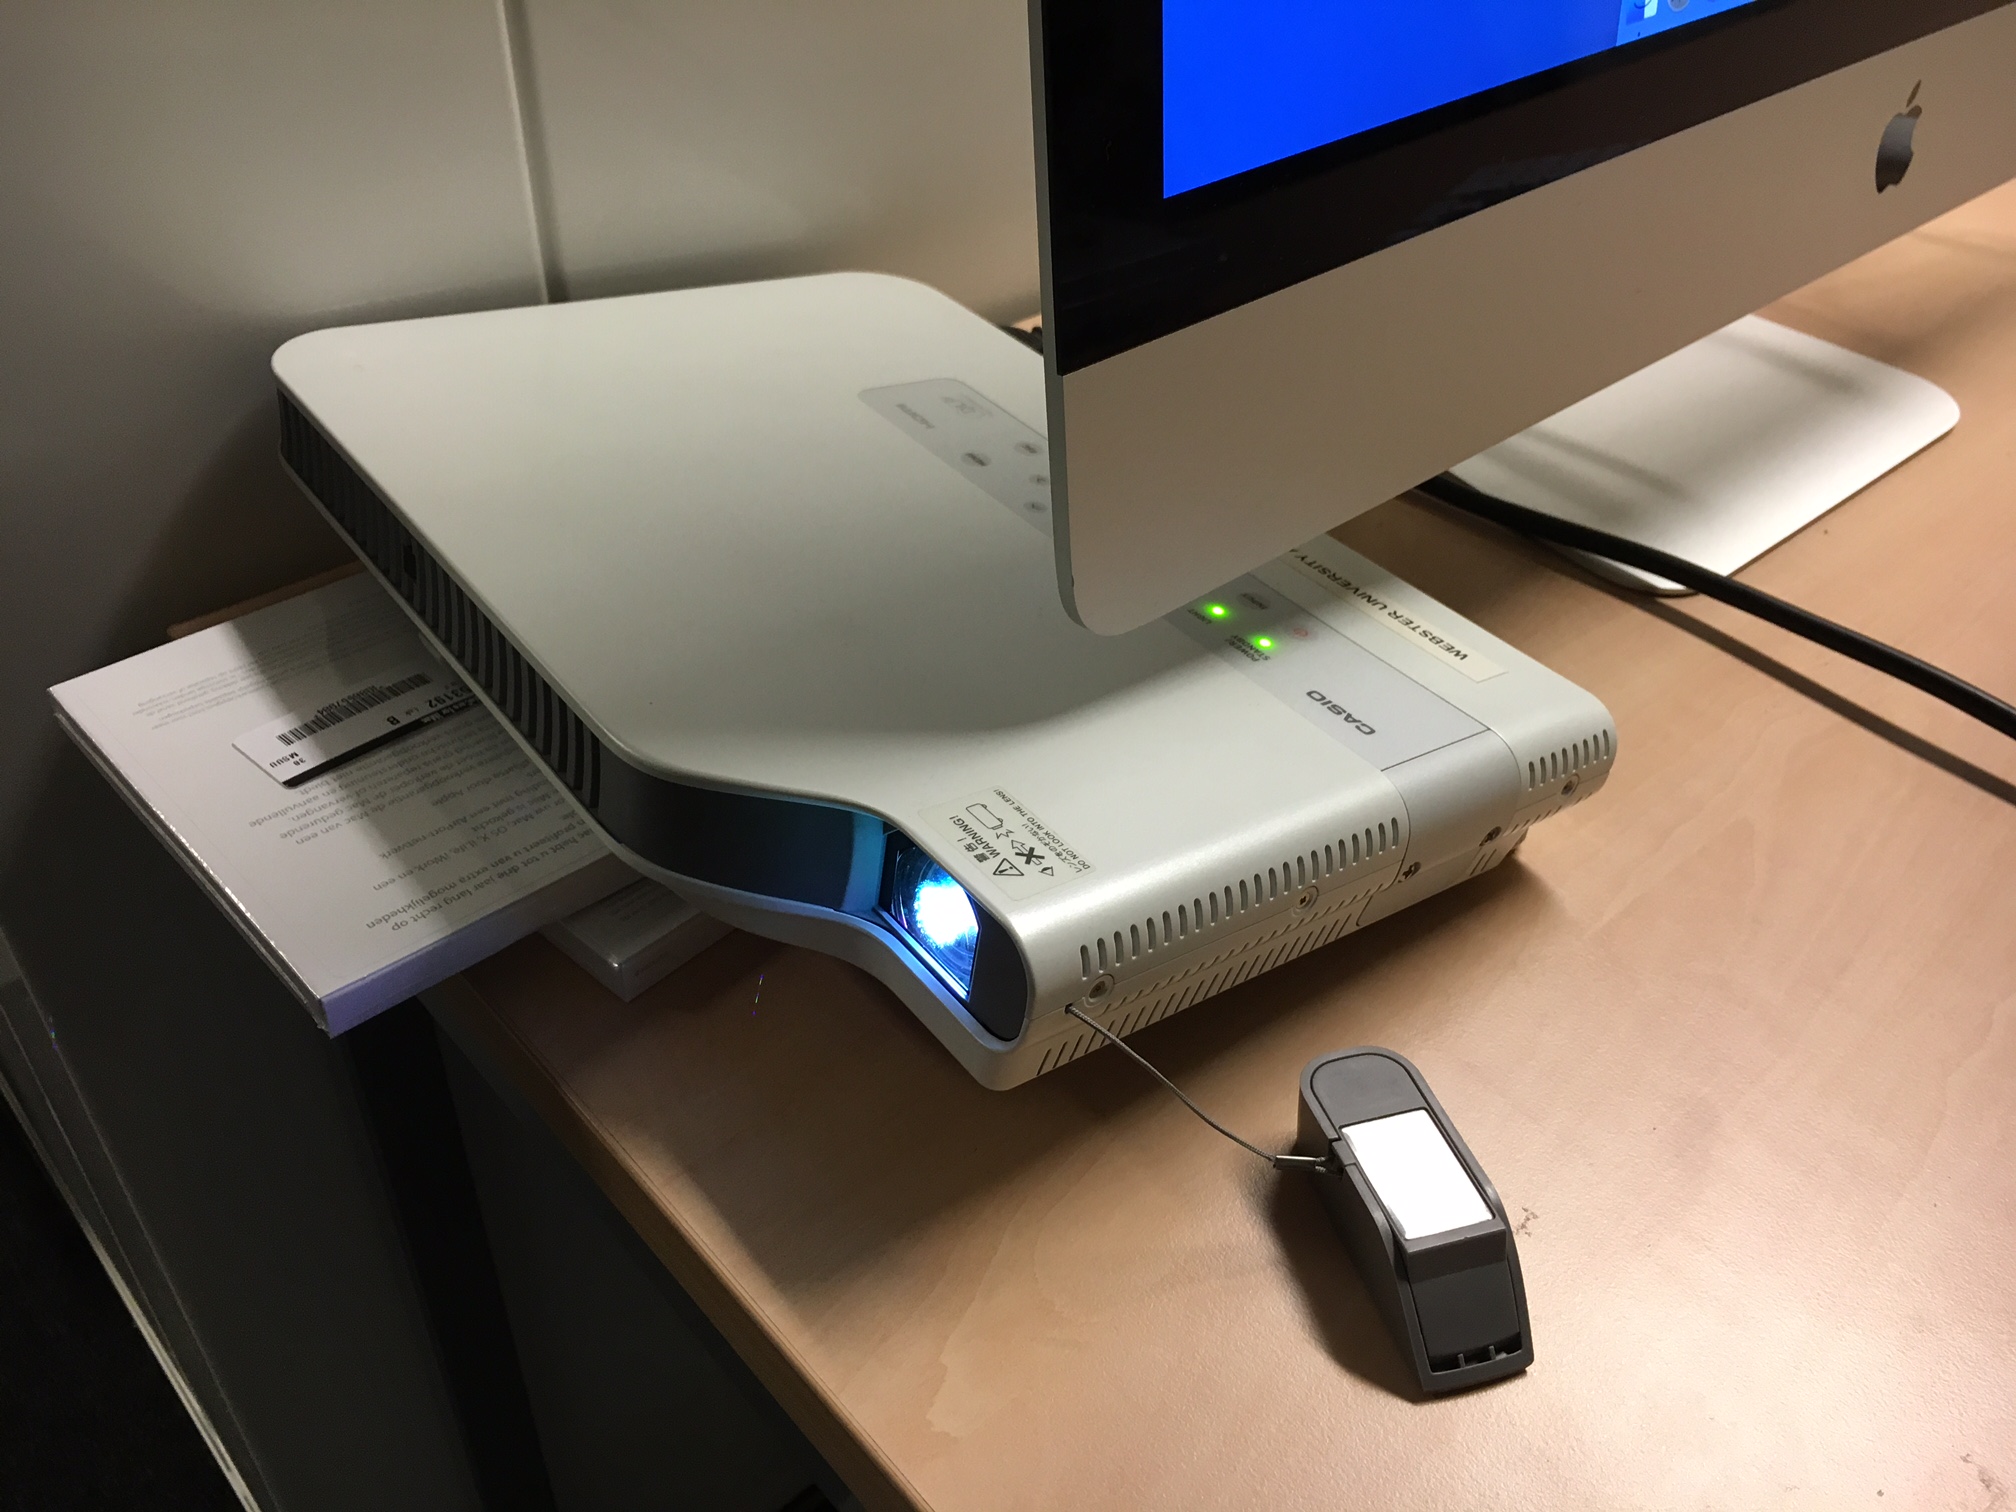
Projector setup: note the technical use of old CD cases to get the angle "just right".

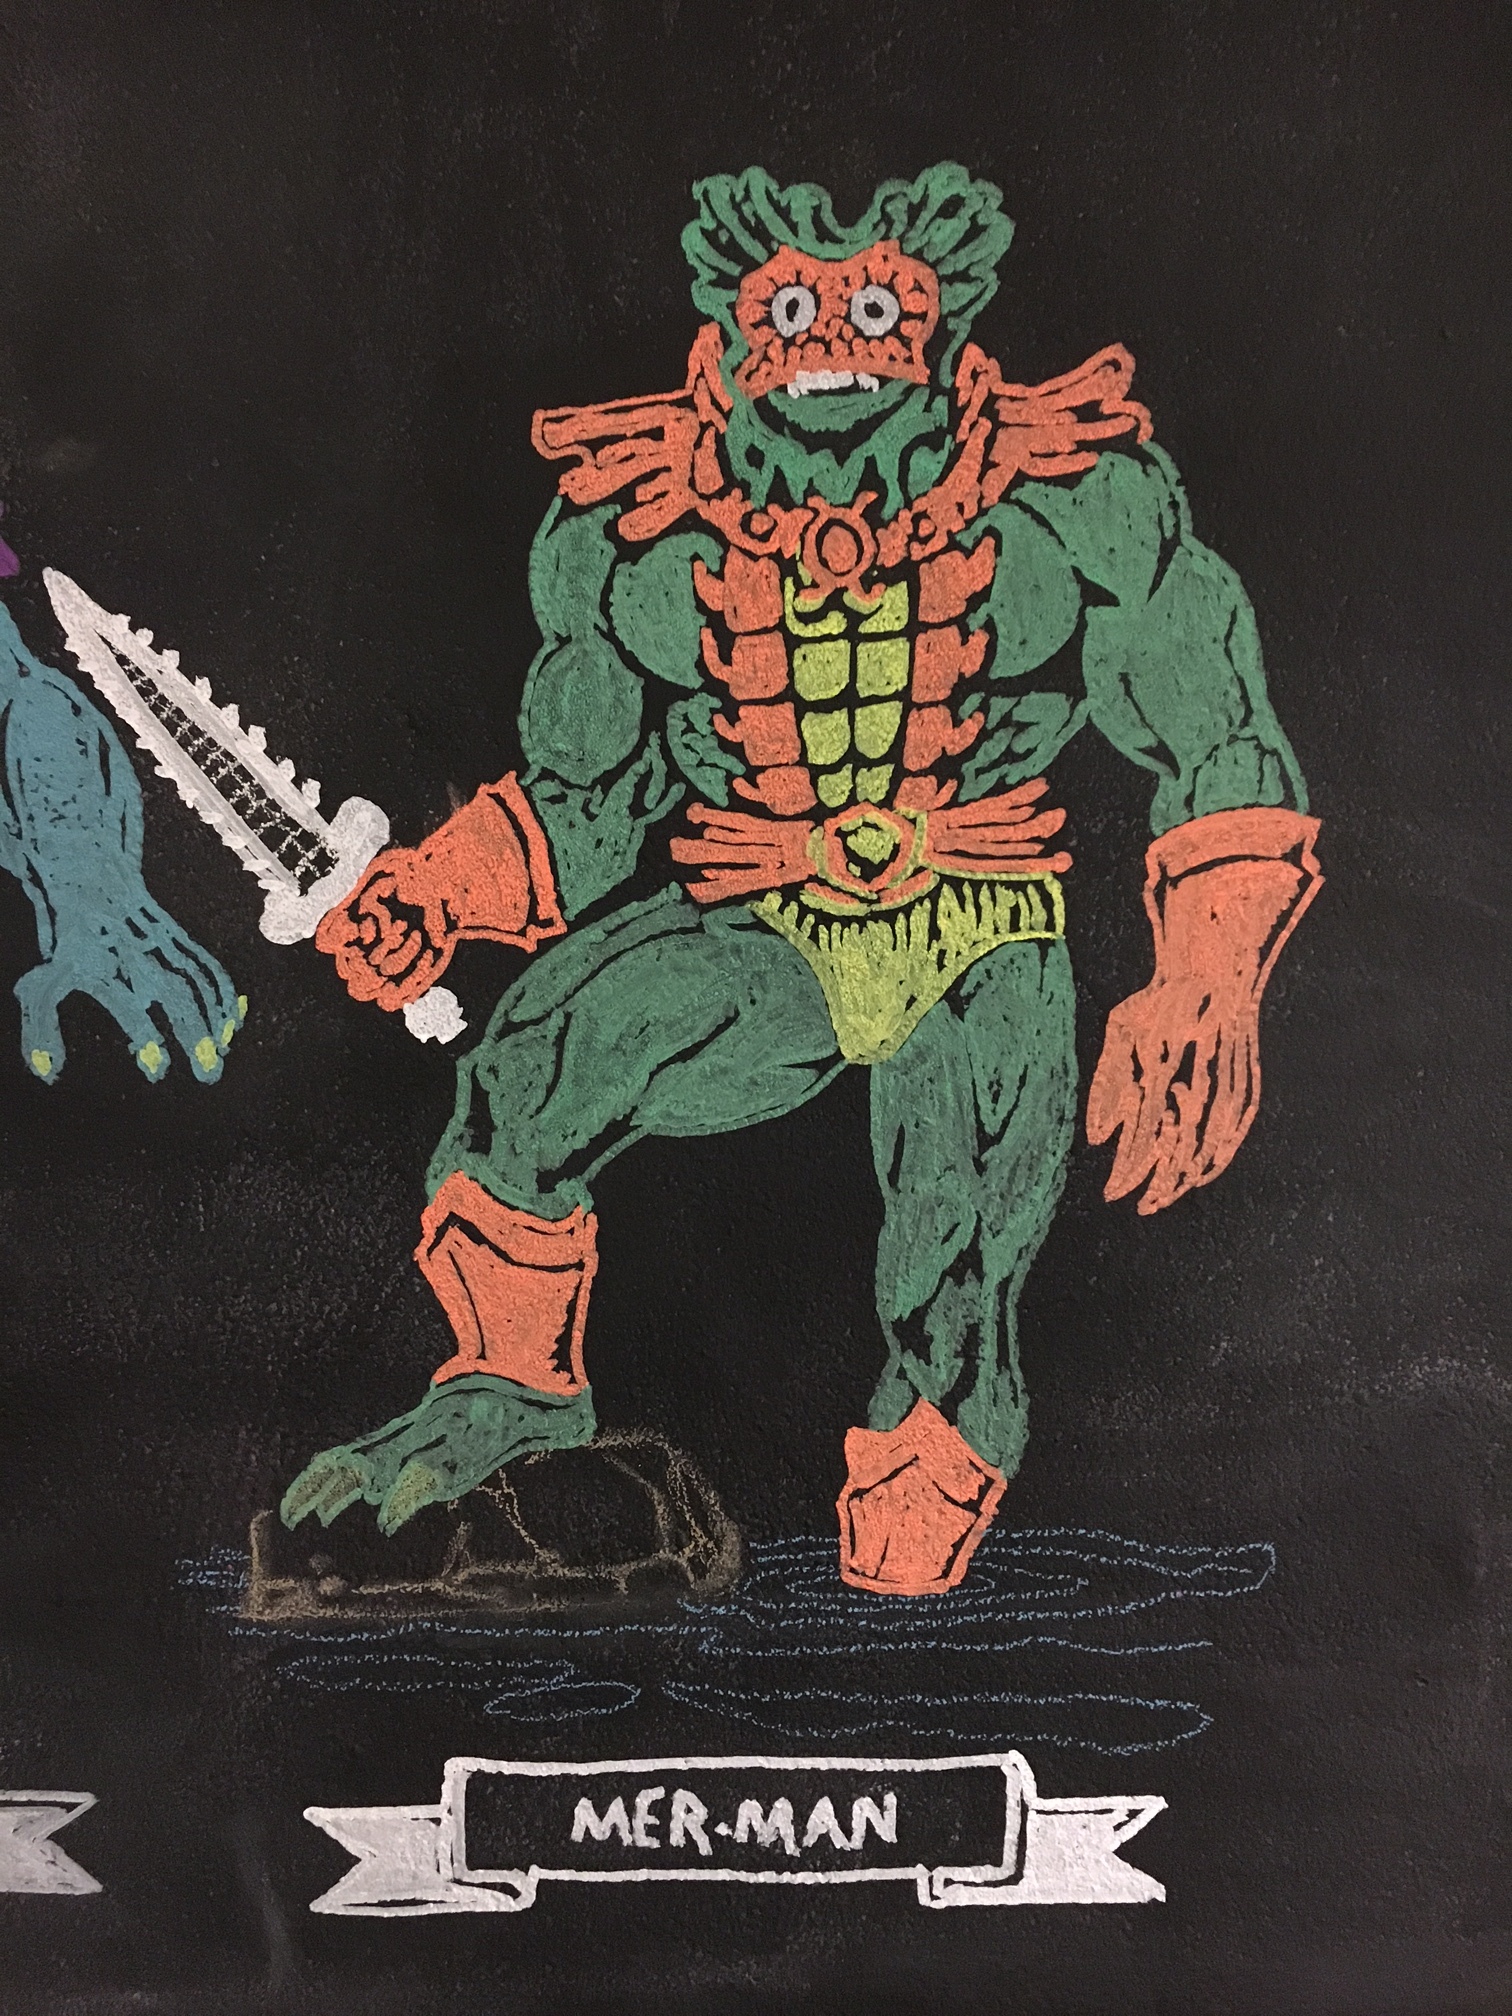
Aligning the 2nd image next to the first character.
Trace the image
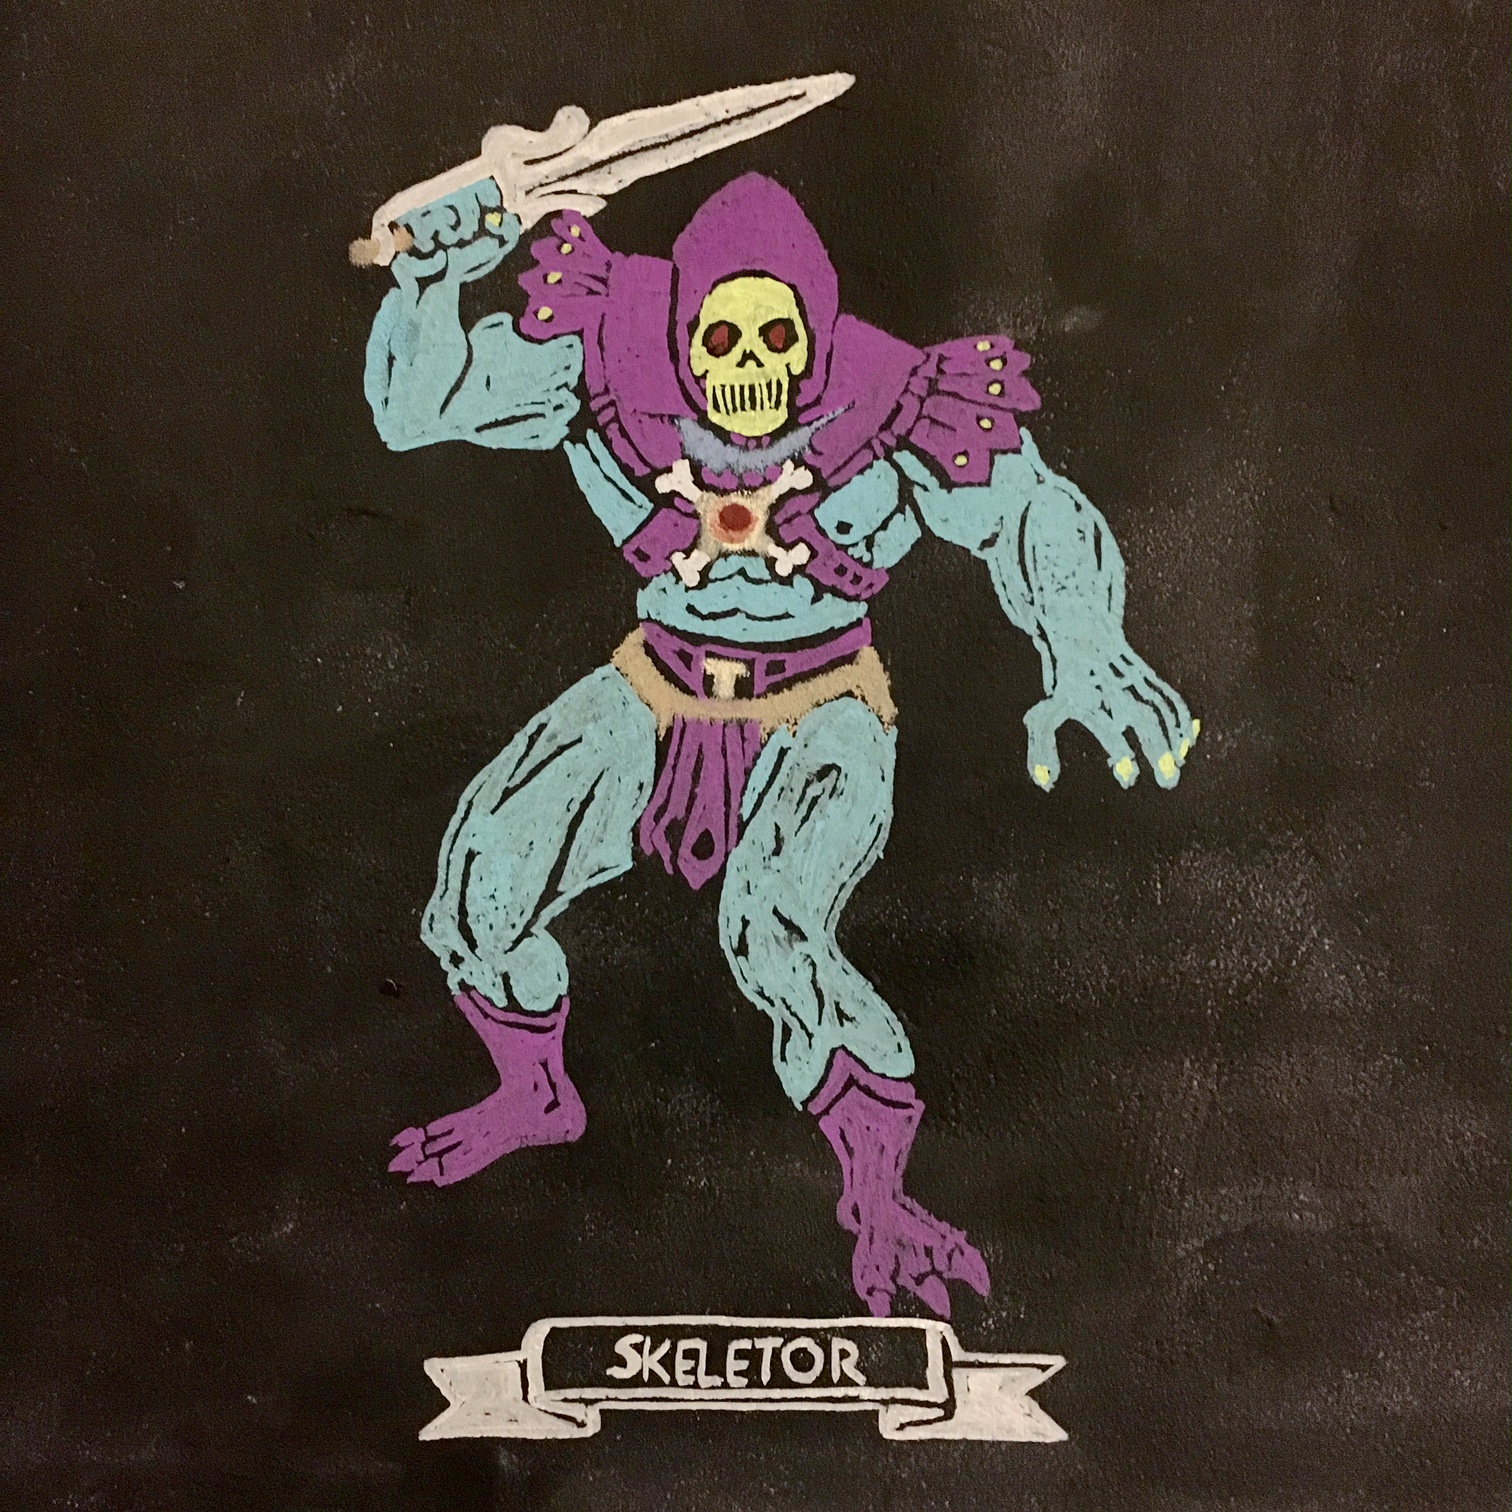
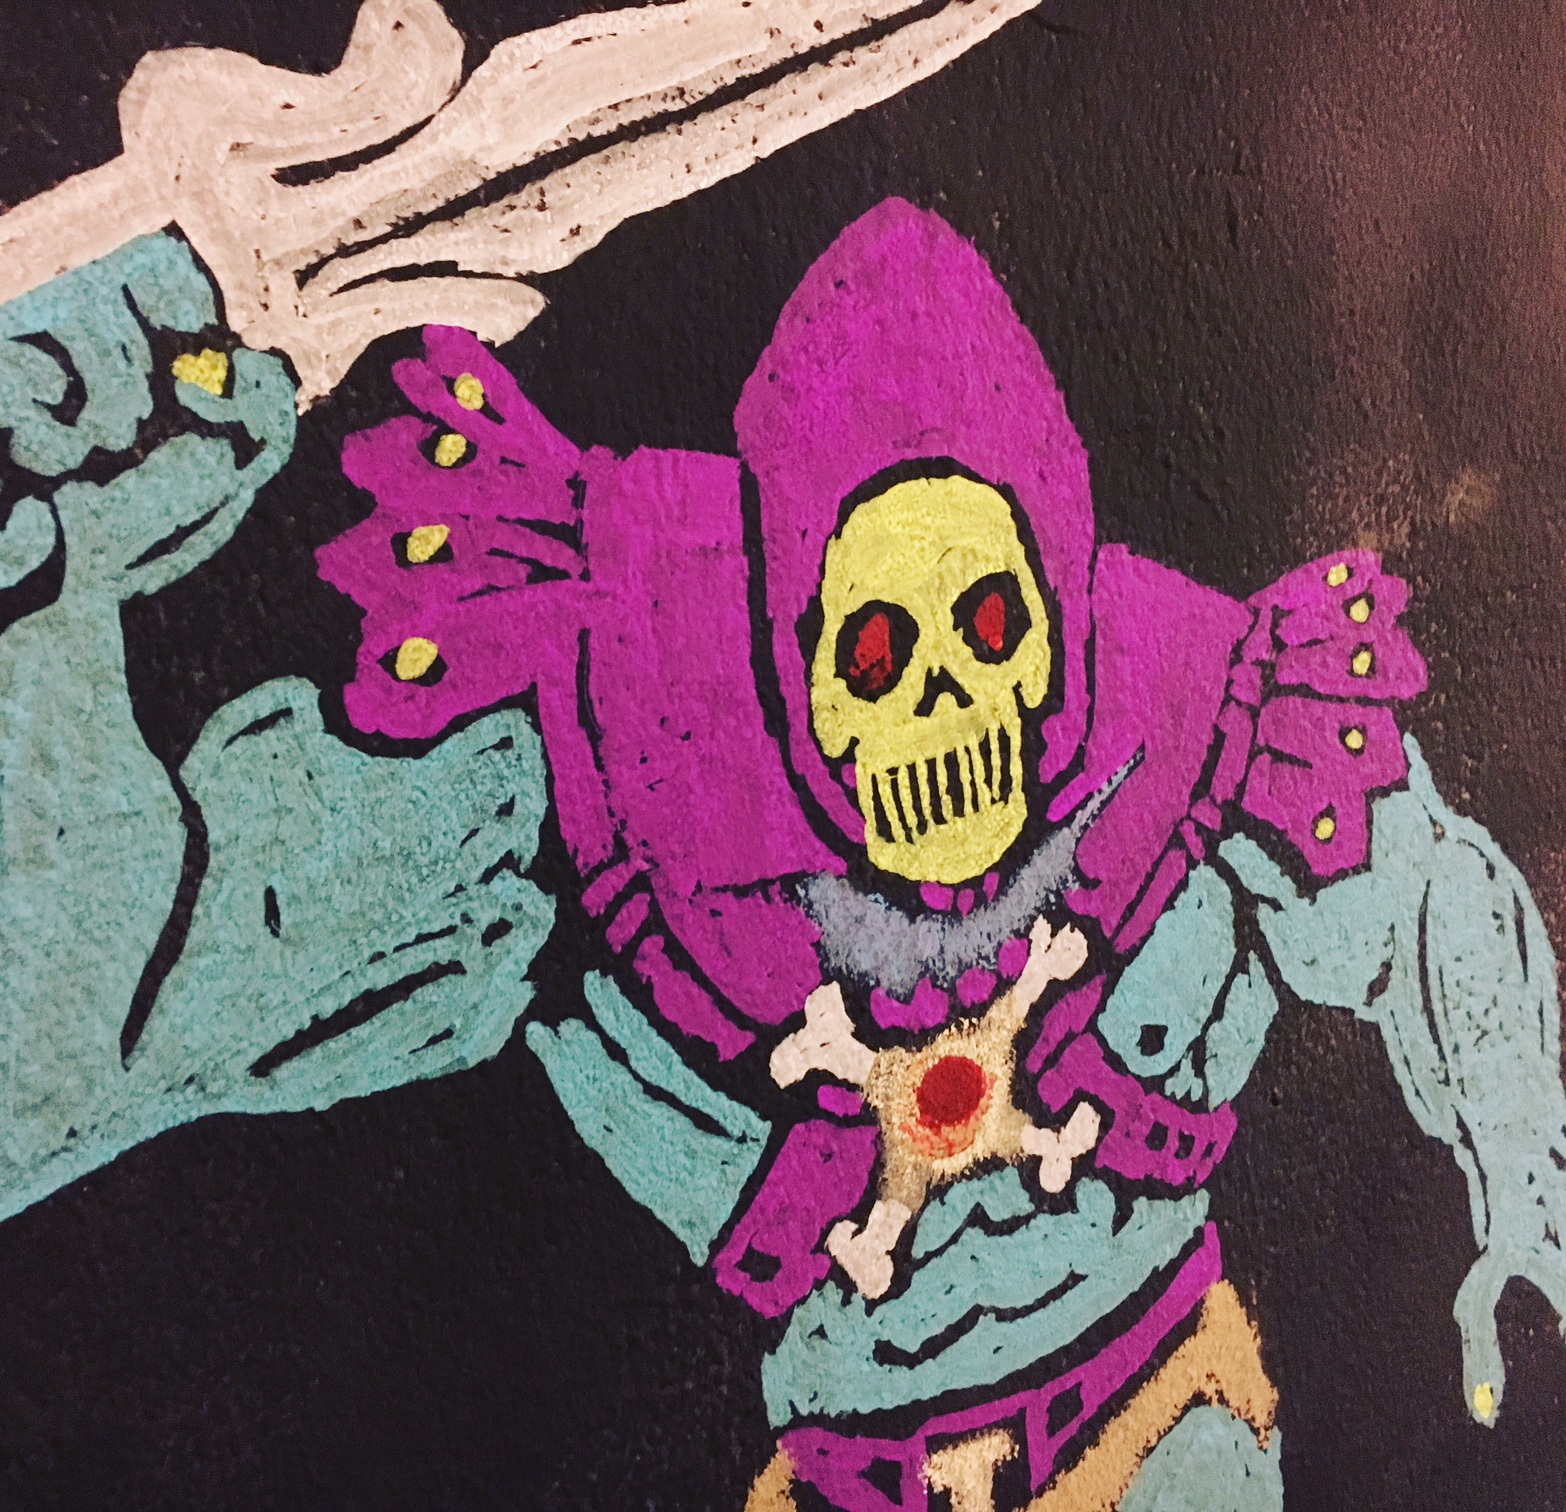
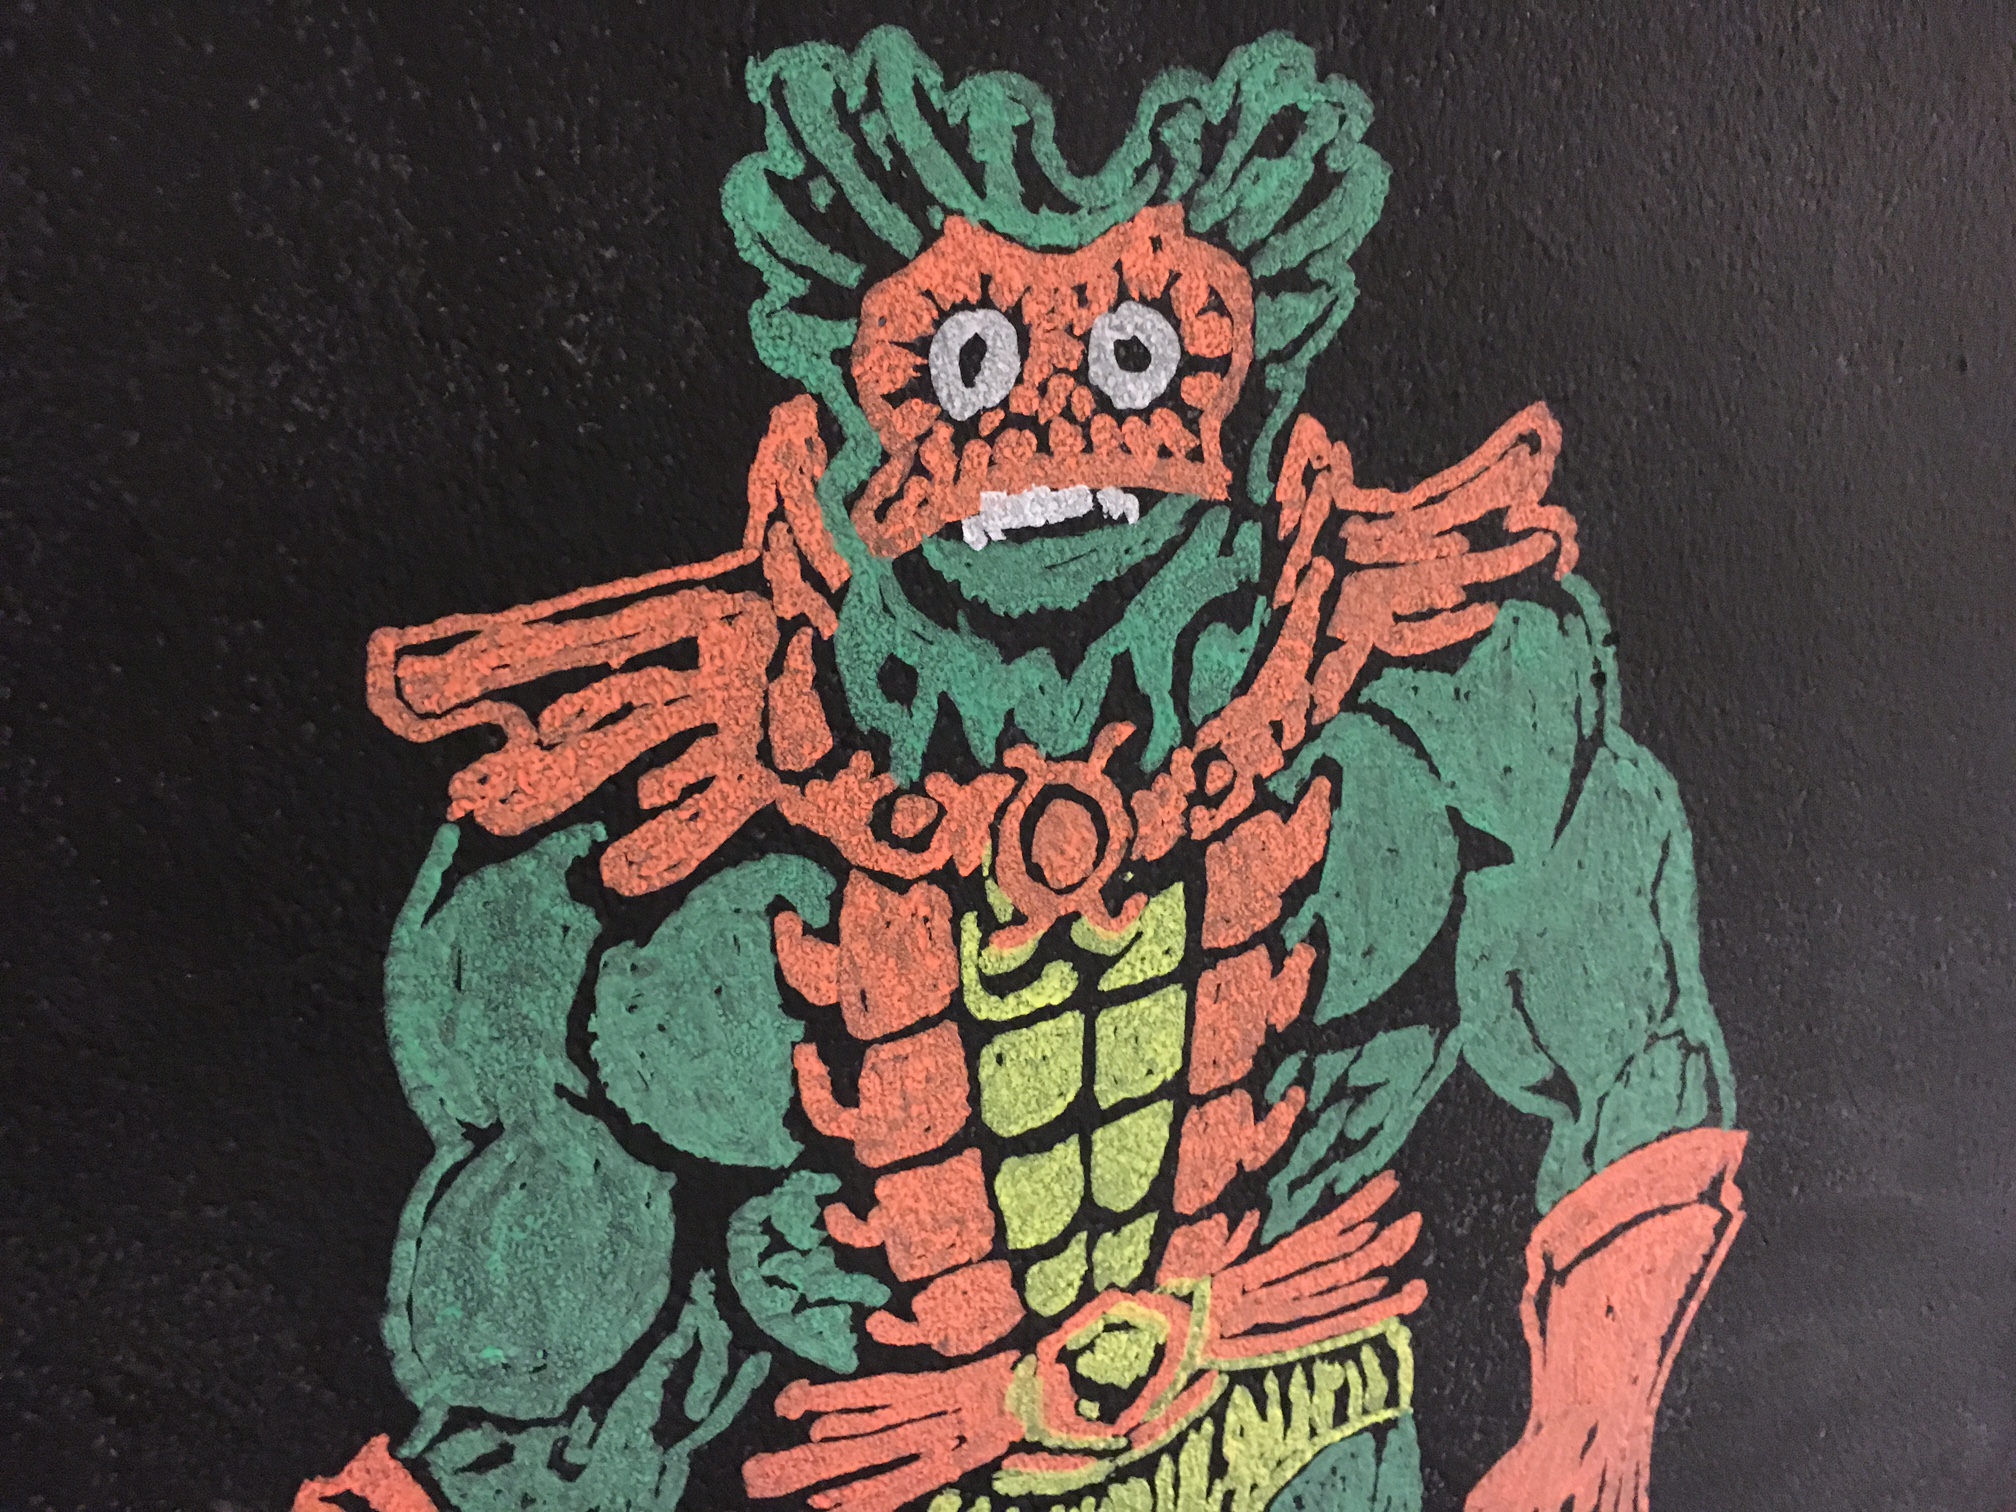
Once you have the image projected, it really just becomes an easy job of tracing the image and coloring it in. As you can see from the image above, you can get really creative by overlapping and mixing different images onto your "canvas". One trick with the coloring book style is to use negative space for the black lines in the drawing. You can see the image below for another closeup to see how the effect works.

Notice the details are made from negative space - leaving the canvas clear of chalk
So as you can see, it's nothing difficult or tricky and yet you can get some really fun results. In total, the time it took me to trace these coloring book images was about 20 minutes for each one. An additional benefit to this being all done in chalk is when you are done, some water and a sponge and it's all gone, back to fresh canvas. I think my next version will be some 8-bit inspired video game characters.