

In an attempt to create a more engaging experience at a high profile event for the Mary Lou Fulton Teachers College, I suggested that instead of using iPads or laptops, that we build and deploy several Raspberry Pi's to act as participant feedback/input stations.
Key aspects of the event
The event entitled Education by Design was held in the Phoenix Art Museum on February 6th, 2018. The event was focused on laying out the work the Mary Lou Fulton Teachers College is engaged in around several key areas of redesigning education as we know it. The event allowed for participants to roam through several educational design "vignettes" which included:
Education Workforce Development
How should we develop and deploy 21st-century educators?
Community Design Labs
How can we work with schools and communities to tackle a wide range of problems?
Contextual Models
How can we prototype successful systems in schools?
As an interactive element, participants walked through a hallway with several Raspberry Pi's configured to be small terminals that allowed for the attendees to leave their questions related to Education. The Raspberry Pi's were intended to serve dual roles, first to simply act as a terminal to collect participant feedback, and secondly (and perhaps most importantly) to serve as an educational technology artifact. The latter purpose seemed to engage the most number of participants. Over the night I was engaged in many conversations exploring the variety of ways in which schools and districts might think about deploying technology [such as the Raspberry Pi's] throughout their schools in a technology infusion model as opposed to a more traditional and limited technology integration model.
Event participants were able to submit their questions using a web-based form on each of the Raspberry Pi's that were placed strategically around the room. The results were projected in real-time on the wall of the hallway so attendees could see the supplied questions pop-up in a chat bubble format when submitted.
For more detailed information on the event checkout the ASU Now online article: Education by Design, re-imagining the classroom.
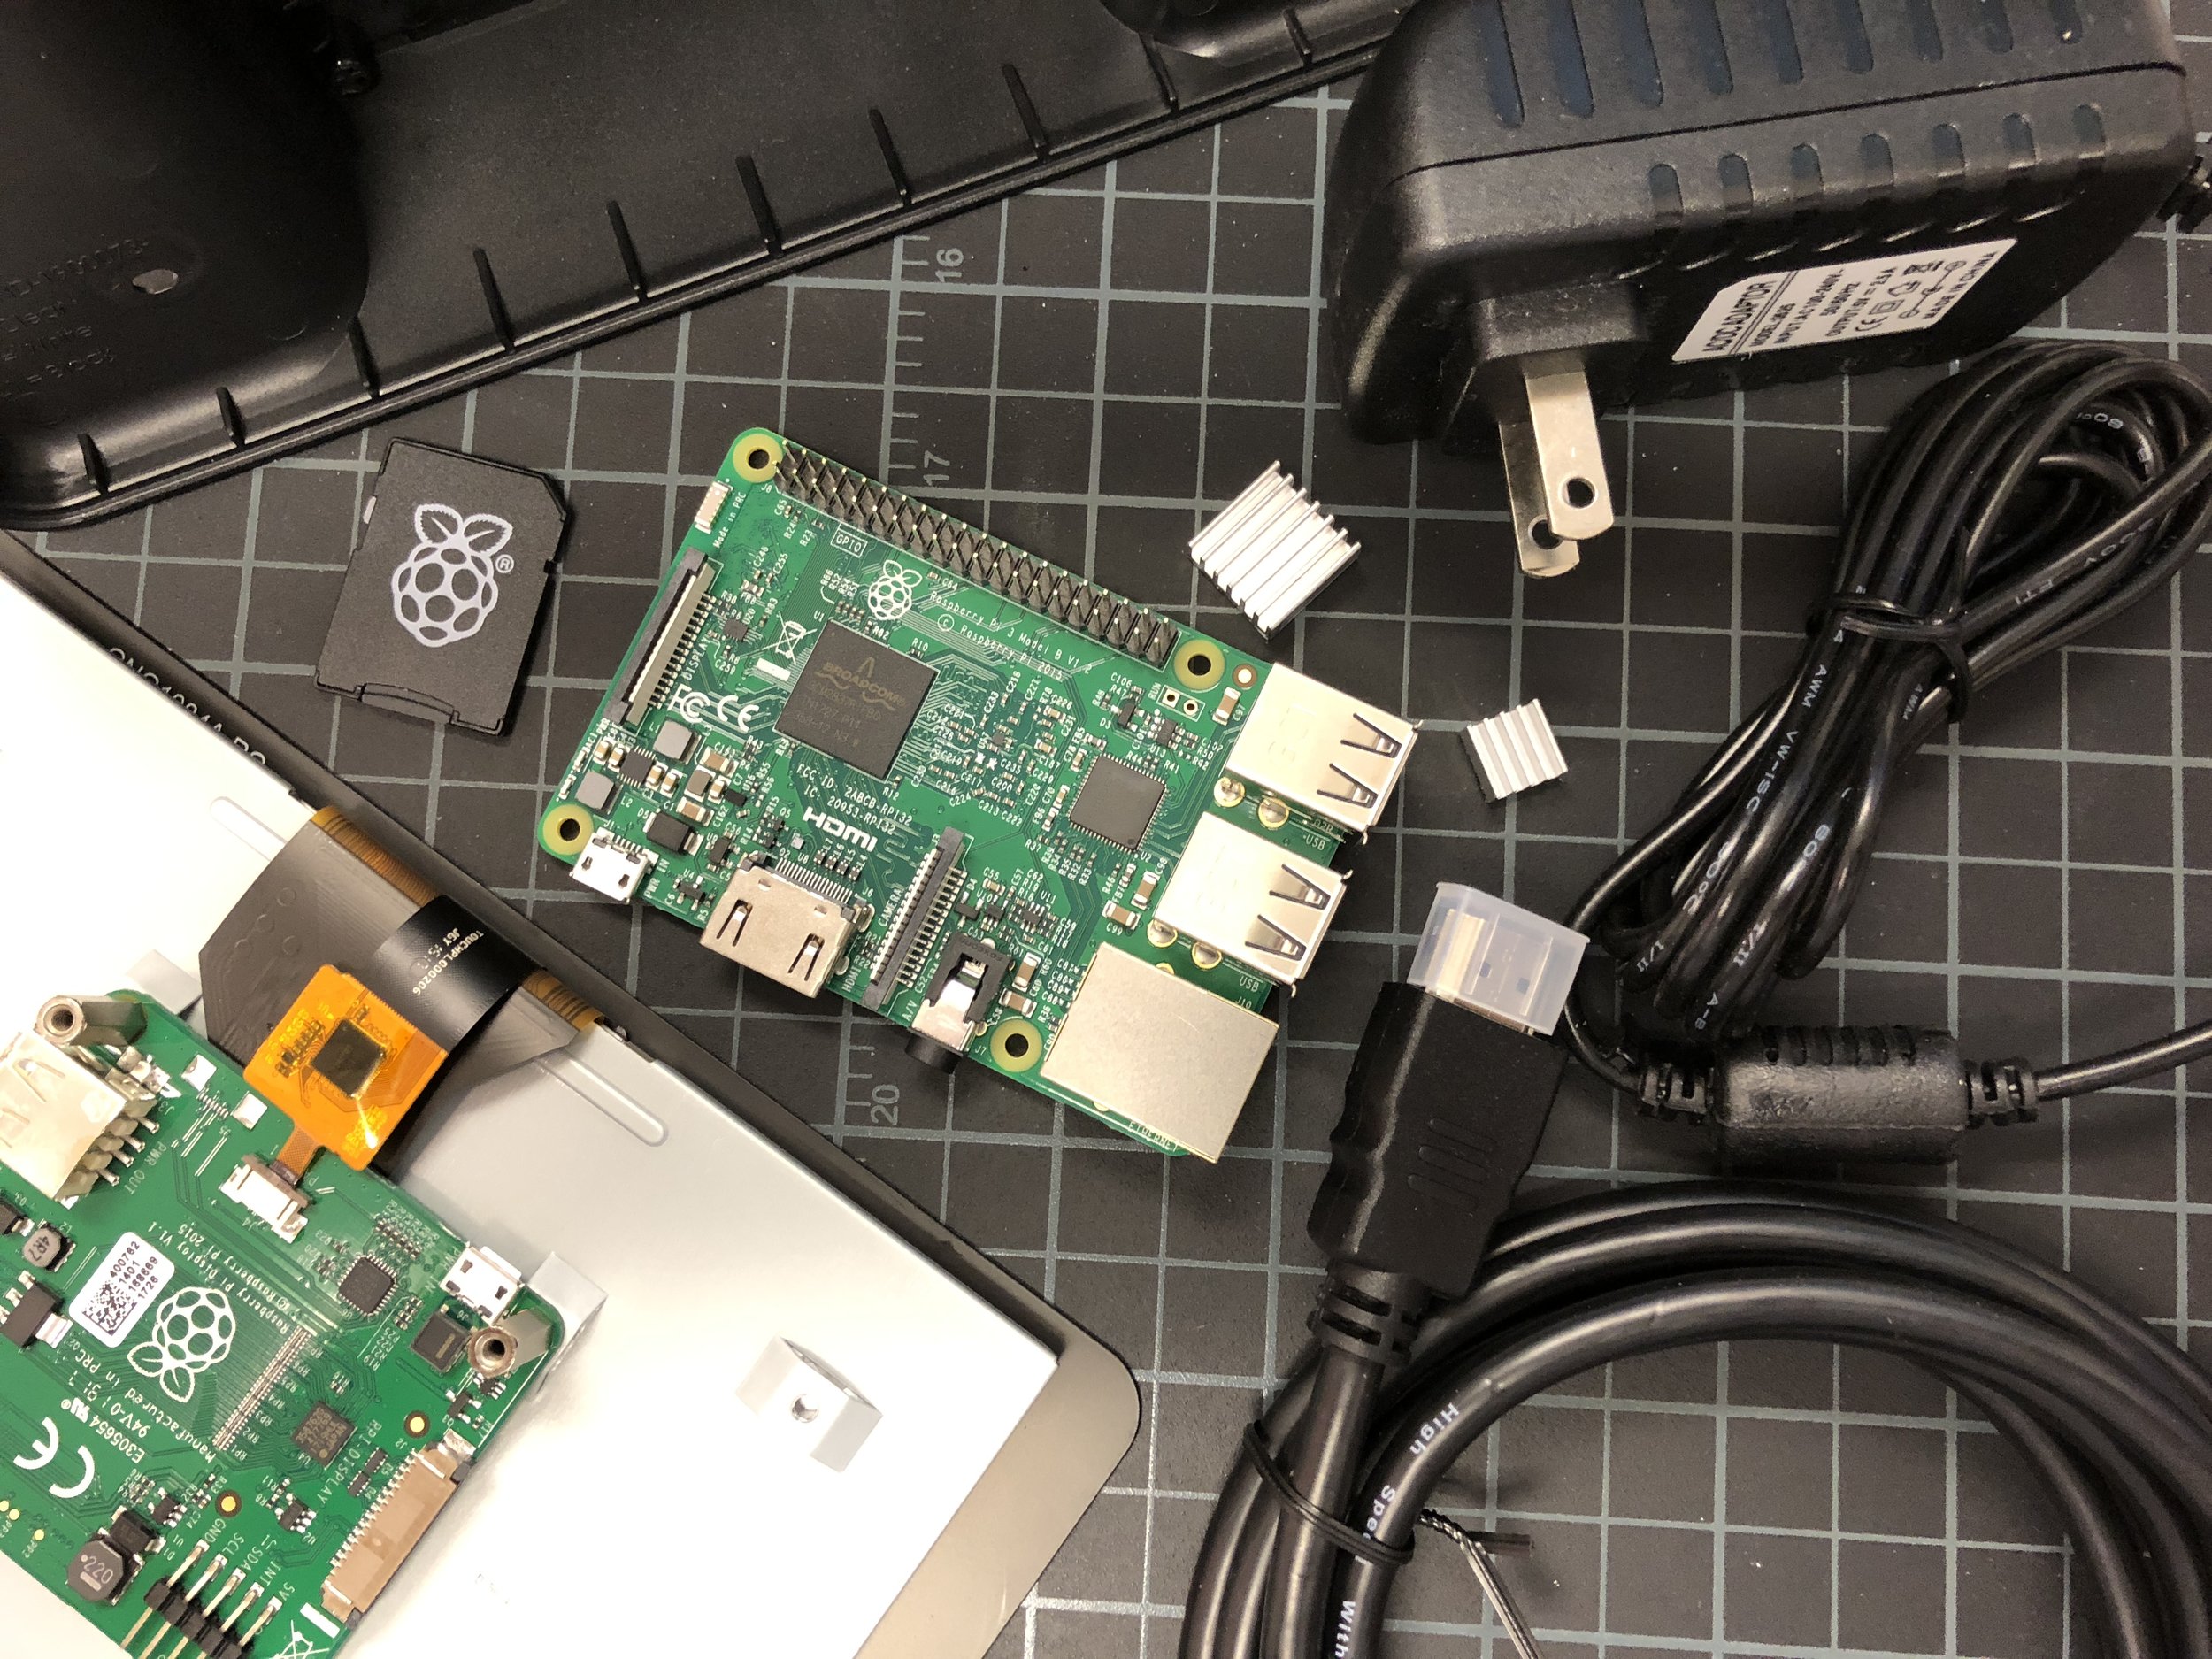
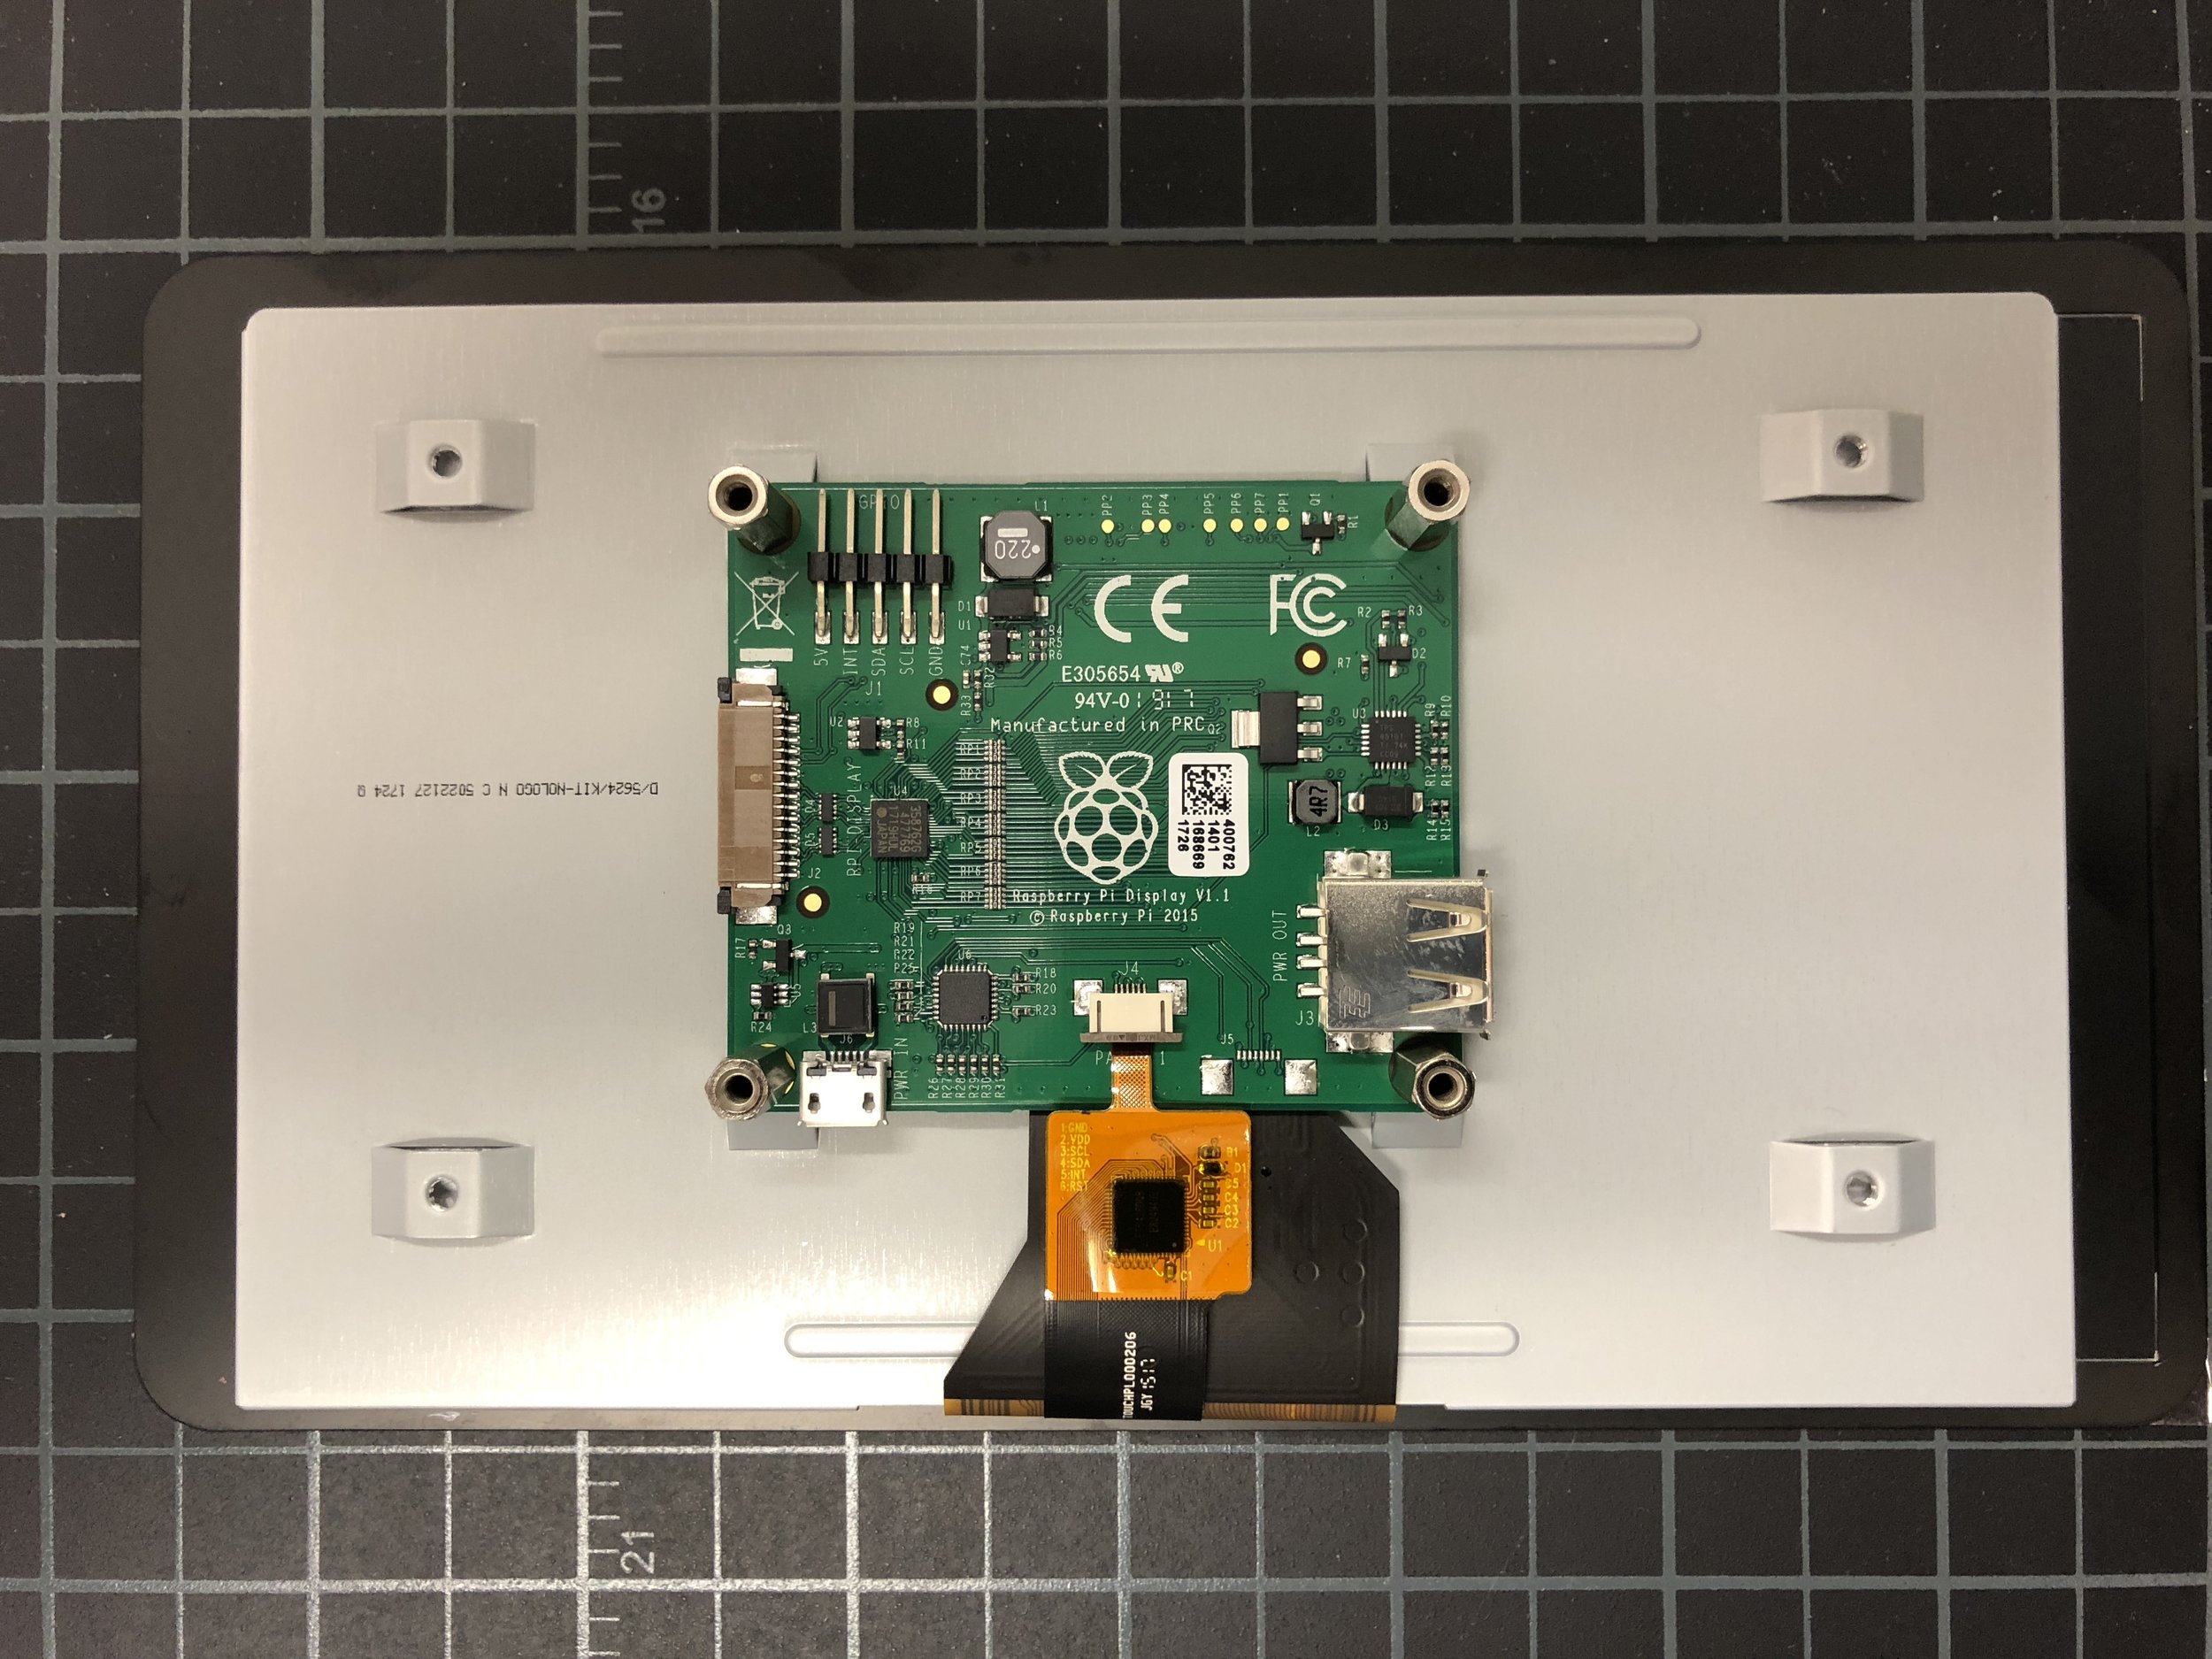
To build this project I turned to a rather quick "all-in-one" or kit solution rather than buying each component separately. You might pay a bit more per component in a kit, but when time is of the essence the cost of convenience is well worth the price. For this project I ordered four NeeGo Raspberry Pi Ultimate Starter Kits for $150/ea. This kit contains everything you need with the exception of a screwdriver and a few lines of code. Even though this kit uses a touchscreen and technically doesn't need a keyboard... I wanted to error on the side of caution and ensure I had a physical keyboard for each device as well in the event an end user is more comfortable with that setup. So I opted for a mini keyboard-touchpad combo with the Rii mini k12 Stainless keyboard for less than $25/ea.
Assembly
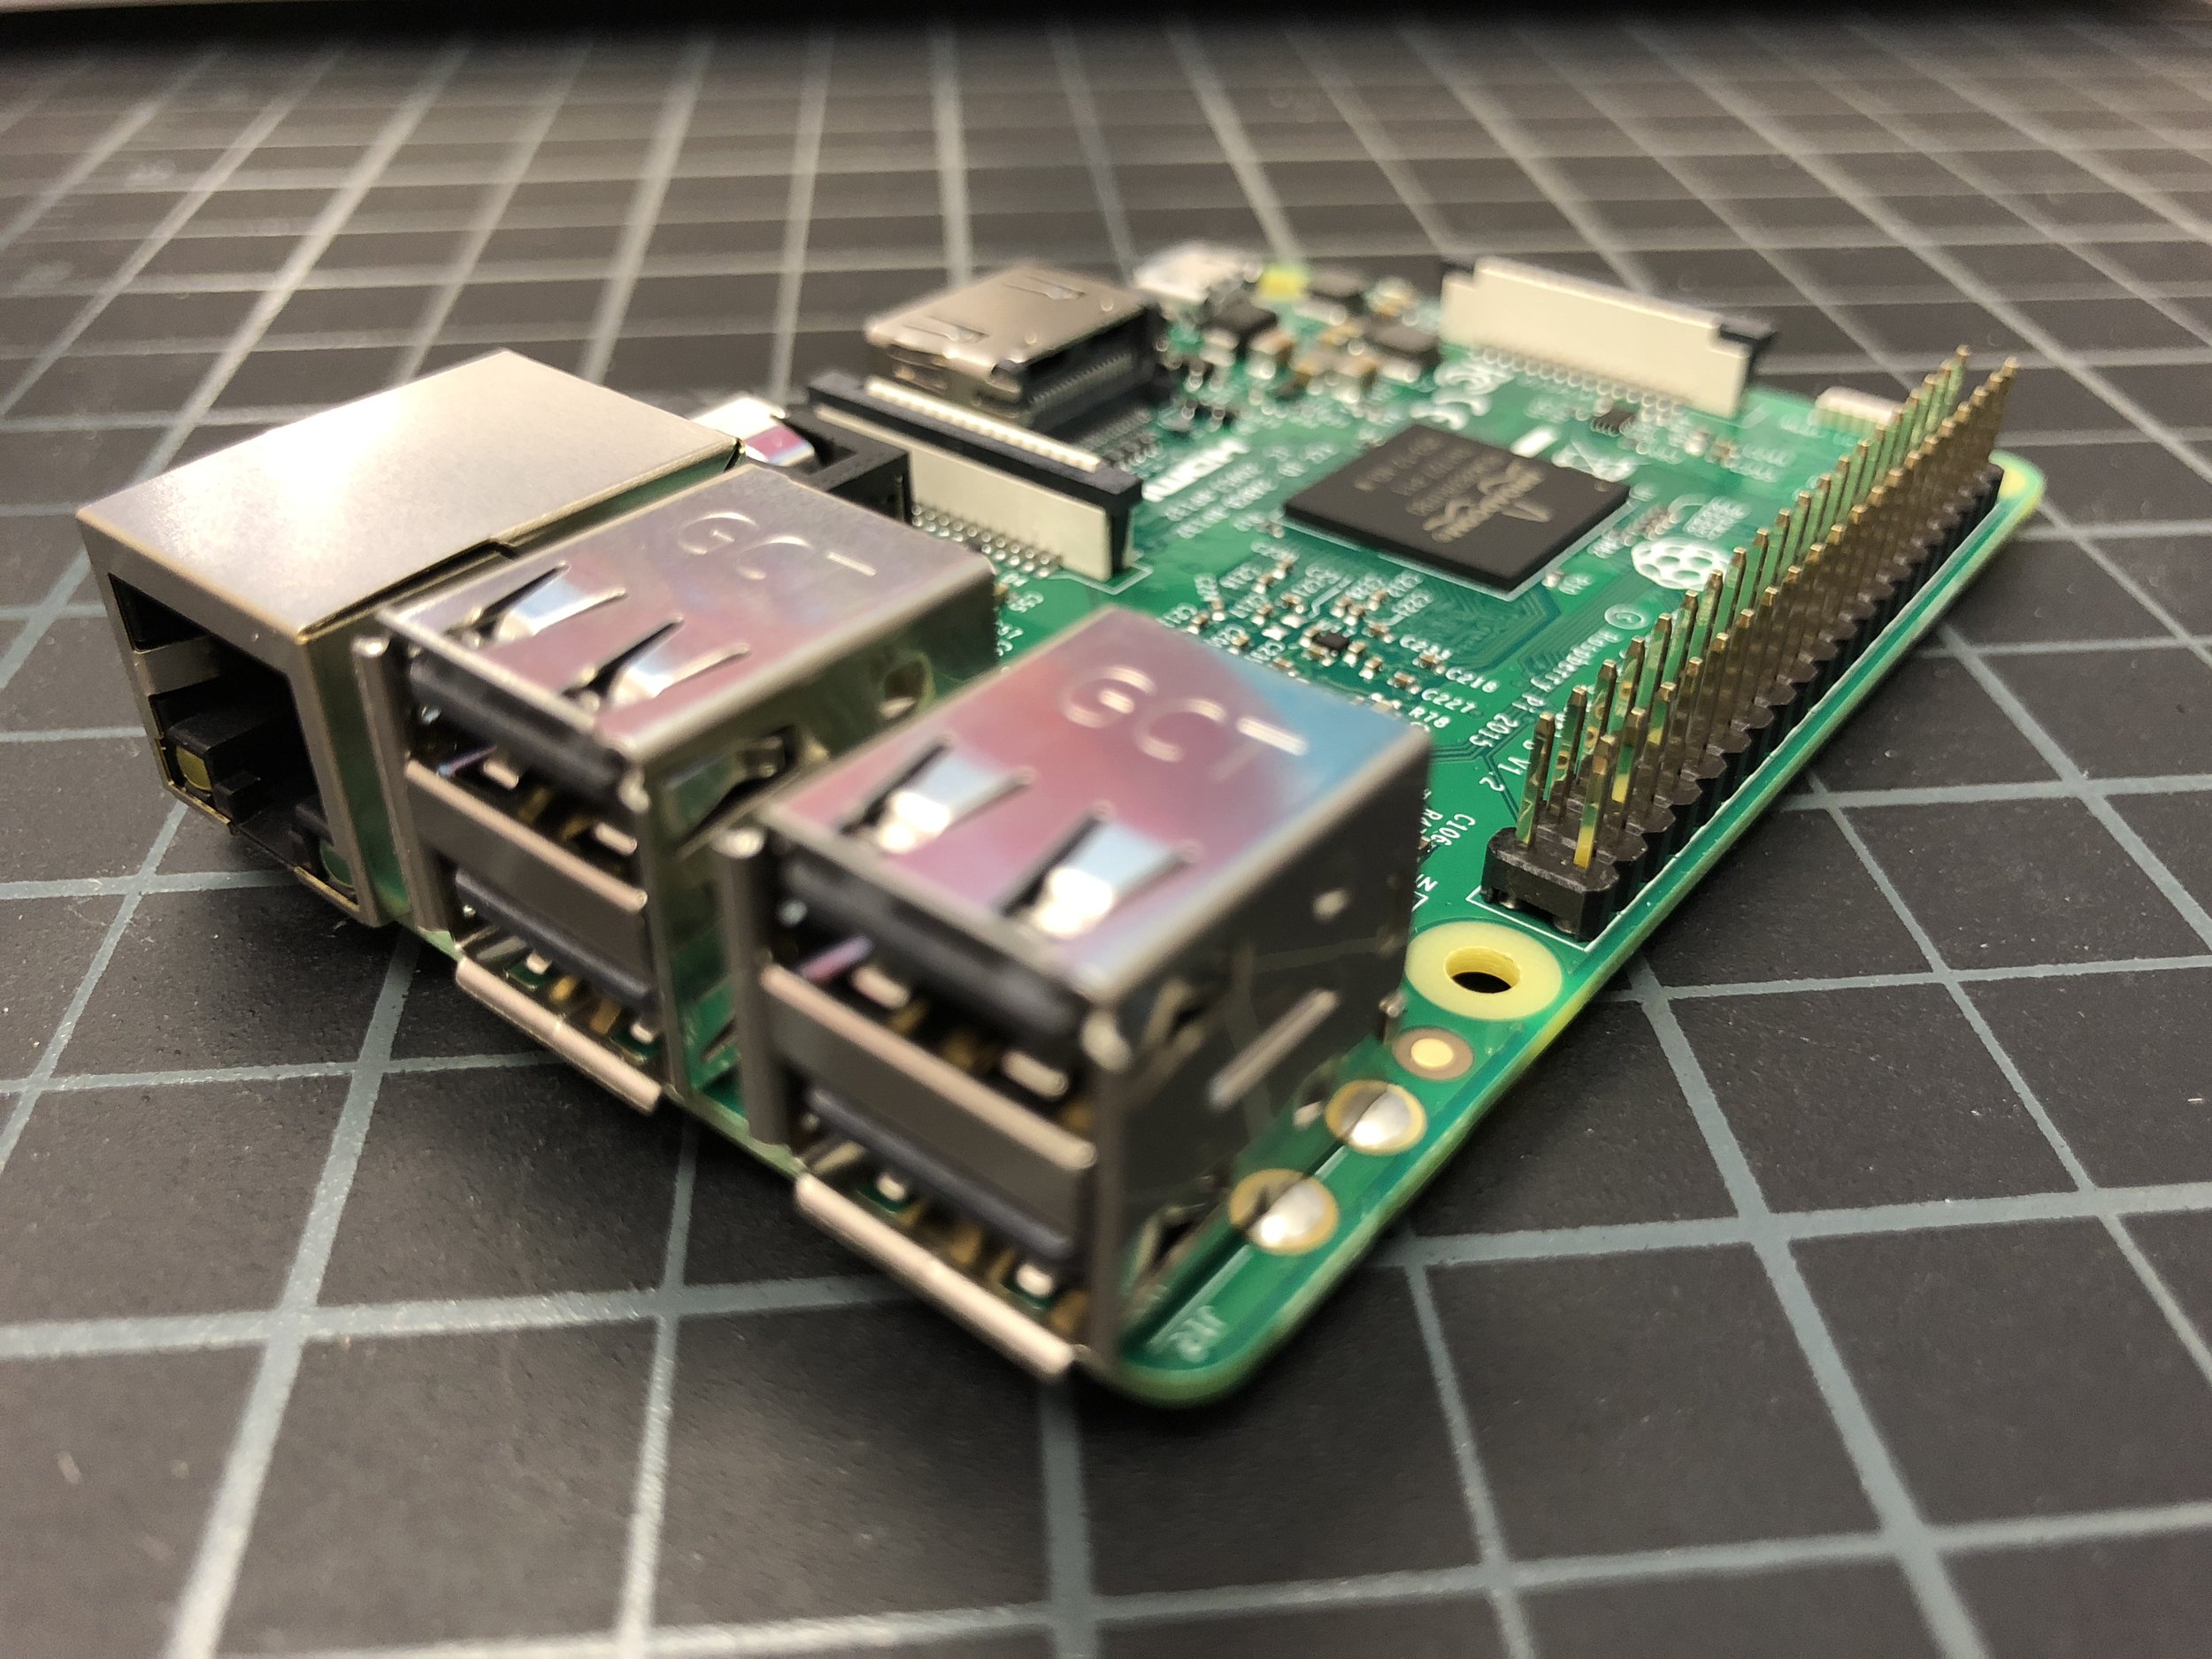
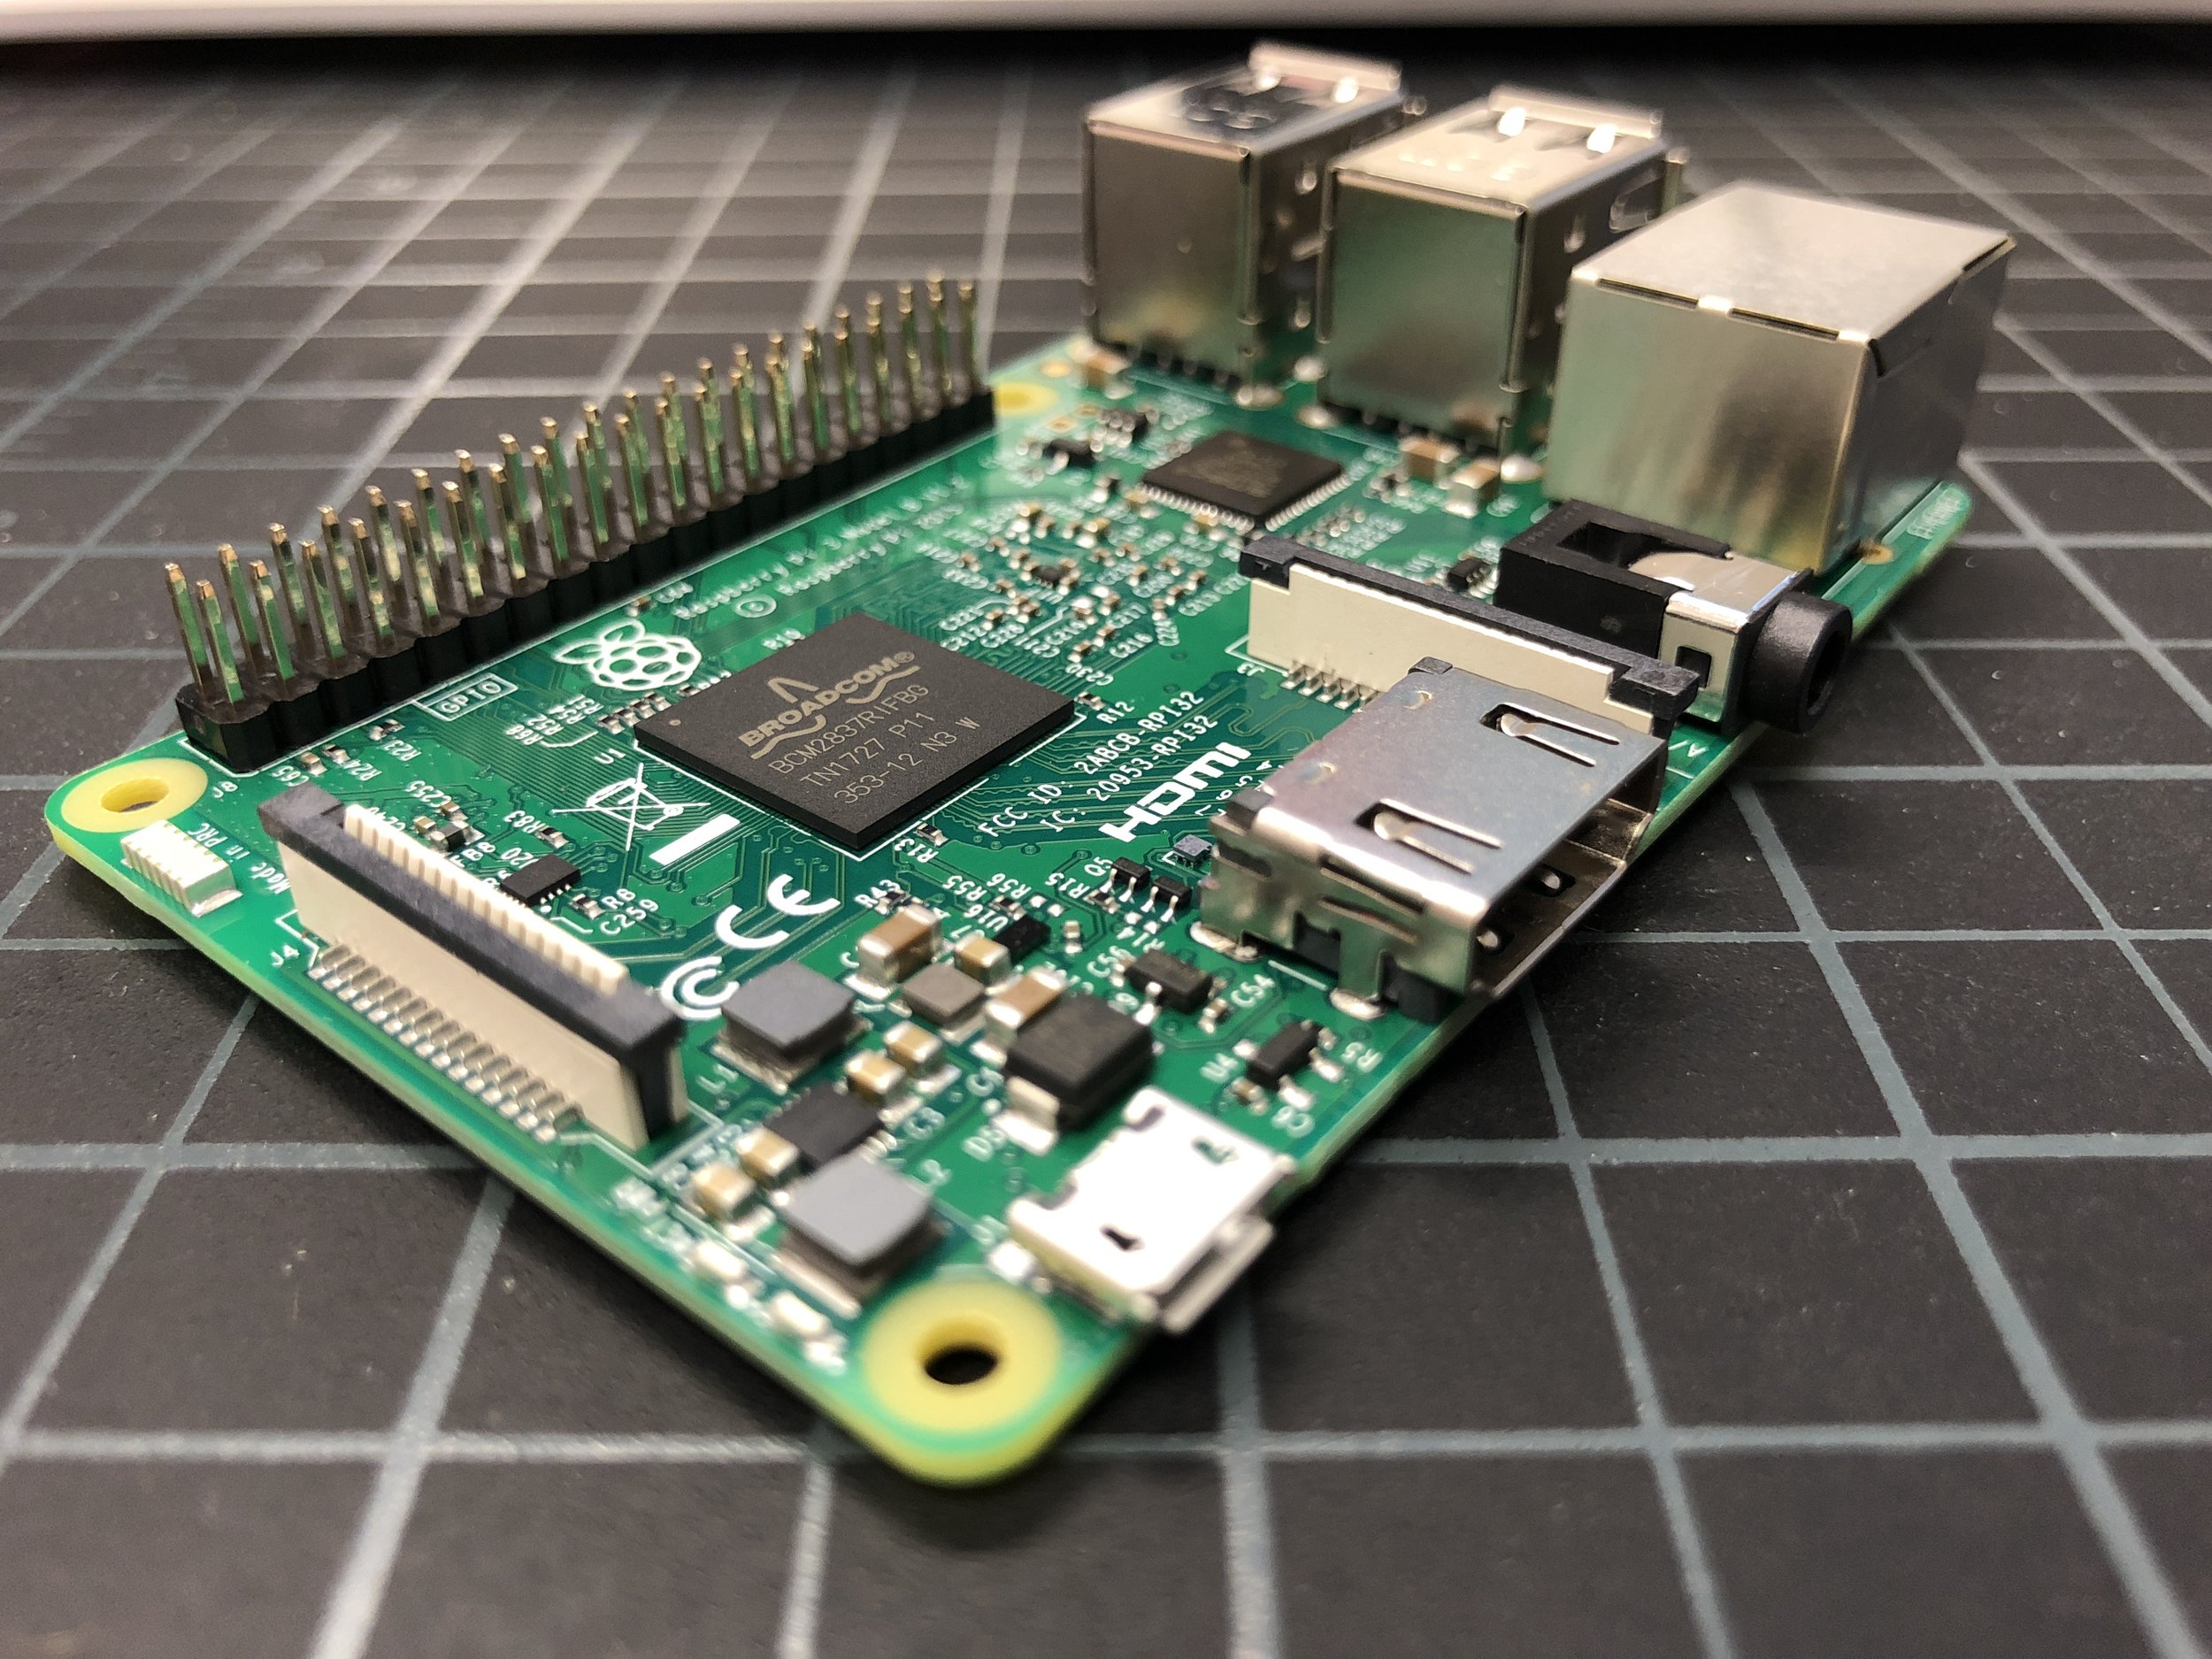
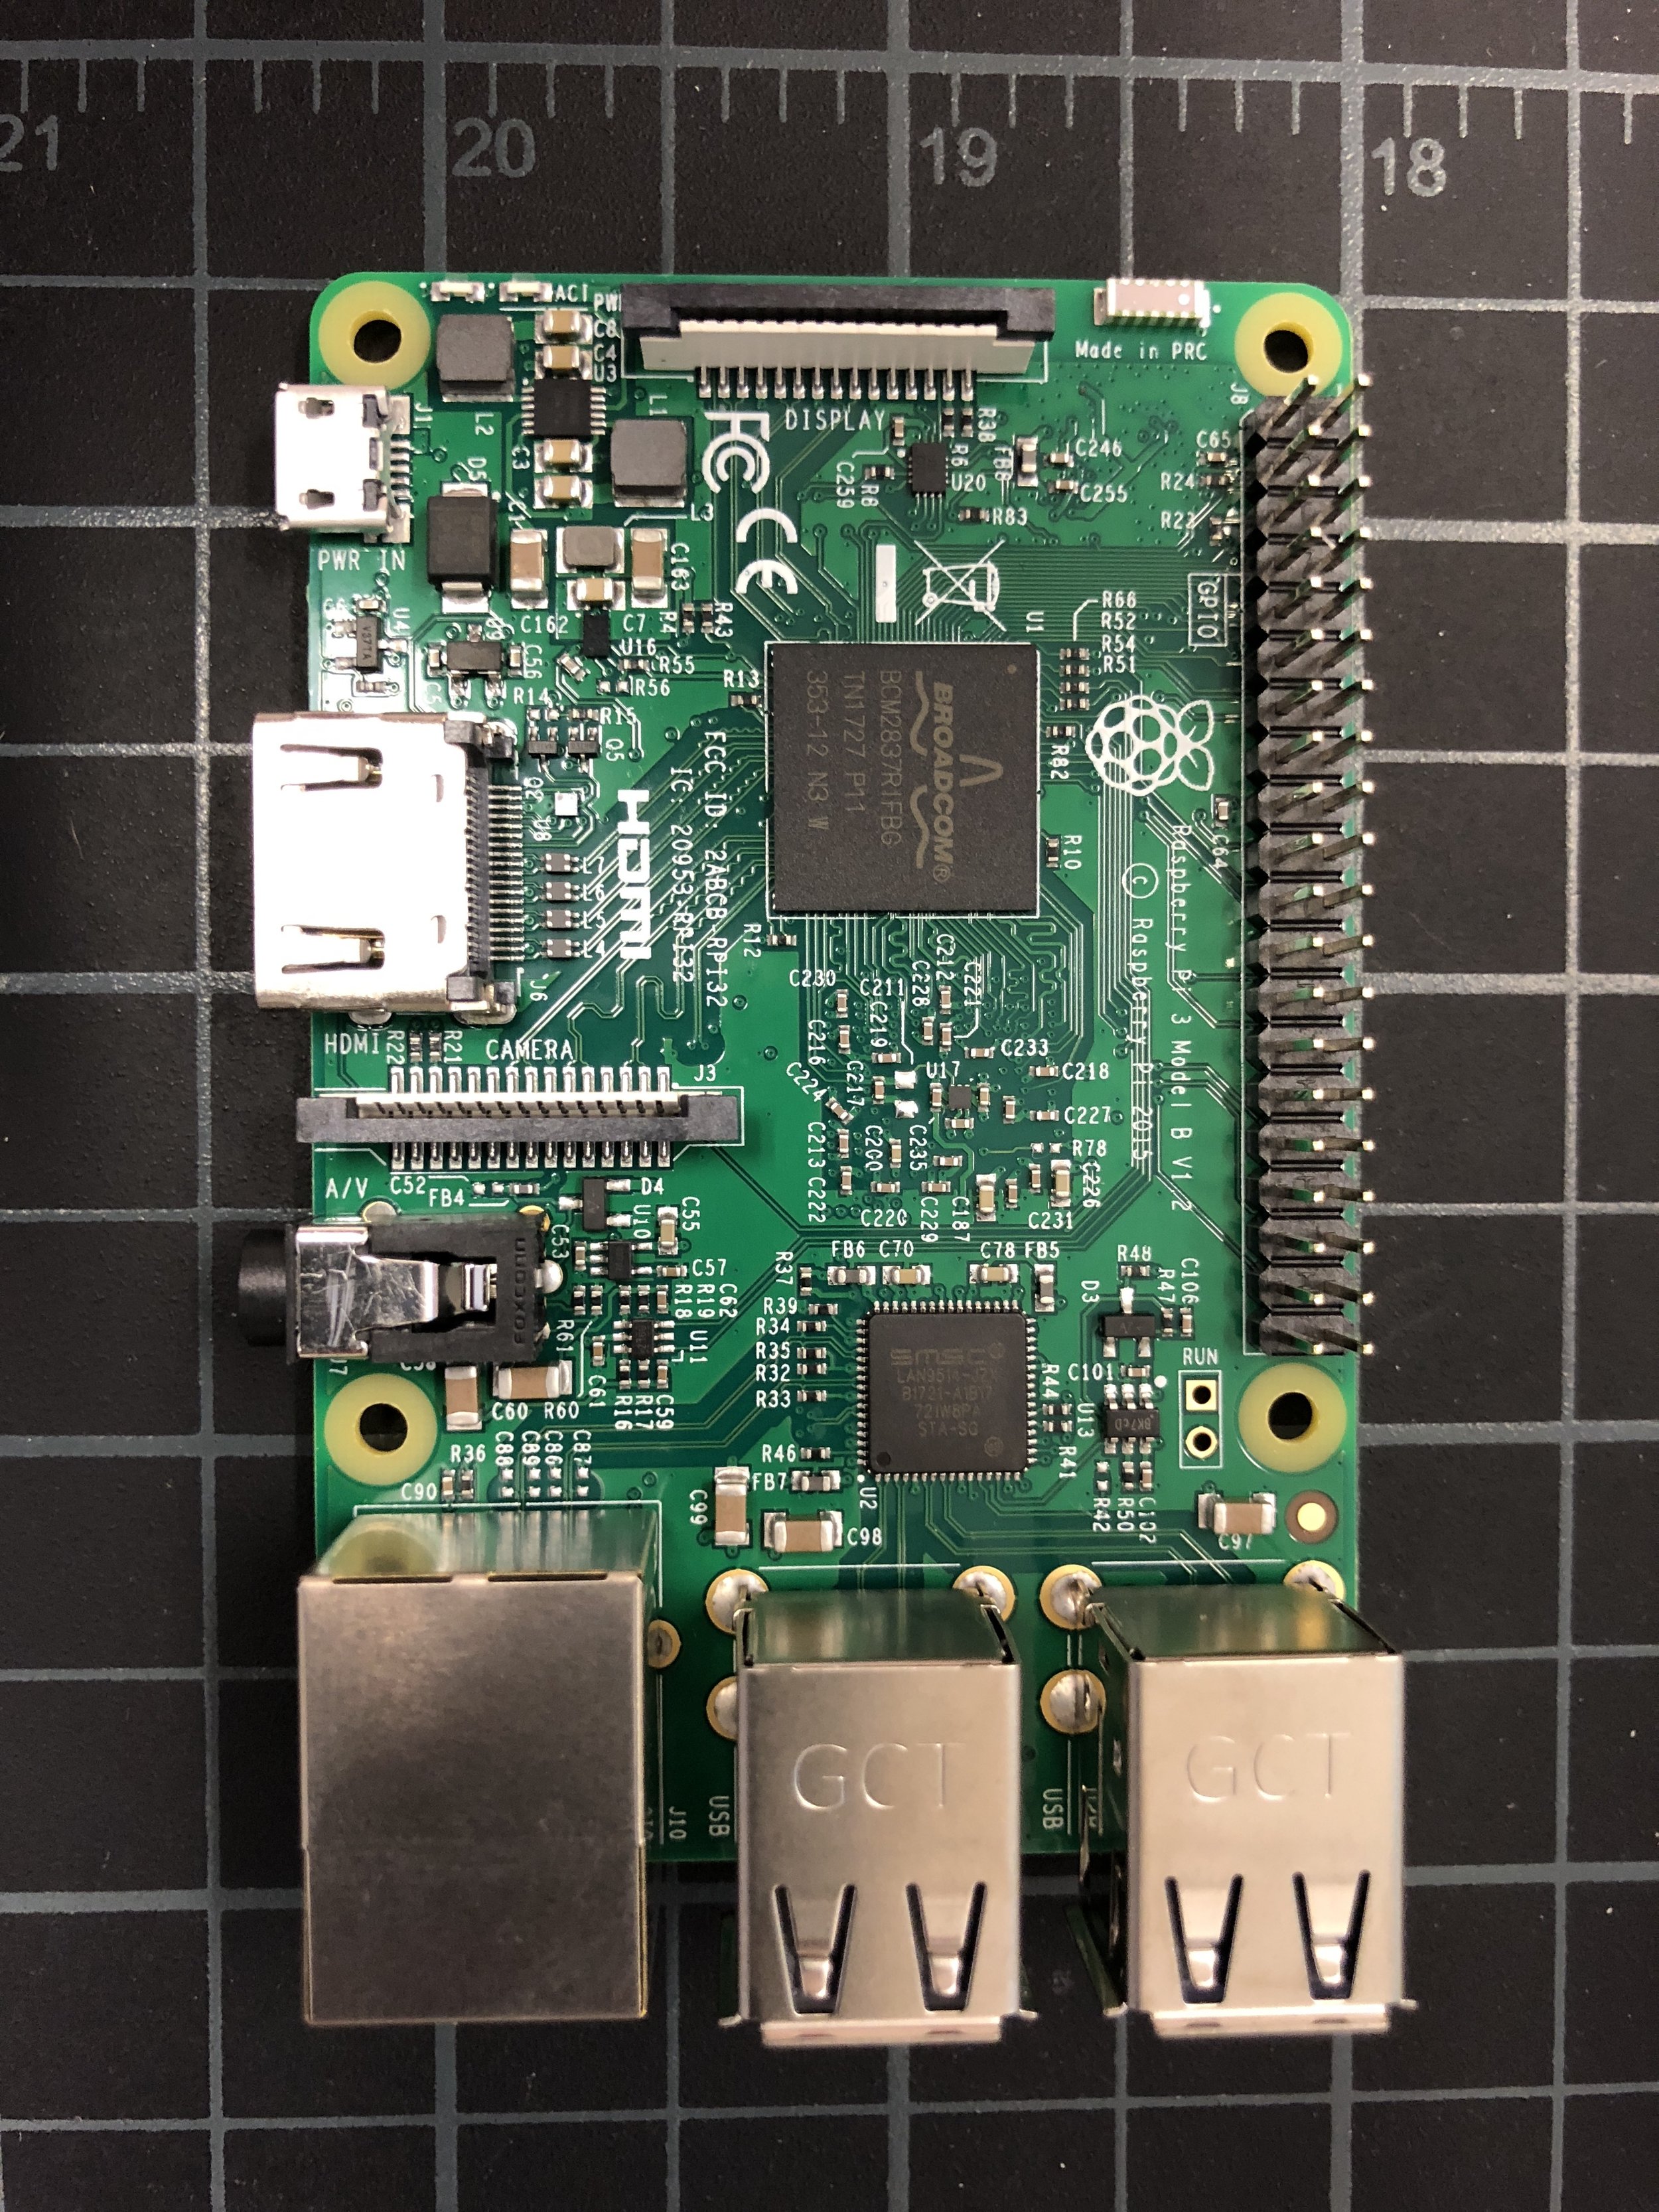
Putting the Raspberry Pi kits together was very simple and straight forward. There are no instructions that come with this kit, although you can look up everything you need online and see an almost endless tutorial stream on YouTube. I have been working with Raspberry Pi's for several years so in all honesty the longest part of this build was un-packaging all of the parts.


A few Terminal Commands to finish it off
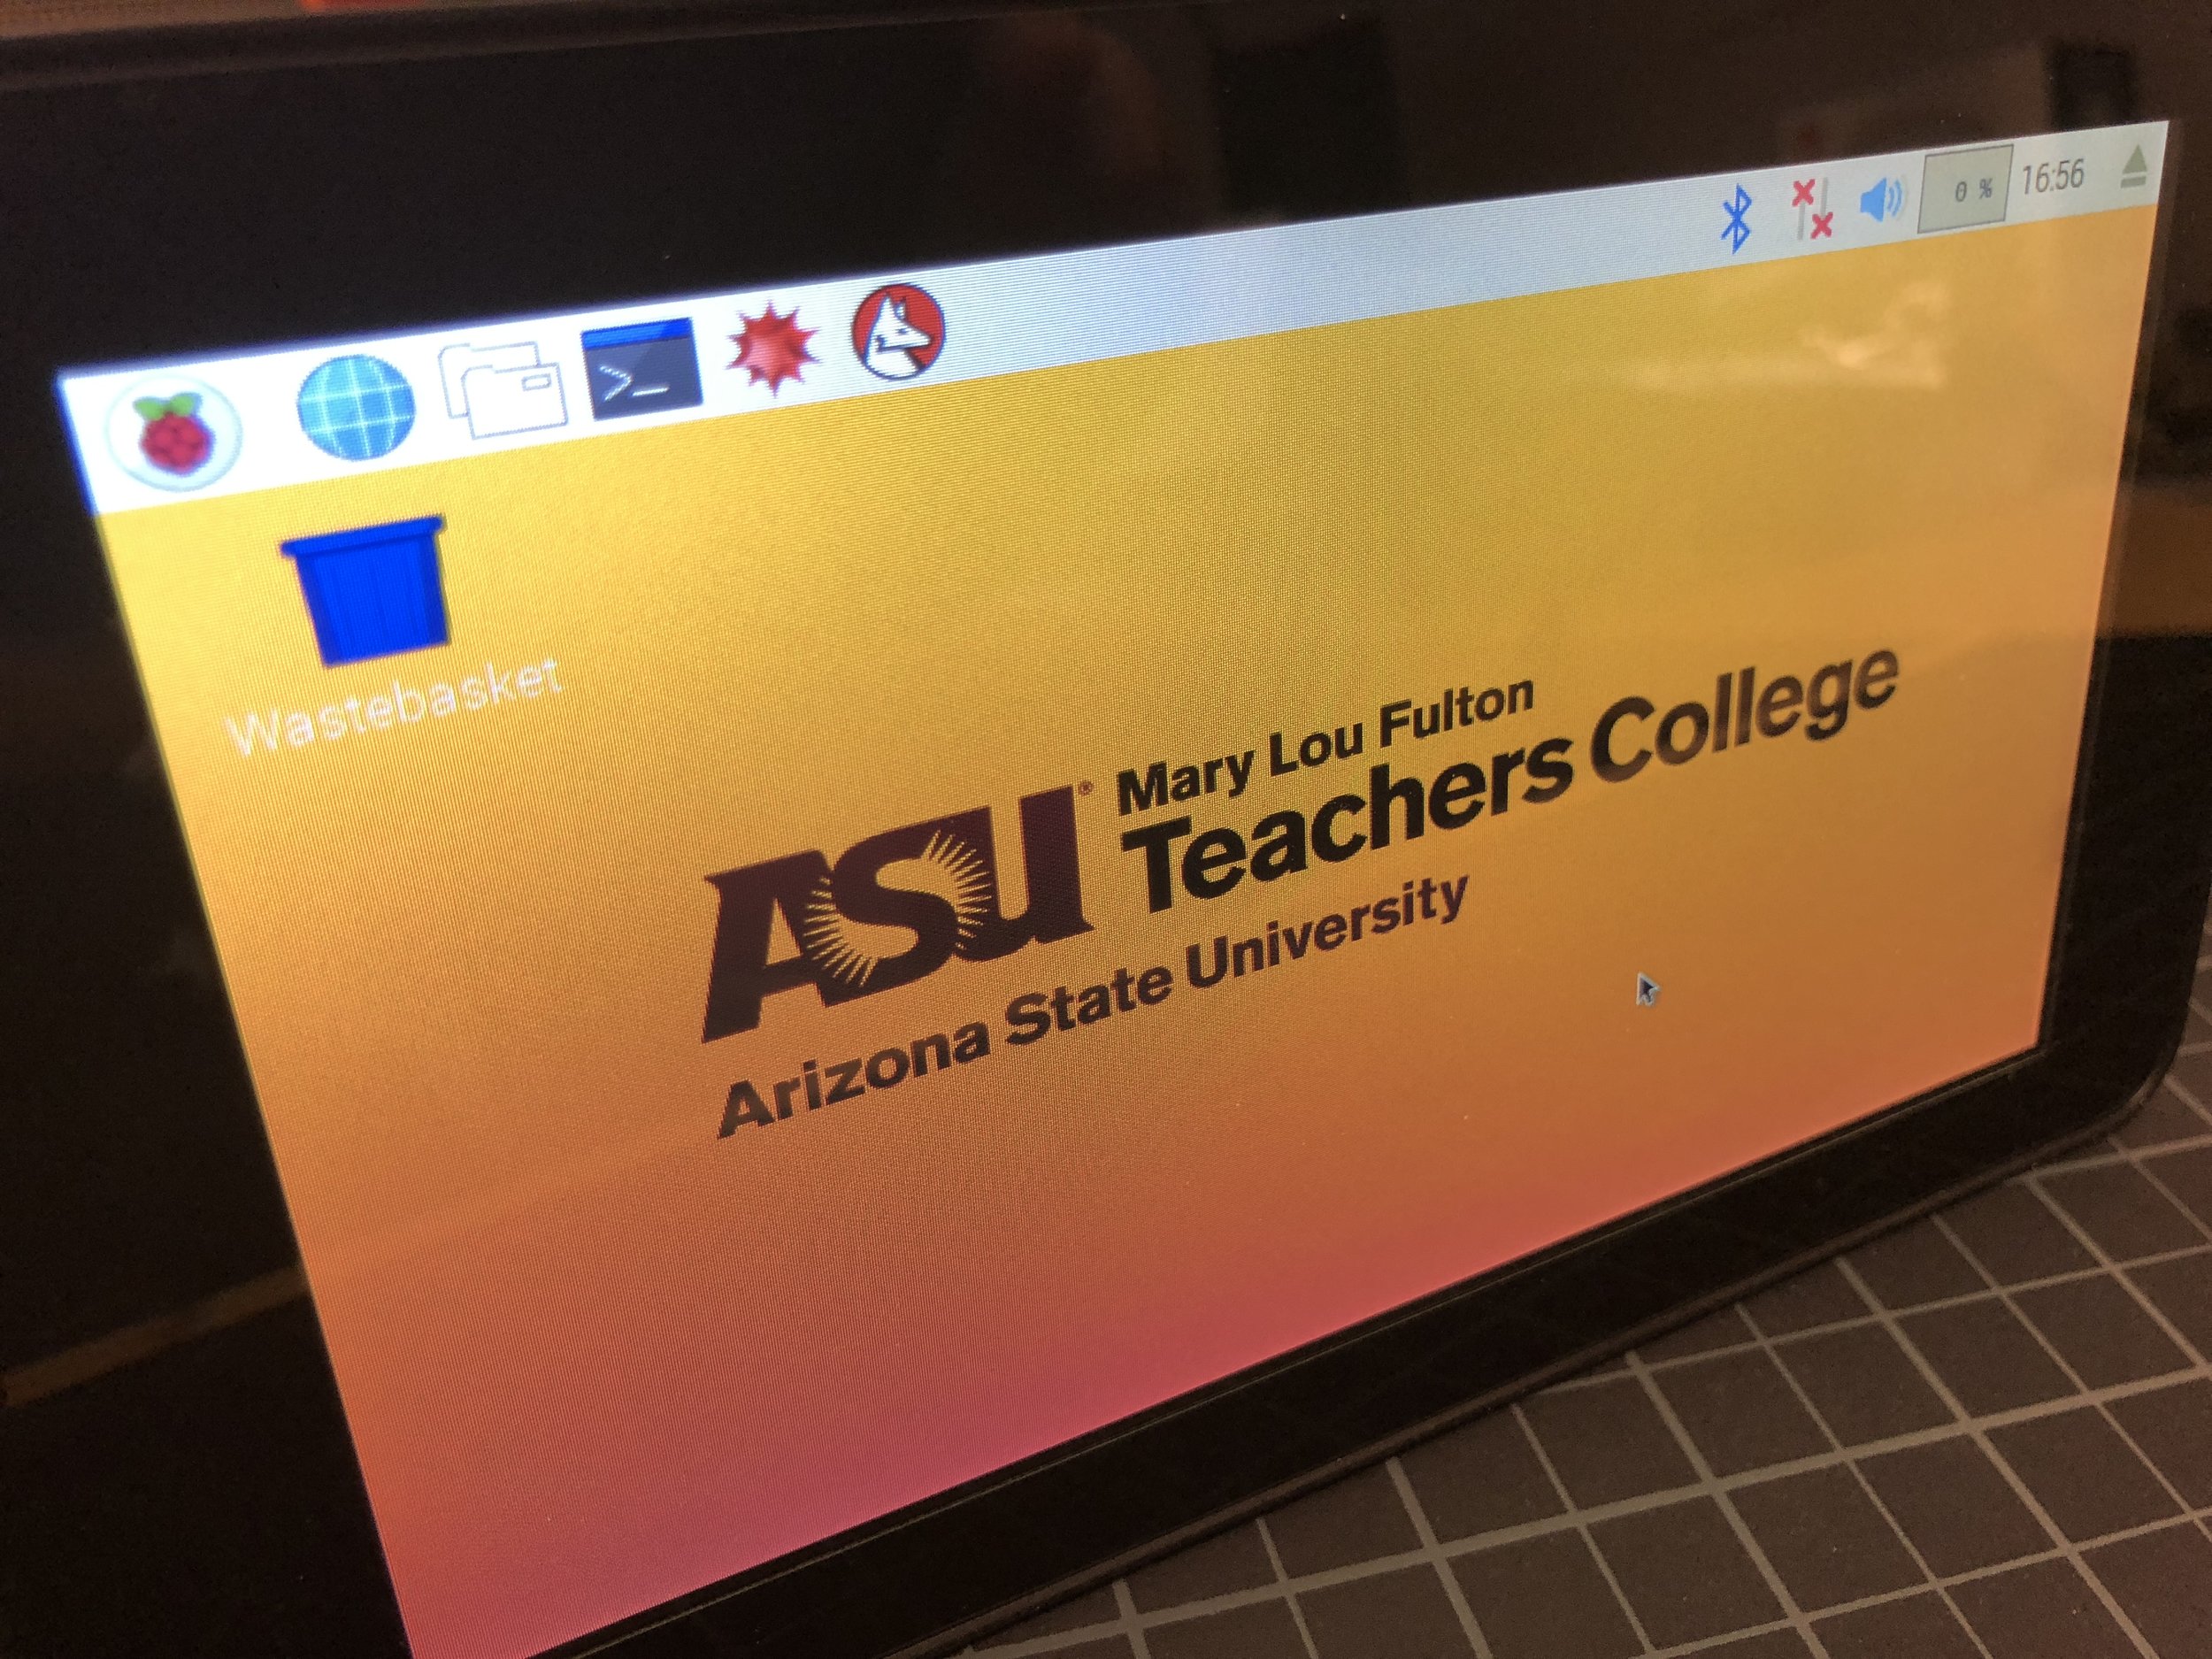
Once the entire device was assembled and powered on there are a few more steps to get the device fully operational in the way intended. You can of course tackle these in any order, but for most the fist issue that needs to be addressed is the screen orientation. Out of the box the orientation of the screen in the screen case is upside down and needs to be flipped 180* degrees. To accomplish this, and the other adjustments we need to use the Terminal.
In the terminal we need to call up the config.txt file so we can make a couple of updates. To do this once, in the Terminal prompt type the command:
sudo nano /boot/config.txt
Scroll to the end of the text file and add the following command: (The number 2 refers to the degree of rotation. 1=90*, 2=180*, 3=270*) So for this project I needed to flip the screen 180 so I used the (lcd_rotate=2) command.
lcd_rotate=1
lcd_rotate=2
lcd_rotate=3
Once you have added this line you can exit the config file by hitting "Ctrl + X" on your keyboard, then Y at the prompt, then ENTER to save the updated config.txt file. Once this step is complete with the Terminal still open, you will need to restart the device for the change to take effect. you can restart the devive in Terminal with the command:
sudo reboot
When the Raspberry Pi reboots the screen should be rotated. (Note: if you use the display_rotate=2 command instead of lcd_rotate=2 you might run into an issue where the image is rotated but not the touch sensor grid, so your touch input is off by 180 degrees)
The final few Terminal Commands are some general housekeeping, first we will update the system to ensure that it has the most up-to-date version of the drivers etc. for the touchscreen. To complete this you will first run the "Update" command followed by the "upgrade" command:
sudo apt-get update
sudo apt-get upgrade

sudo reboot
Once your device has rebooted with the updates the last item is to install the touch screen keyboard. To install the keyboard run the following command in Terminal:
sudo apt-get install matchbox-keyboard

sudo reboot
For more information and ideas on the multitude of ways in which you might deploy a Raspberry Pi for educational applications, or just for fun visit the official Raspberry Pi Website.