Chalkboard Art - a creative muse

In an attempt to drum up some creative inspiration I began playing around with an idea of creating some fun chalk drawings in my Media Studio.  The idea came to me shortly after installing a "chalkboard" wall in the studio.  It is a very simple setup really; I used two coats of the chalkboard paint from a local hardware store to create the chalkboard wall measuring 1 meter by 1.5 meters or roughly (3 ft x 5ft).

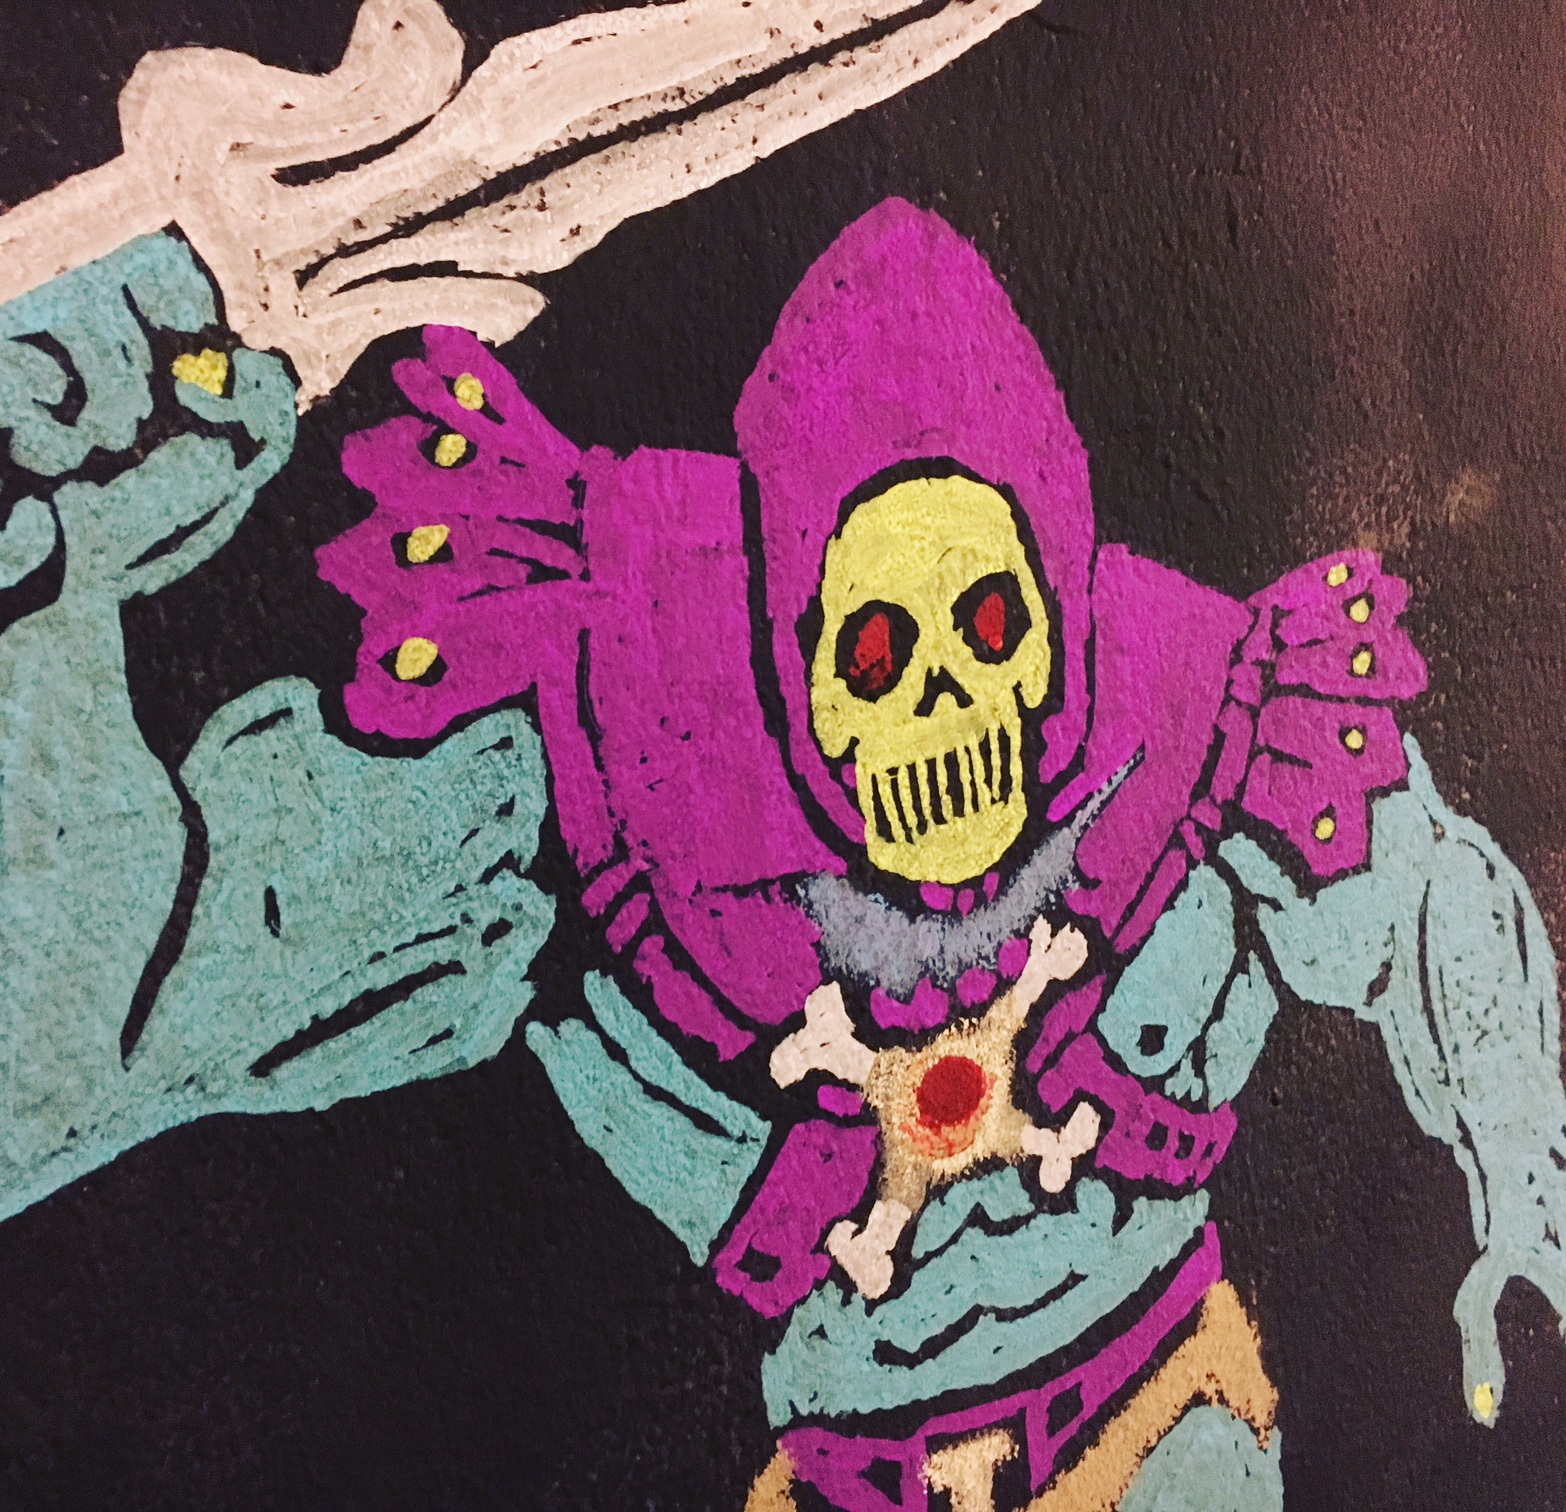
After purchasing a selection of chalk, both the traditional classroom stuff and the amazingly fun liquid chalk markers I started looking for something fun to put on the wall to demonstrate how the wall can be used for fun, diagrams, or storyboarding etc. but to also show that the various types of chalk can be used for a variety of purposes.  The liquid chalk is great, but it requires water to be removed. The chalk pens came in two sizes and I opted for the larger (16mm) so now it's on my list to get the smaller (8mm) size for drawings/tracings etc. with finer details. When I started looking through the chalk and started to play around with them they reminded me of crayons as a kid, then the idea struck me, "for fun, why not put up images from an old coloring book"?.

The Process: Its super easy

Interested to make your own? It's super easy and this could be a great activity for a classroom, or with kids (of all ages) at home.  You could easily transfer this process to a "real" wall for some cool murals.  The materials needed: an image, chalk, a place to put it (chalkboard), and a projector.

The Art - What will you draw/trace?

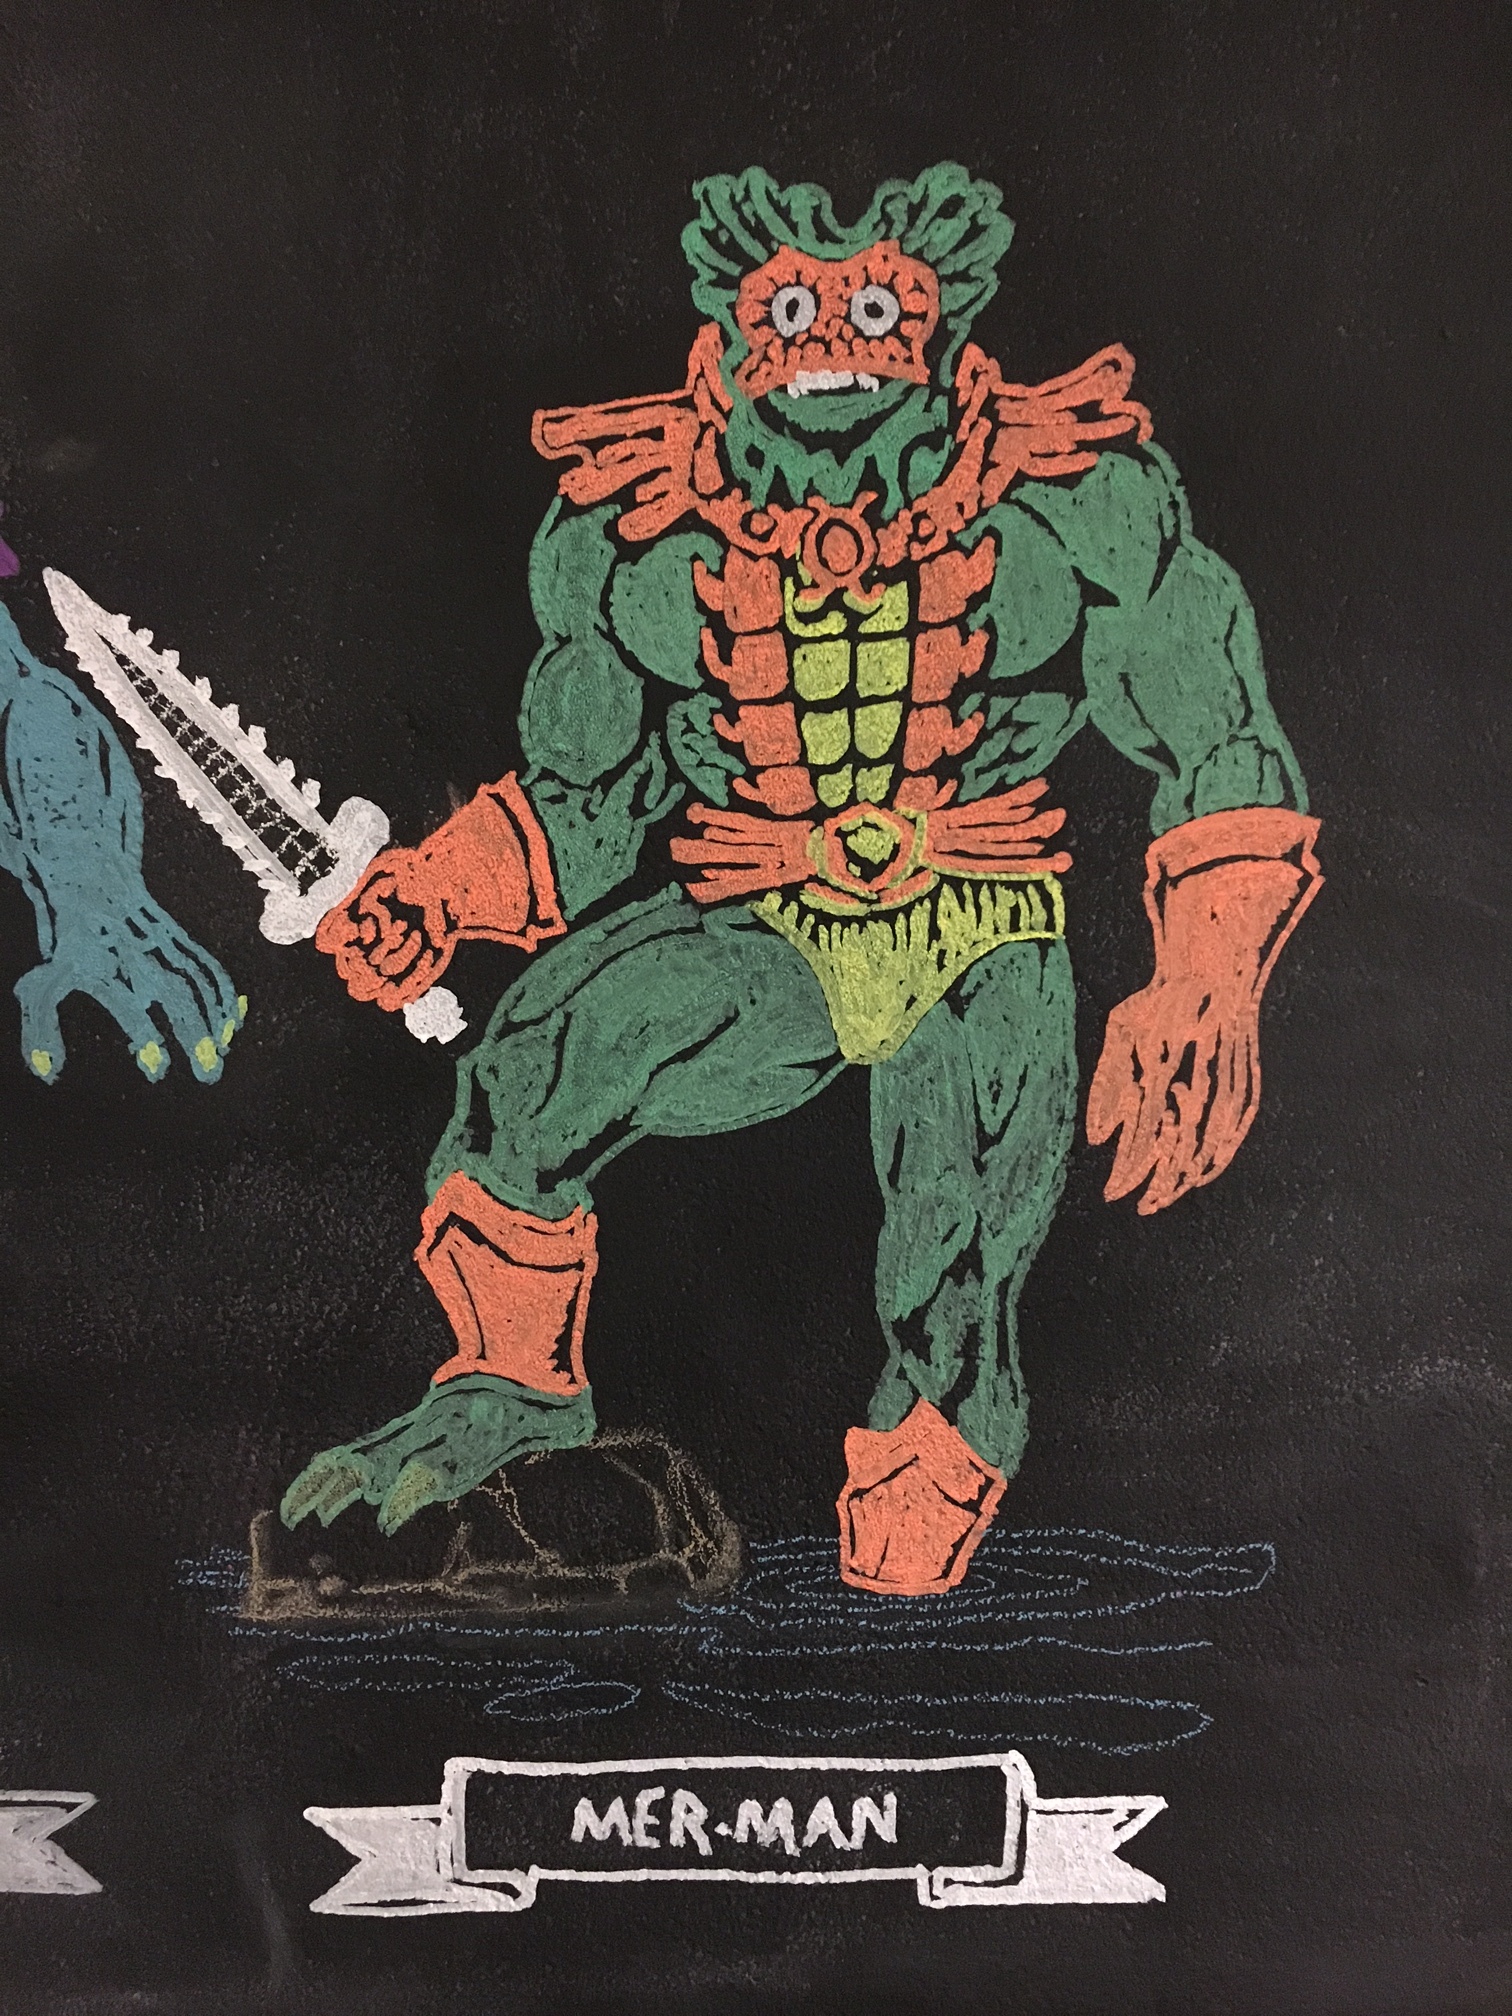
To start with, you will need some art of course, I used a scanned image from an old HE-MAN coloring book from 1984 that I colored in digitally with Adobe Photoshop (which is totally optional, but it took the decisions out of which color to use). You can do an image search for coloring pages etc. to get a sense of whats out there.  Keep in mind your availability of colors etc. and I would suggest choosing something that is fairly simple (less details) to start with to get the process down.  Once you've made your selection get it into an image format that you can use with your projector and get ready to draw.

Setup the space

The key here is to align the image on the chalkboard just how you like it, and to lock the projector down to ensure that it won't move on you, since you will trace the image stability is key.  Tip: the fancier your projector the more flexible it can be based on distance, keystone, and scale.  See the image below of my setup, just had a projector on a nearby table and scaled the image to fit the right size.

Projector setup: note the technical use of old CD cases to get the angle "just right".

Projector setup: note the technical use of old CD cases to get the angle "just right".

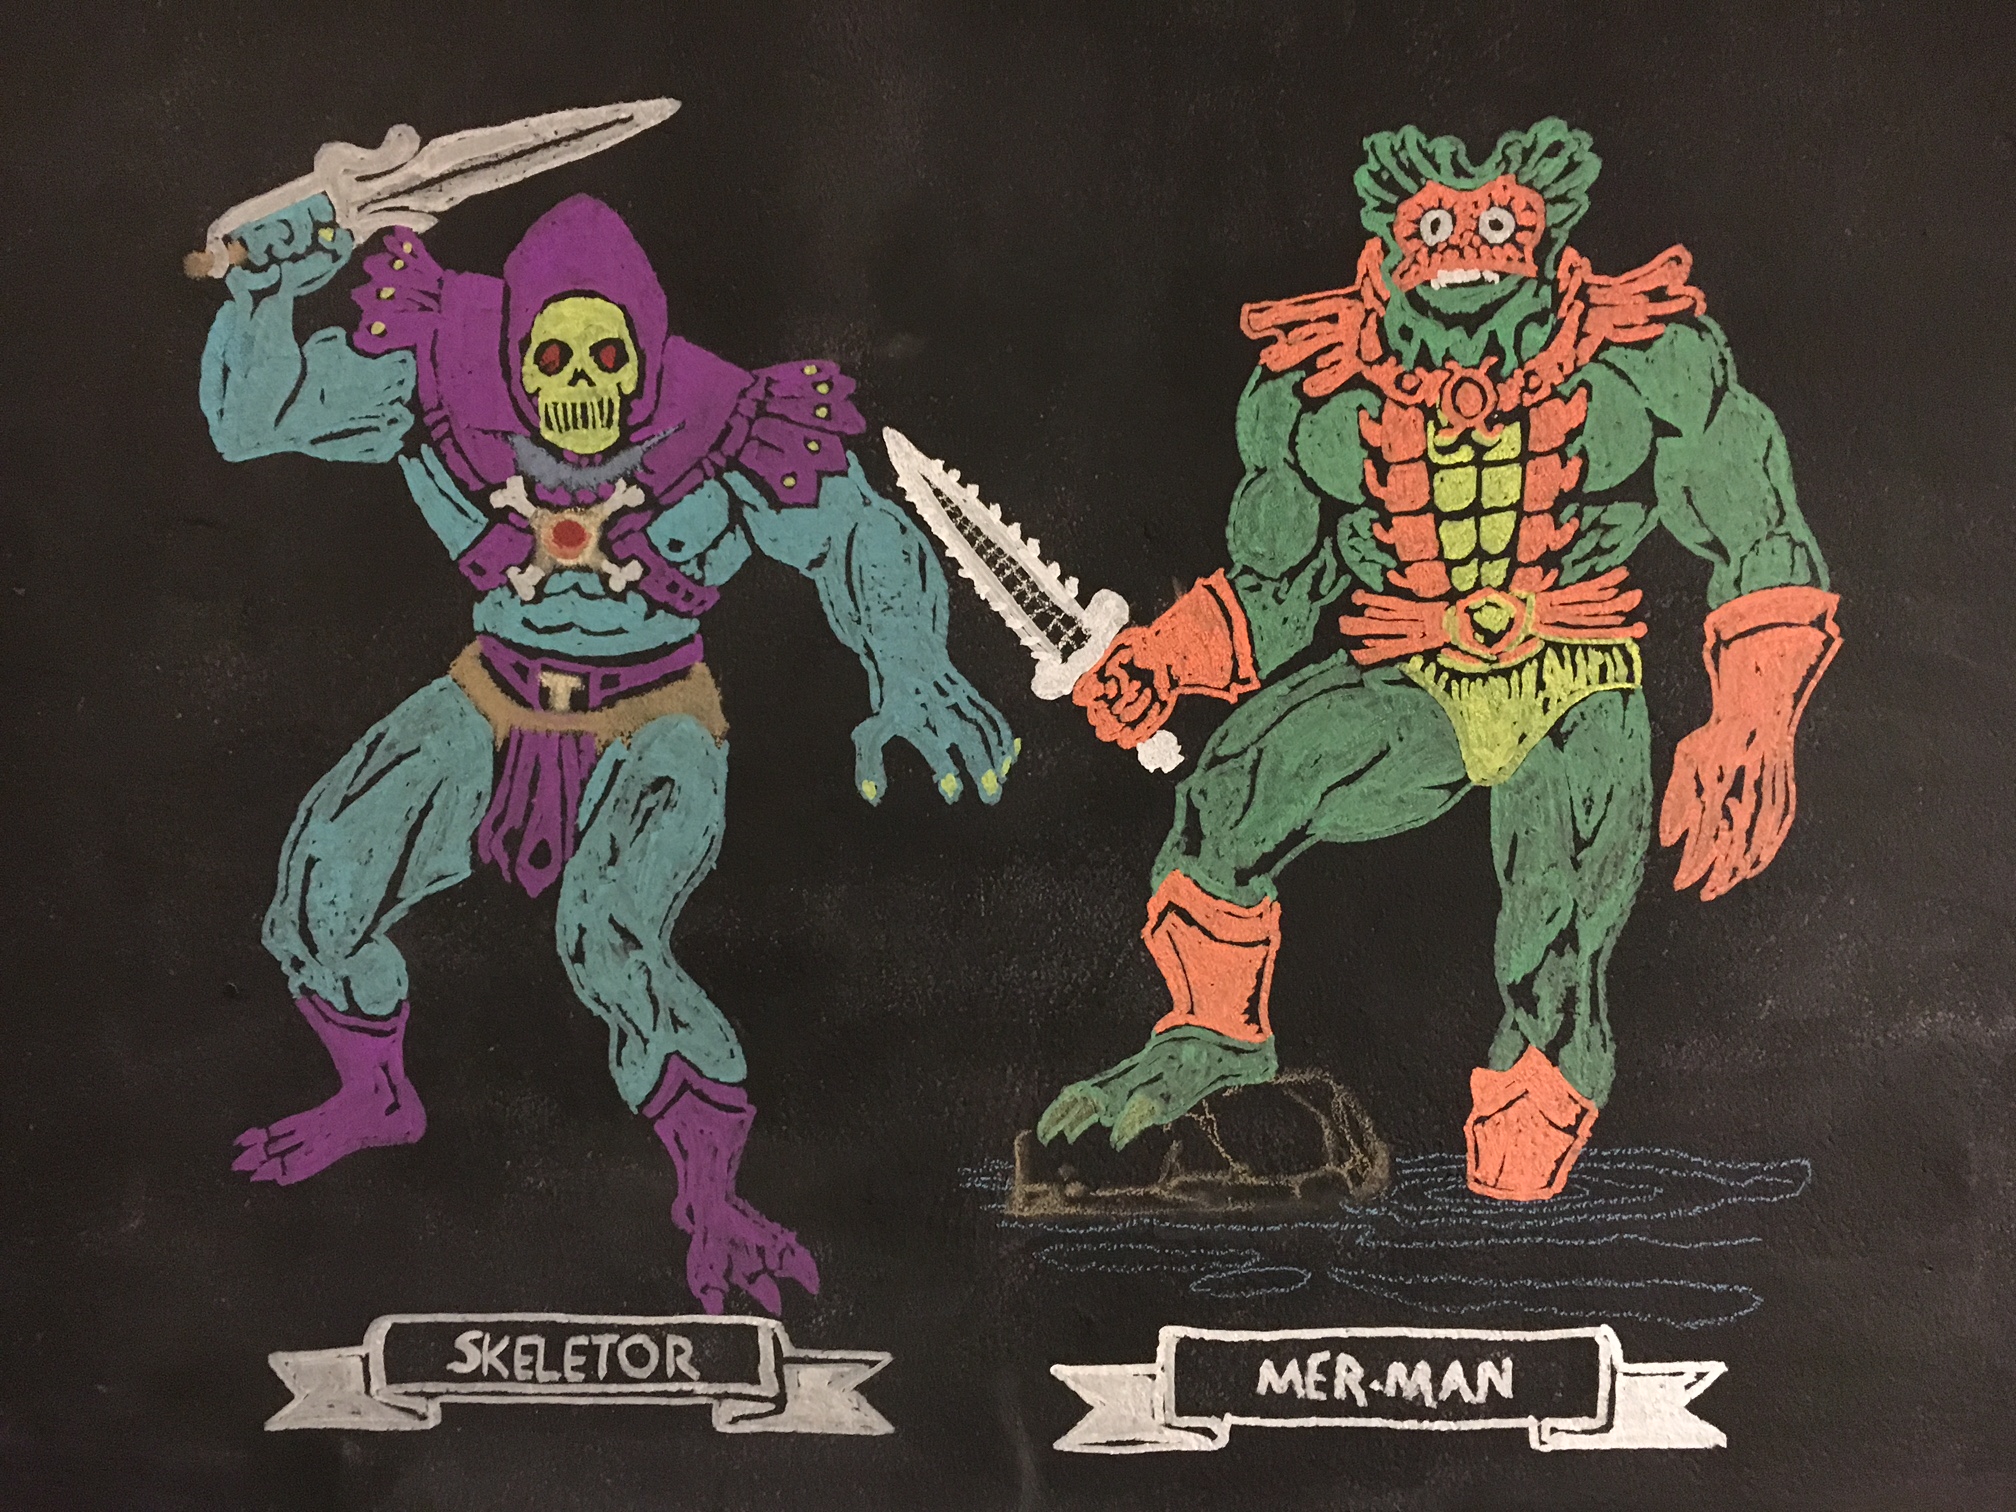
Aligning the 2nd image next to the first character.

Aligning the 2nd image next to the first character.

Trace the image

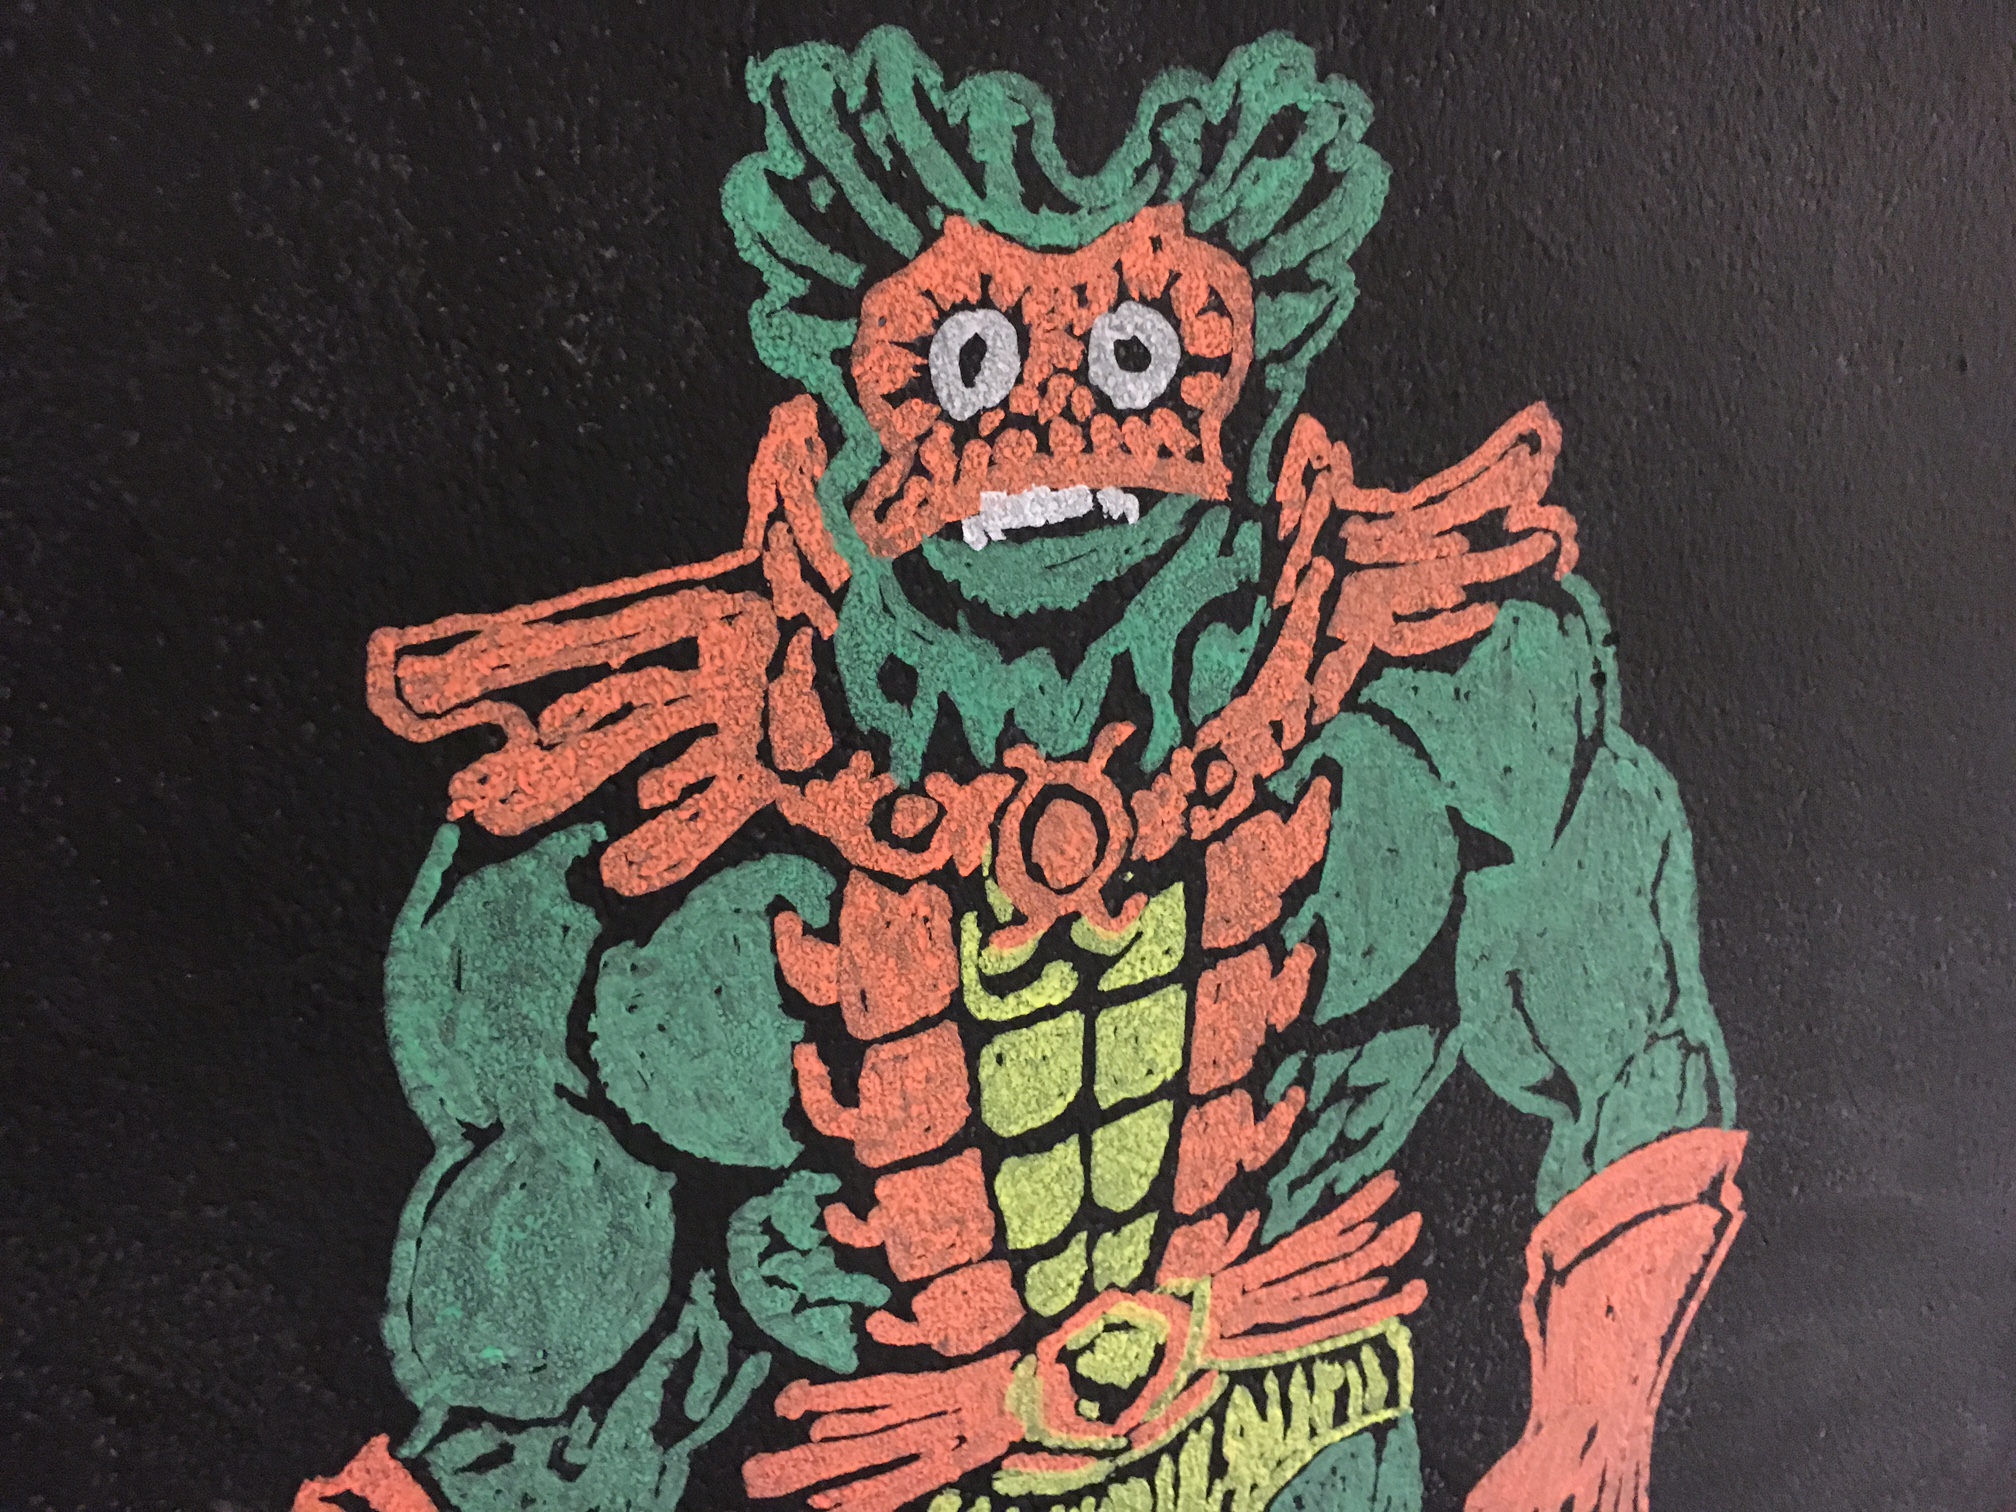
Once you have the image projected, it really just becomes an easy job of tracing the image and coloring it in.  As you can see from the image above, you can get really creative by overlapping and mixing different images onto your "canvas". One trick with the coloring book style is to use negative space for the black lines in the drawing. You can see the image below for another closeup to see how the effect works. 

Notice the details are made from negative space - leaving the canvas clear of chalk

Notice the details are made from negative space - leaving the canvas clear of chalk

So as you can see, it's nothing difficult or tricky and yet you can get some really fun results.  In total, the time it took me to trace these coloring book images was about 20 minutes for each one.  An additional benefit to this being all done in chalk is when you are done, some water and a sponge and it's all gone, back to fresh canvas. I think my next version will be some 8-bit inspired video game characters. 

NASA & JPL Visions of the Future

Recently, NASA and JPL released a series of graphic design posters that illustrate some of the possible space explorations entitled Visions of the Future.  JPL has released these posters for download, they are high resolution and can be printed in full resolution up to poster size.  These posters not only showcase the imagination of a new generation of innovators and explores, but also serves as a visual inspiration to anyone interested in graphic design, or the genre of space science.  One of the attributes of this series I enjoyed the most was the style of the posters, they mimic the science fiction imagery we are used to seeing on fictional books, games, and movies, yet each of these posters depicts real world "moon shot" exploration projects into our own solar system, and beyond. 

So if you are wanting to print off your own copy, you might ask "how do I print these big"? To help answer that I've included some tips below on printing theses off at the small poster size of 13x19" (also known as Super A3).   

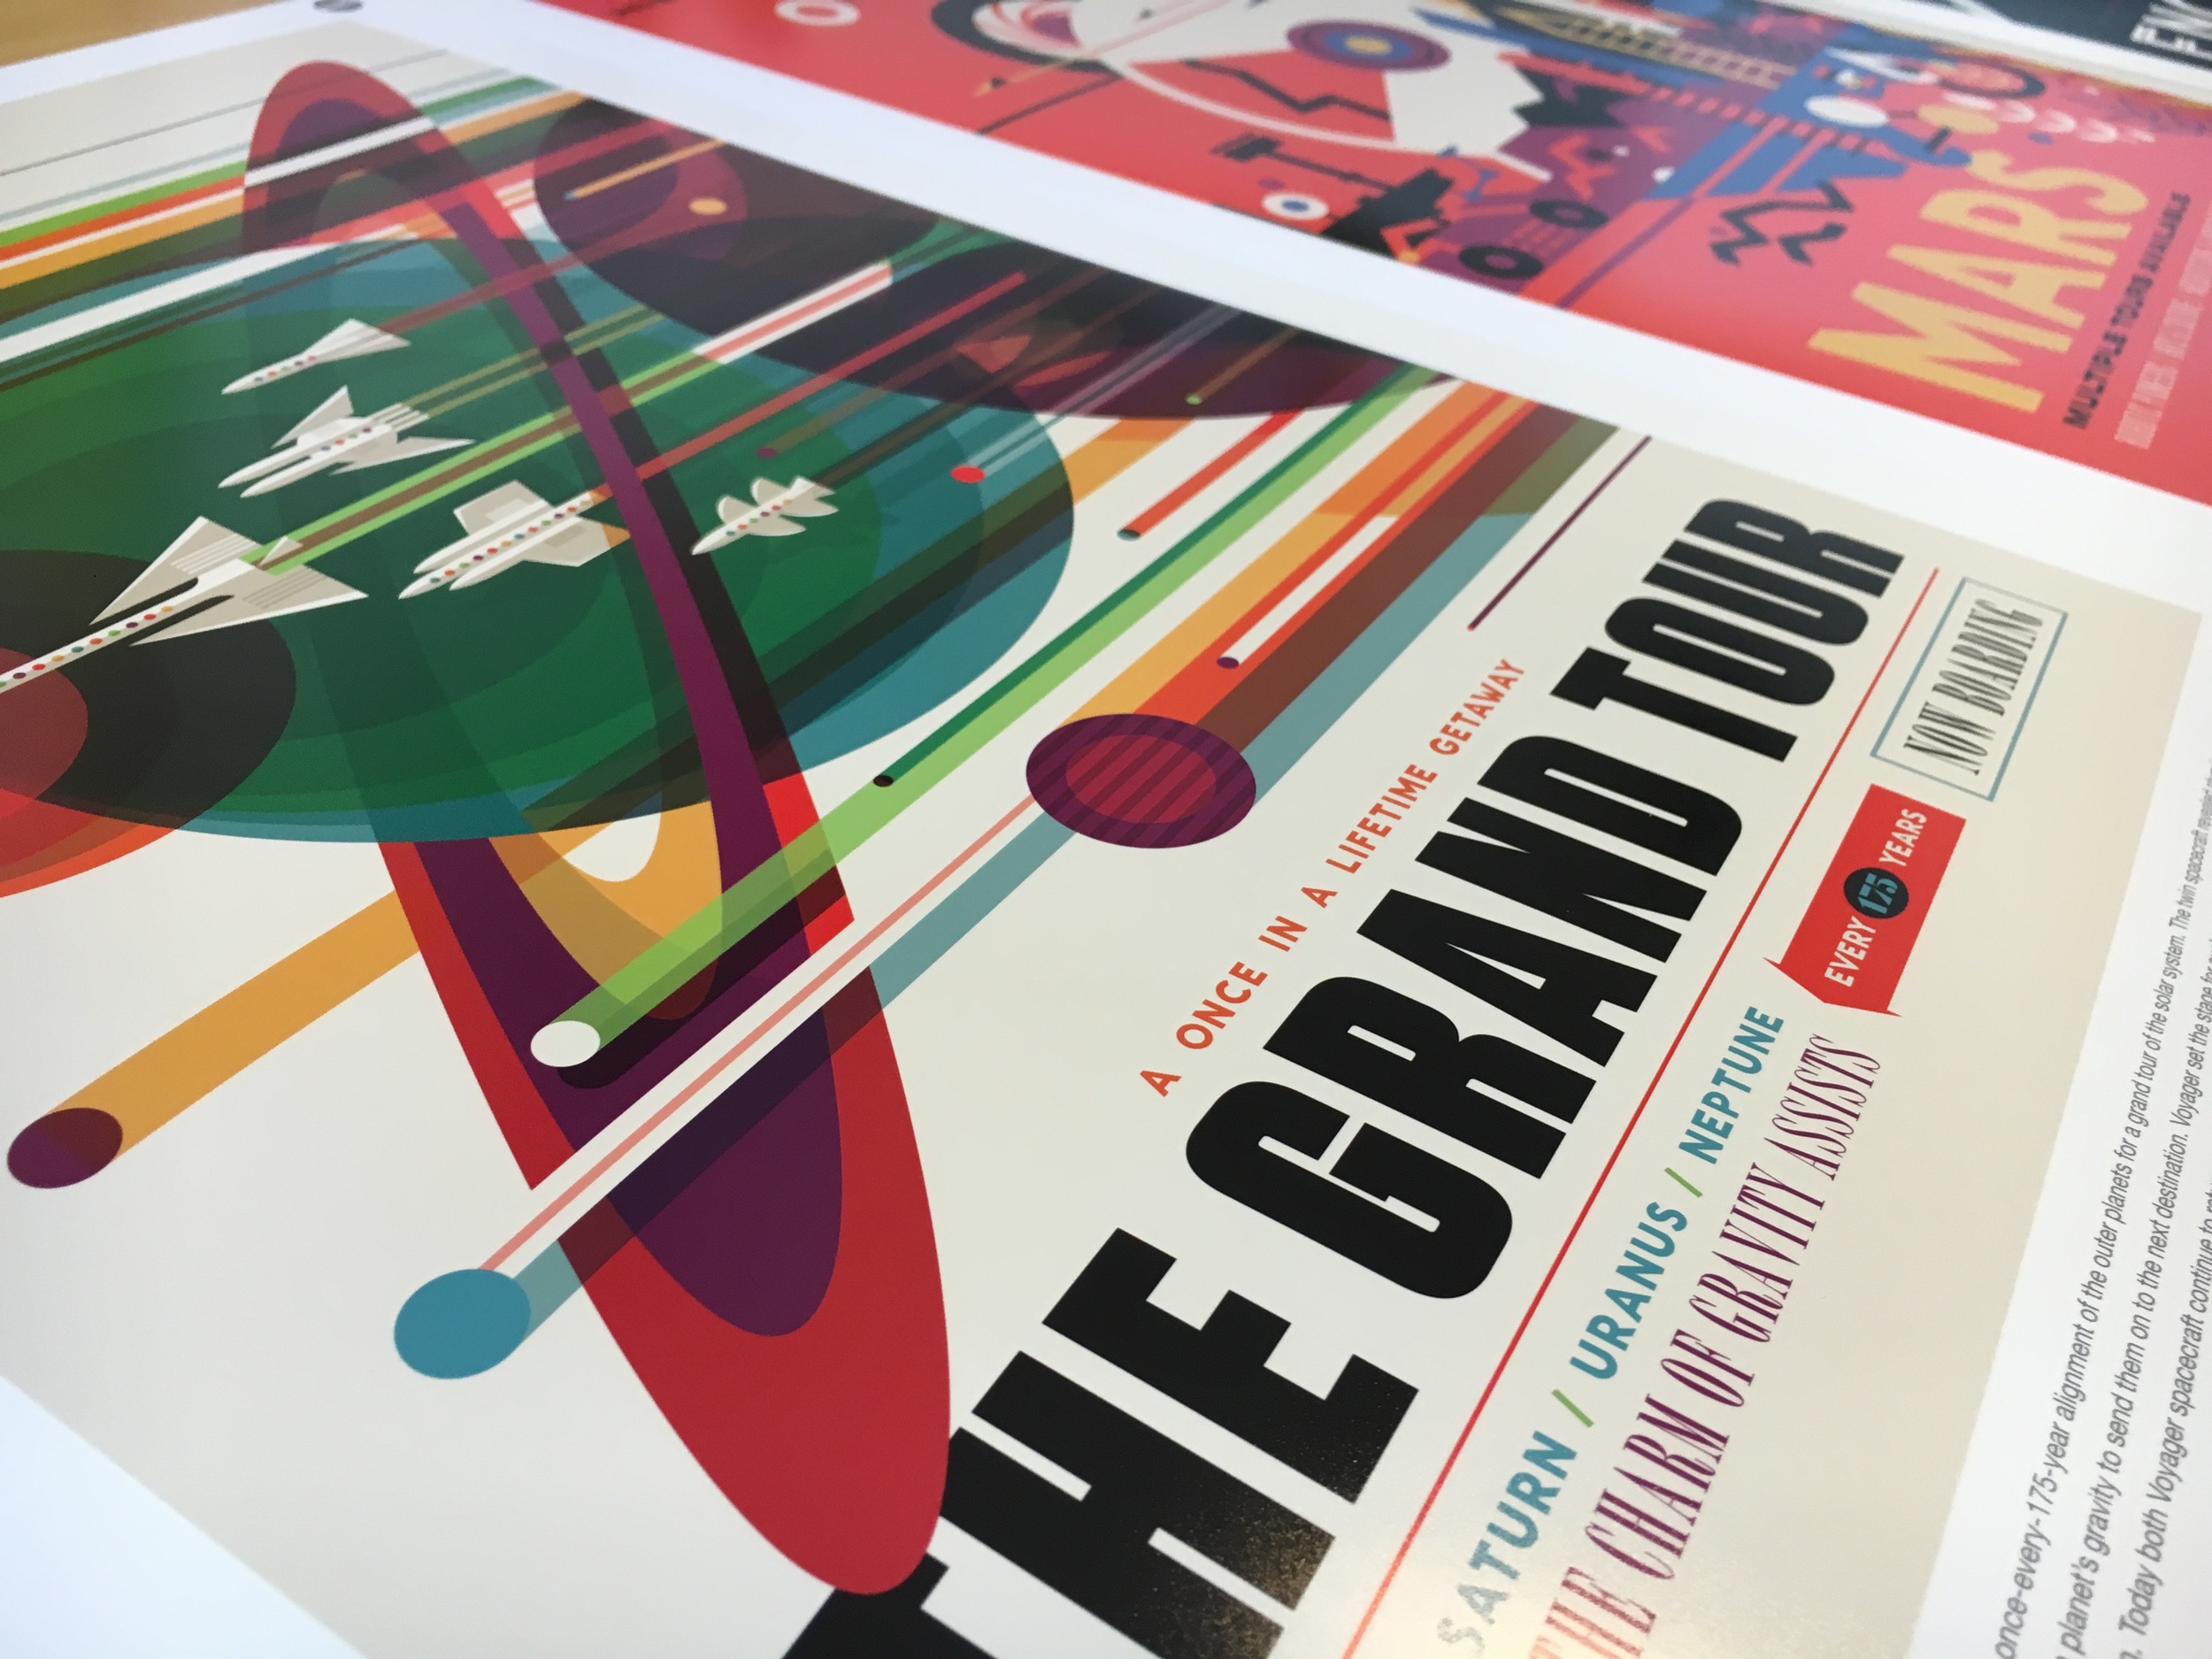
For printing, I used Adobe Photoshop CC 2015 and an Epson Stylus Pro 3880 Printer on Epson Premium Semigloss Photopaper.  So as mentioned above the full resolution (300 dpi) these images can be printed in full poster size of 20x30" which is rather large, and for the wall space I have in mind for these prints, far too large.  So I decided to print on Super A3 (13x19") so I could print a selected series of three images to be wall mounted side by side.  To ensure proper printing (color, resolution, and size) I used the following settings in Photoshop to print.

NASA Image Opened in Photoshop

NASA Image Opened in Photoshop

To ensure the proper print settings I used the following (see image below for more details):

  • Paper size: ensure the paper size is correct - in this case Super A3
  • Color Management: Here I chose to have Photoshop handled the color profile that was embedded in the image to match it to the preferred printer profile.
  • Printer Profile: For best results I matched the printer profile to the Epson Stylus Pro 3880 and the exact paper I was printing on (Epson Premium Semigloss Paper).
  • Size and Resolution: Here I opted to "Scale to fit Media" so I would still retain the full border less printing of the entire image on Super A3 paper.  As a result of this the final print resolution is 463 PPI which is far more than needed (300 PPI) for a great result.  
Print Selection Dialog Box - Photoshop & Epson 3880 Settings

Print Selection Dialog Box - Photoshop & Epson 3880 Settings

The result is a sharp, fun, and inspirational graphic art poster. These would look great in your home/office or classroom.  I plan to hang these above an editing station in the Media Studio to help inspire some creativity from my students.

Creating a Visual Narrative: Animal Kingdom

This multidimensional photographic project was focused around the core concept of creating a visual narrative using a set series of three images to tell a story.

PHOT 3195: Fall 2015

PHOT 3195: Fall 2015

This project was created for use in my Fall Photography 3195 Digital Imaging II course to challenge the students to first think creatively about the "story" they wanted to tell with an "animal" of their choice, and then to think critically about how they would execute their vision of this story with only three images. Below you can see the various animal "characters" chosen by some of the students. 

The Assignment

Students were given a lot of creative license to interpret the assignment in a way that was meaningful to them personally, and to tell a story they felt a connection to. The students were given a set of constraints, such as choosing from a finite set of paper low-poly animal masks, all work was to be printed in Super A3 format, and all students must create an image series of three works, no more, no less.  All of the work was to follow the distinguishing characteristics of the visual narrative:

  • contain a persuasive story with a point of view
  • high quality imagery, still or moving
  • subject matter with pressing social, environmental, or spiritual value
  • an appeal (explicit or implicit) for transformation in attitudes and behaviors

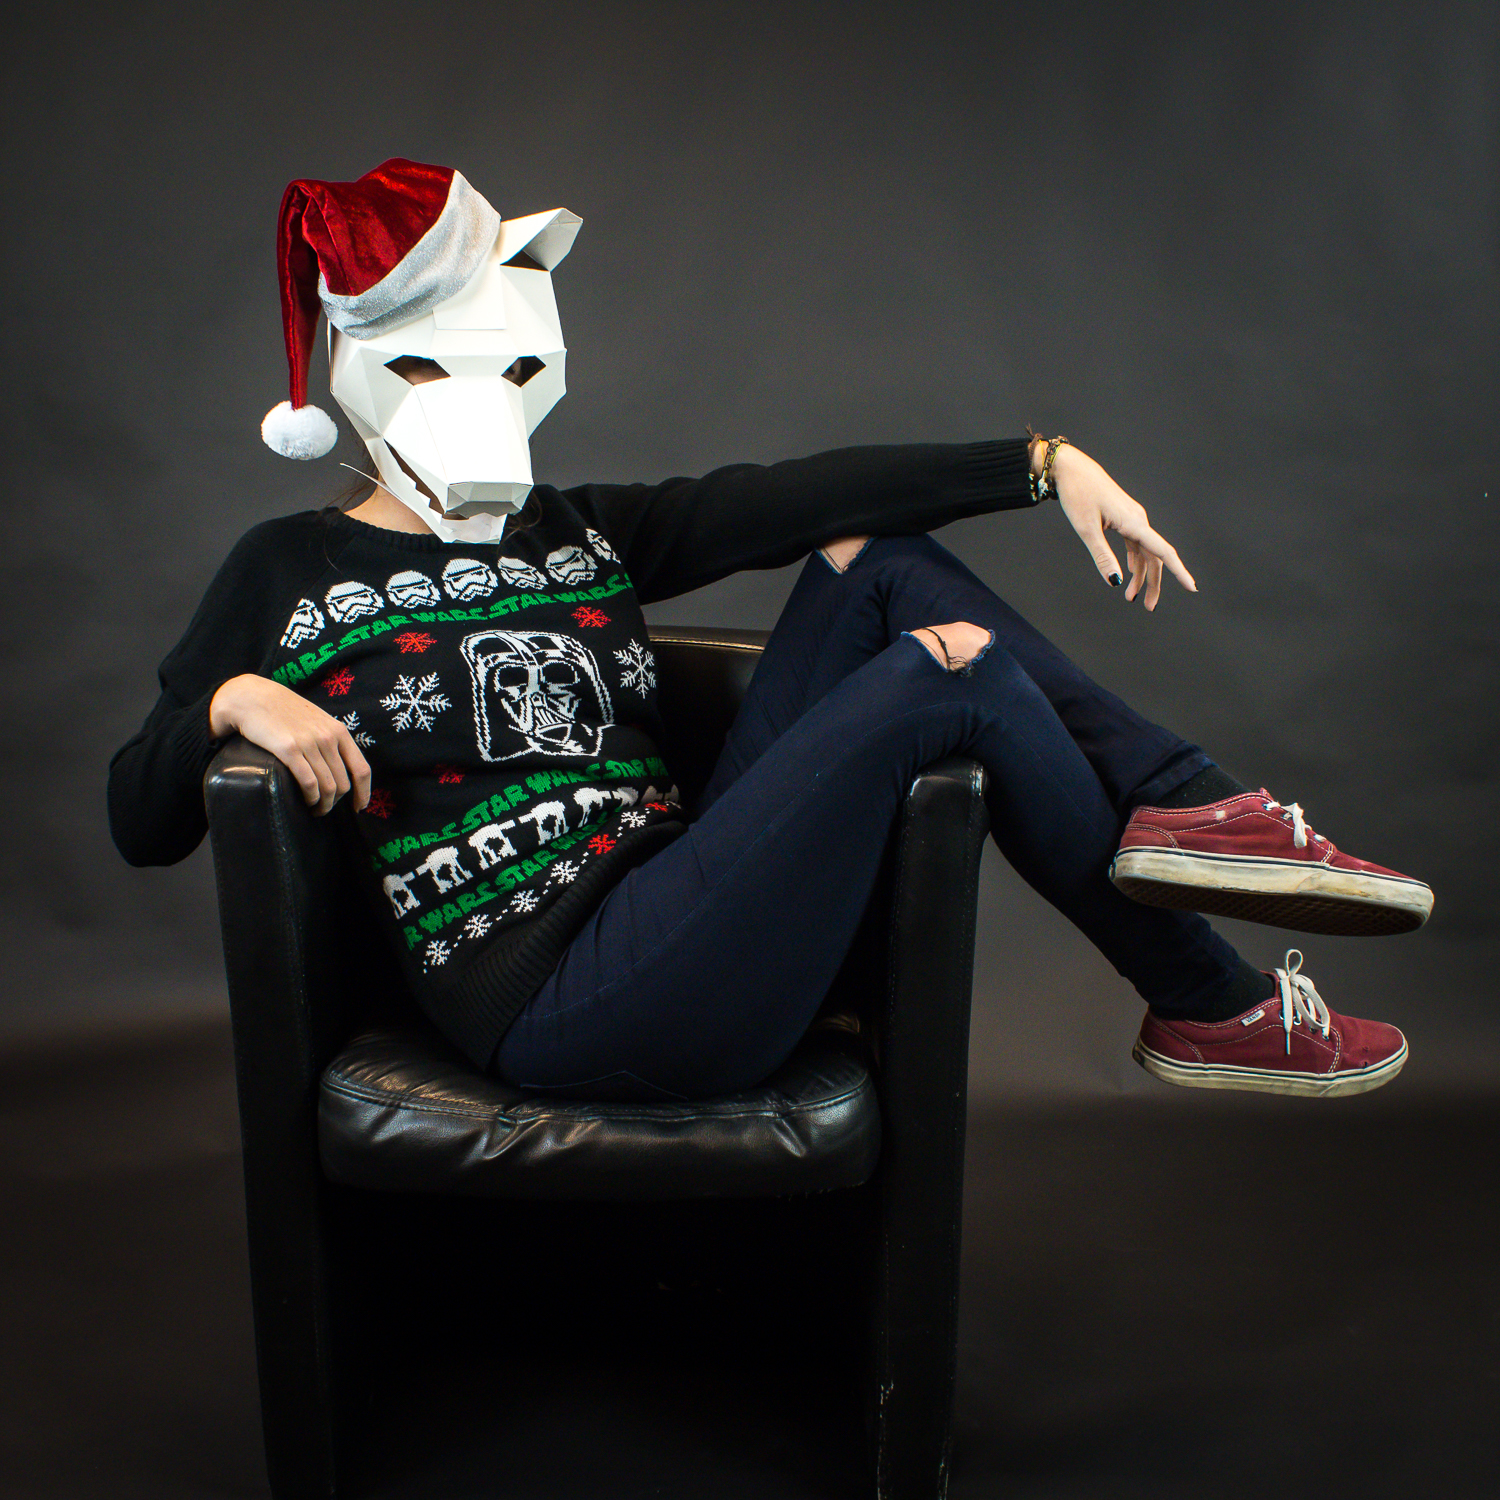
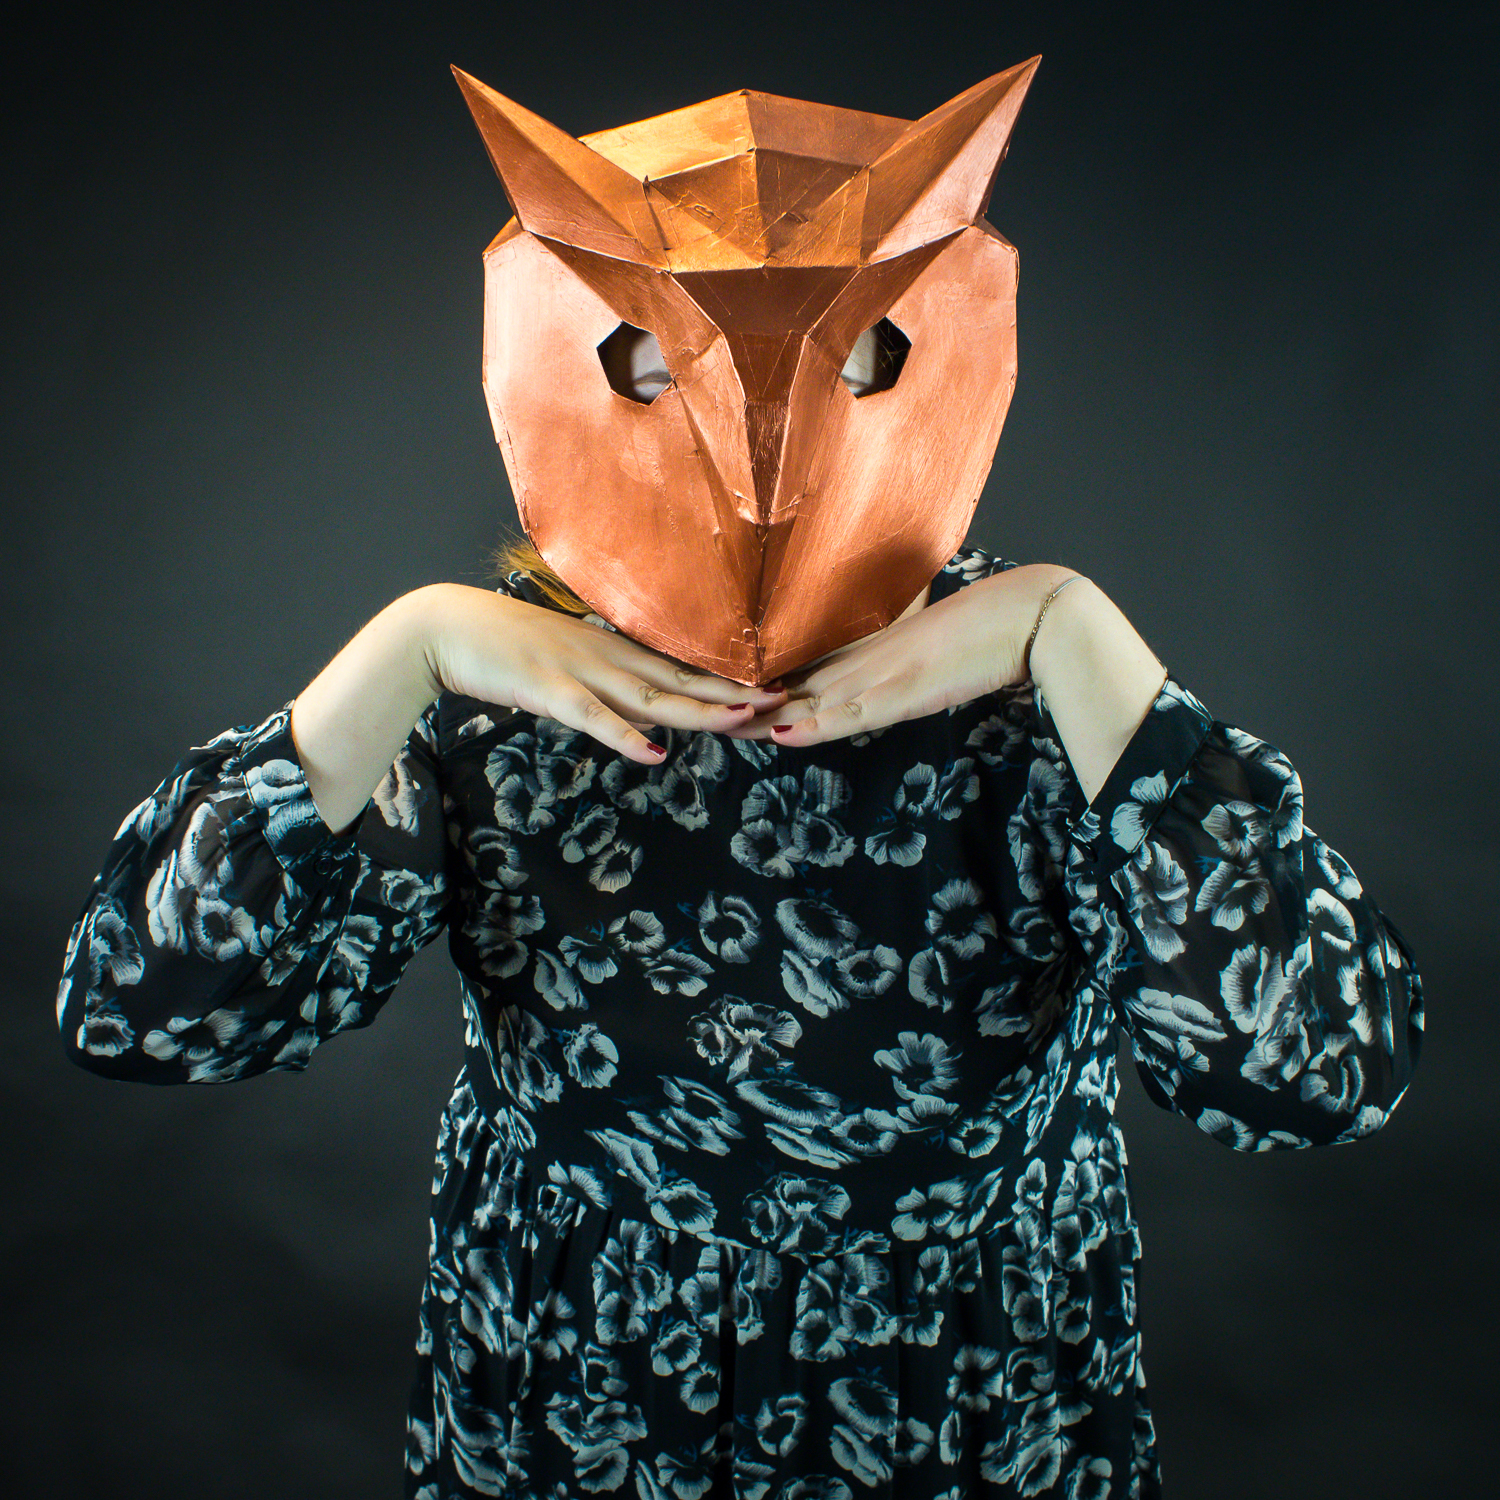
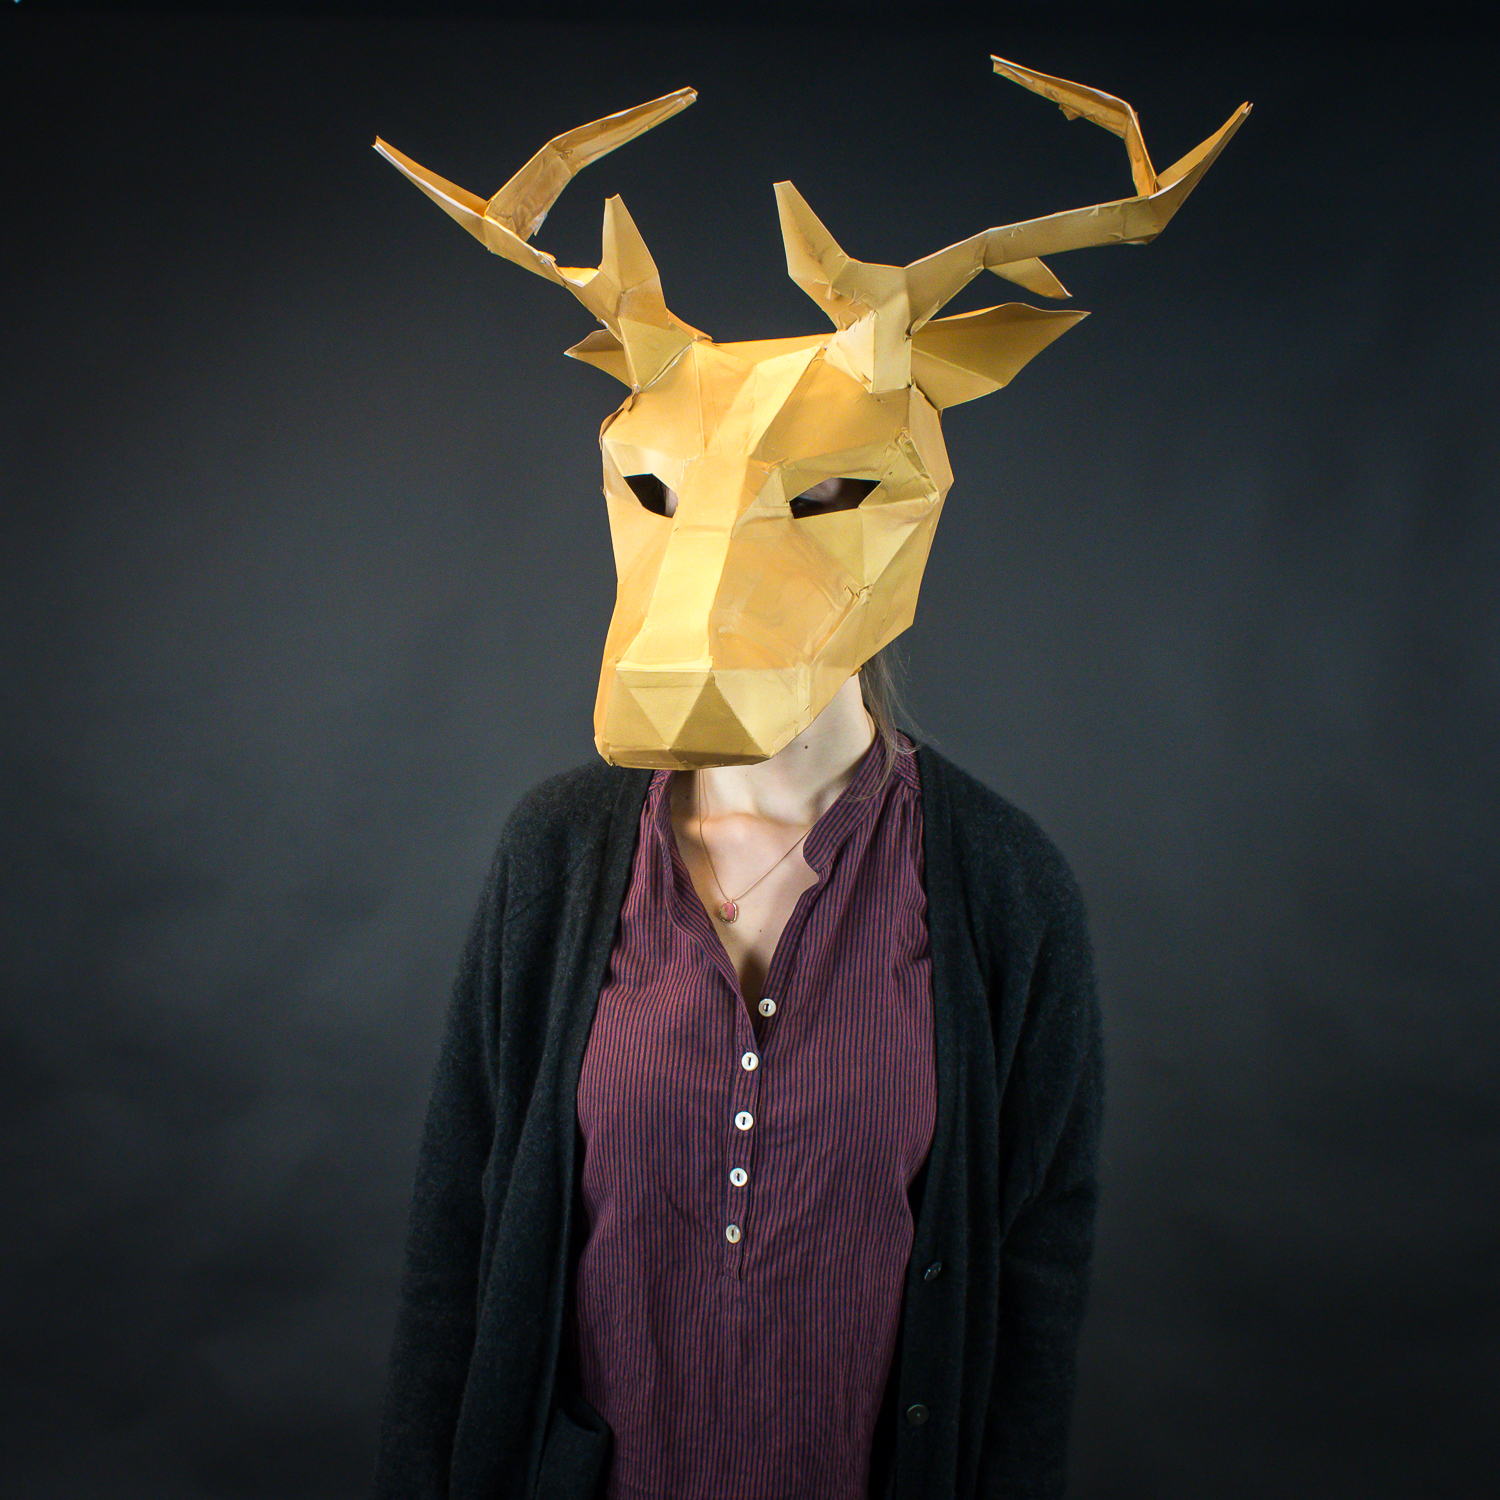
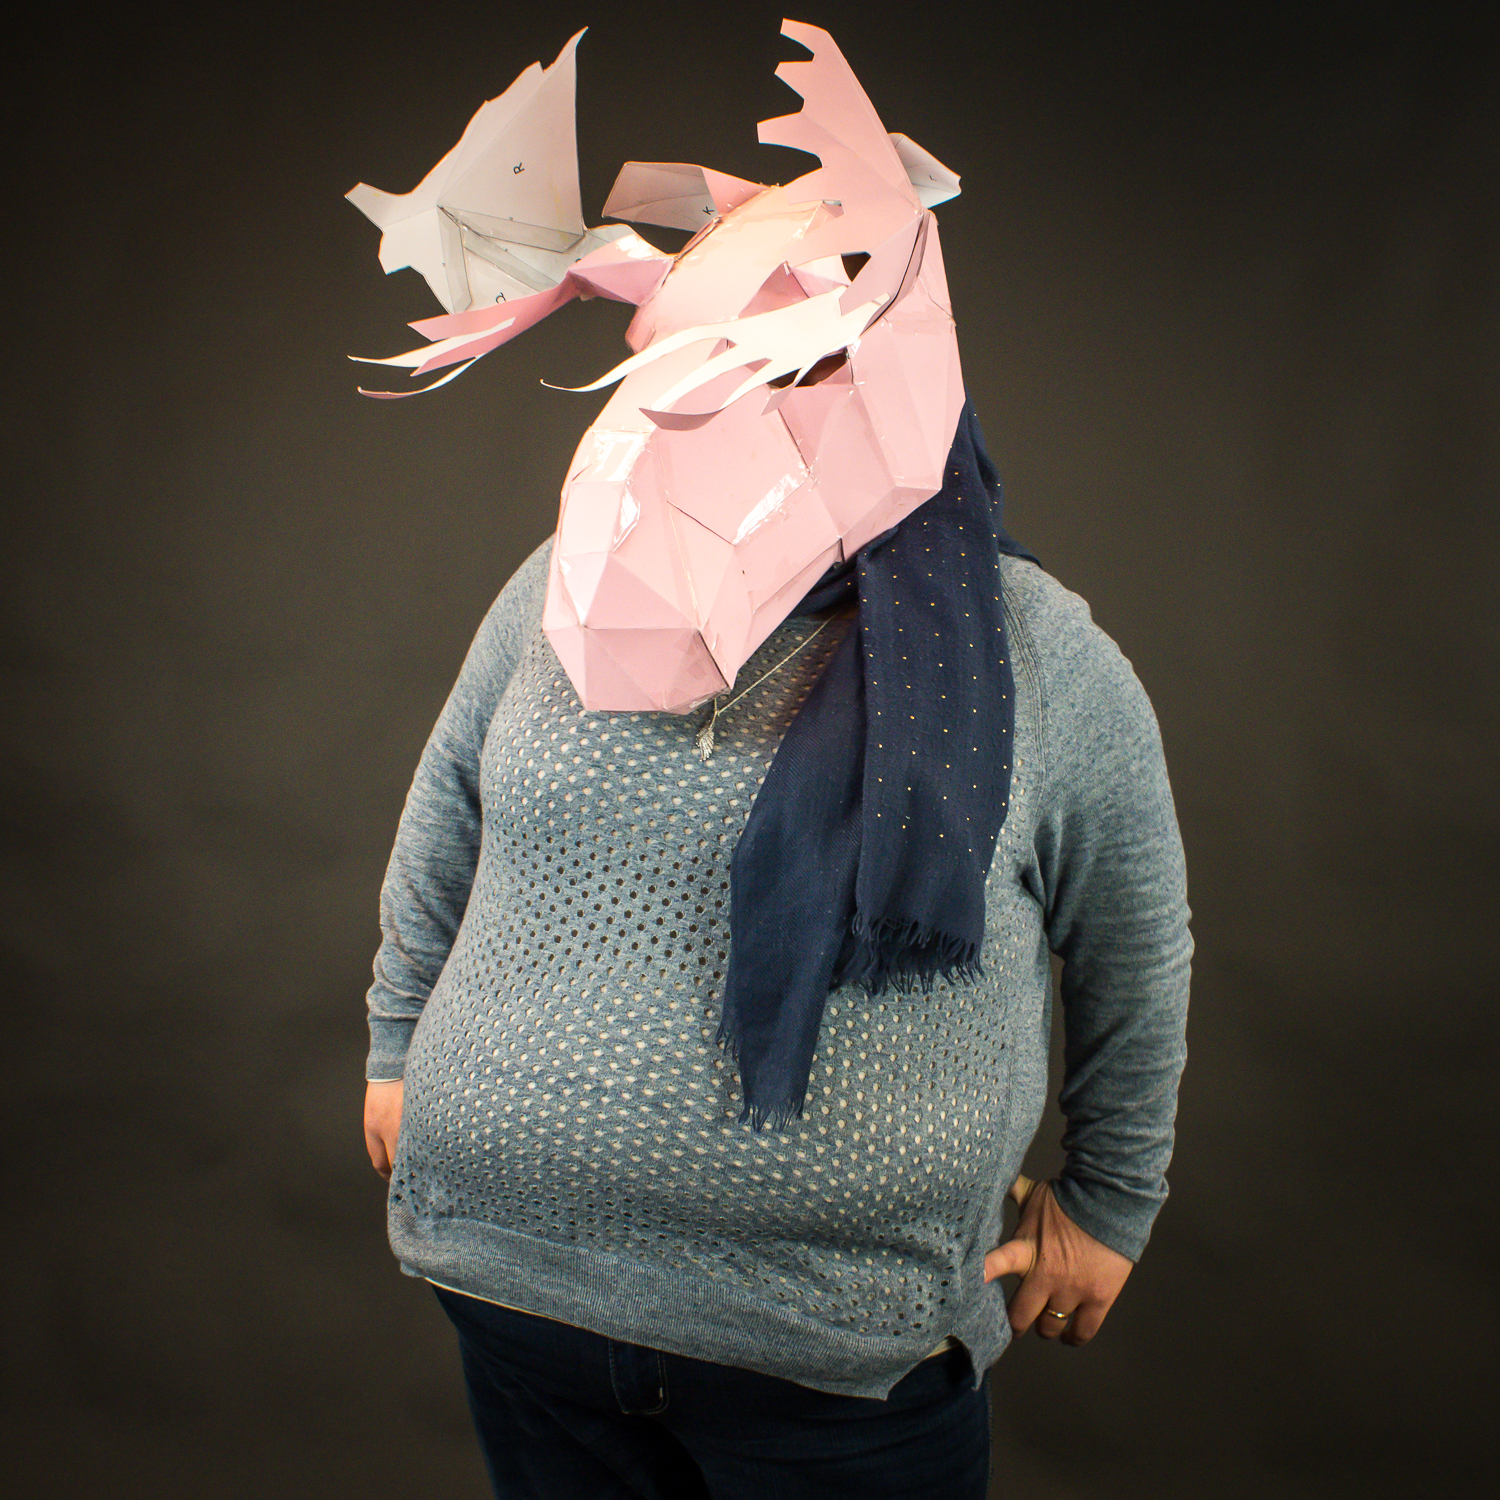
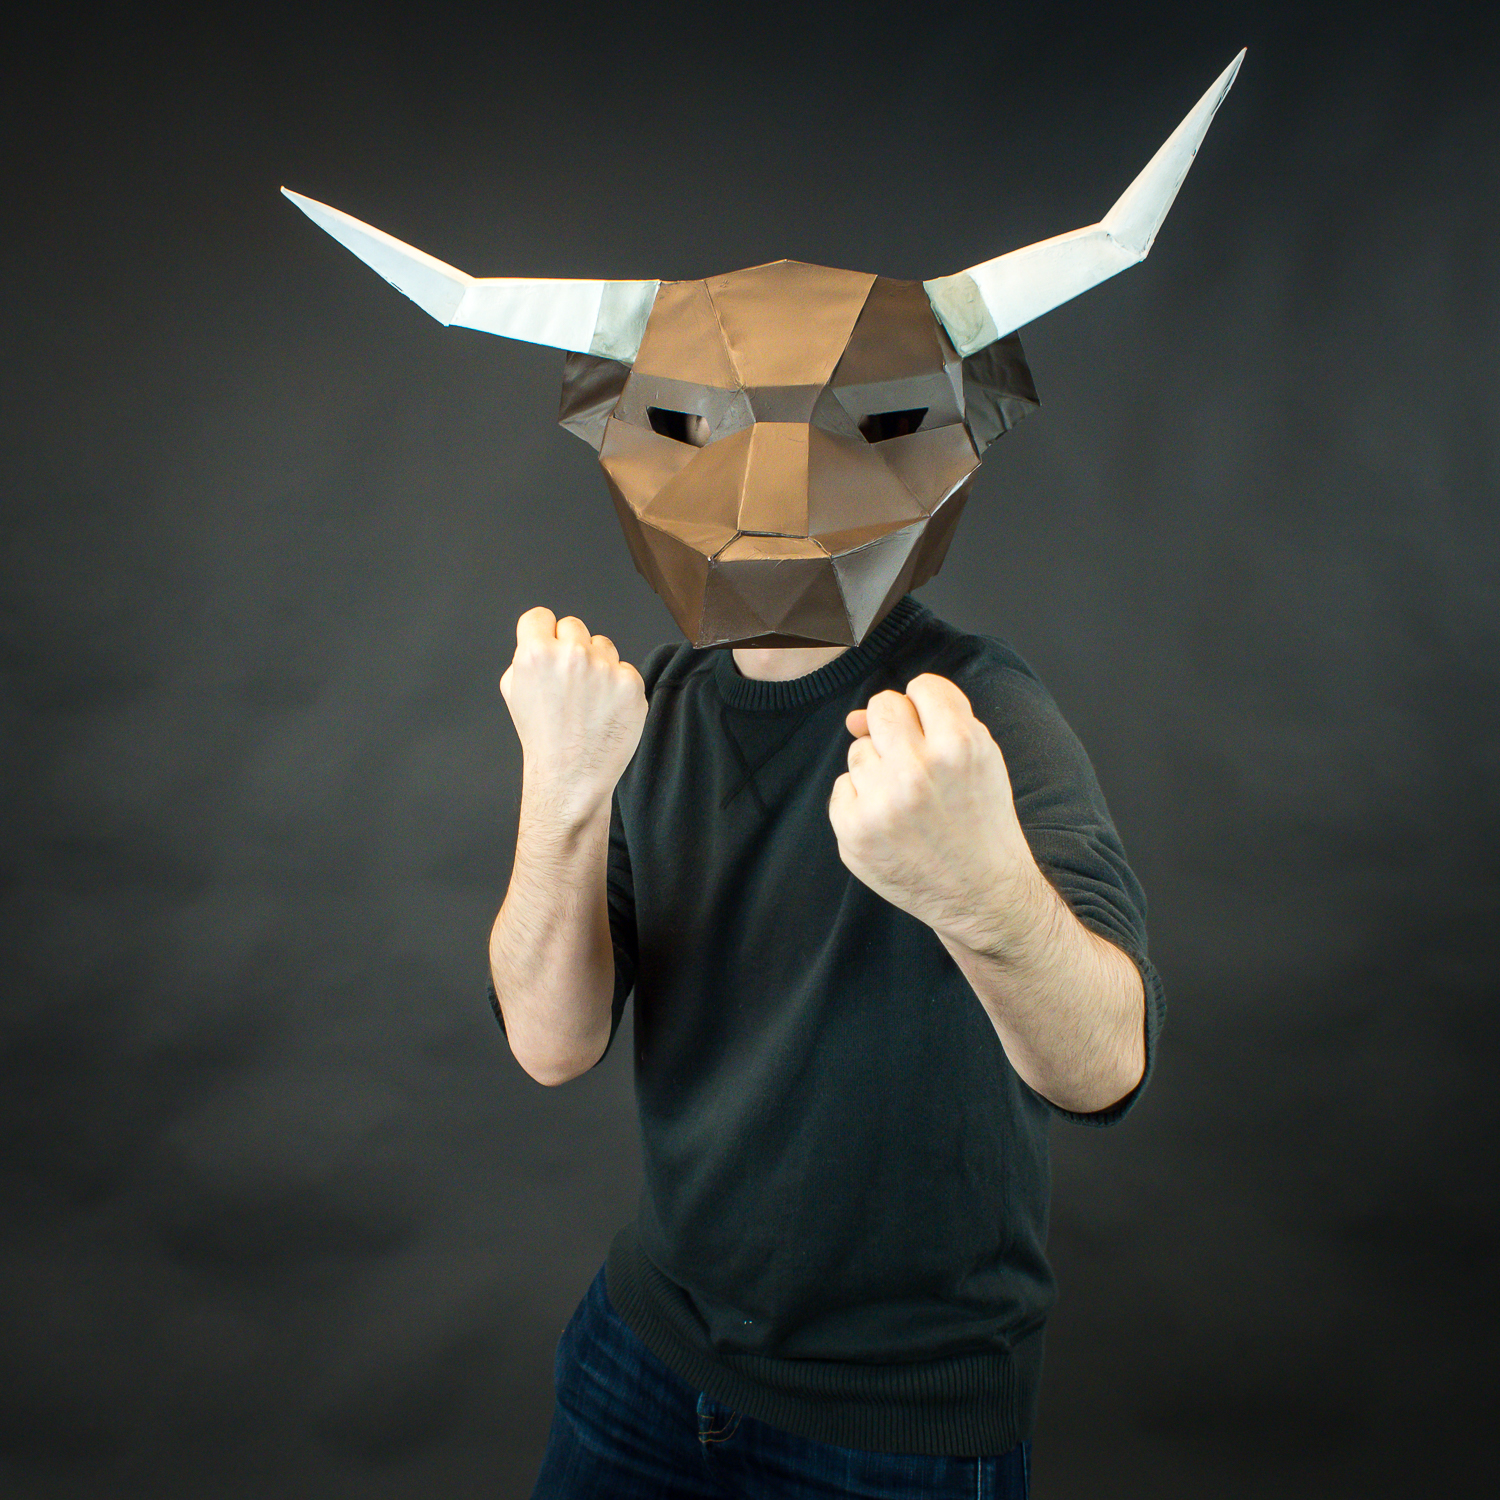
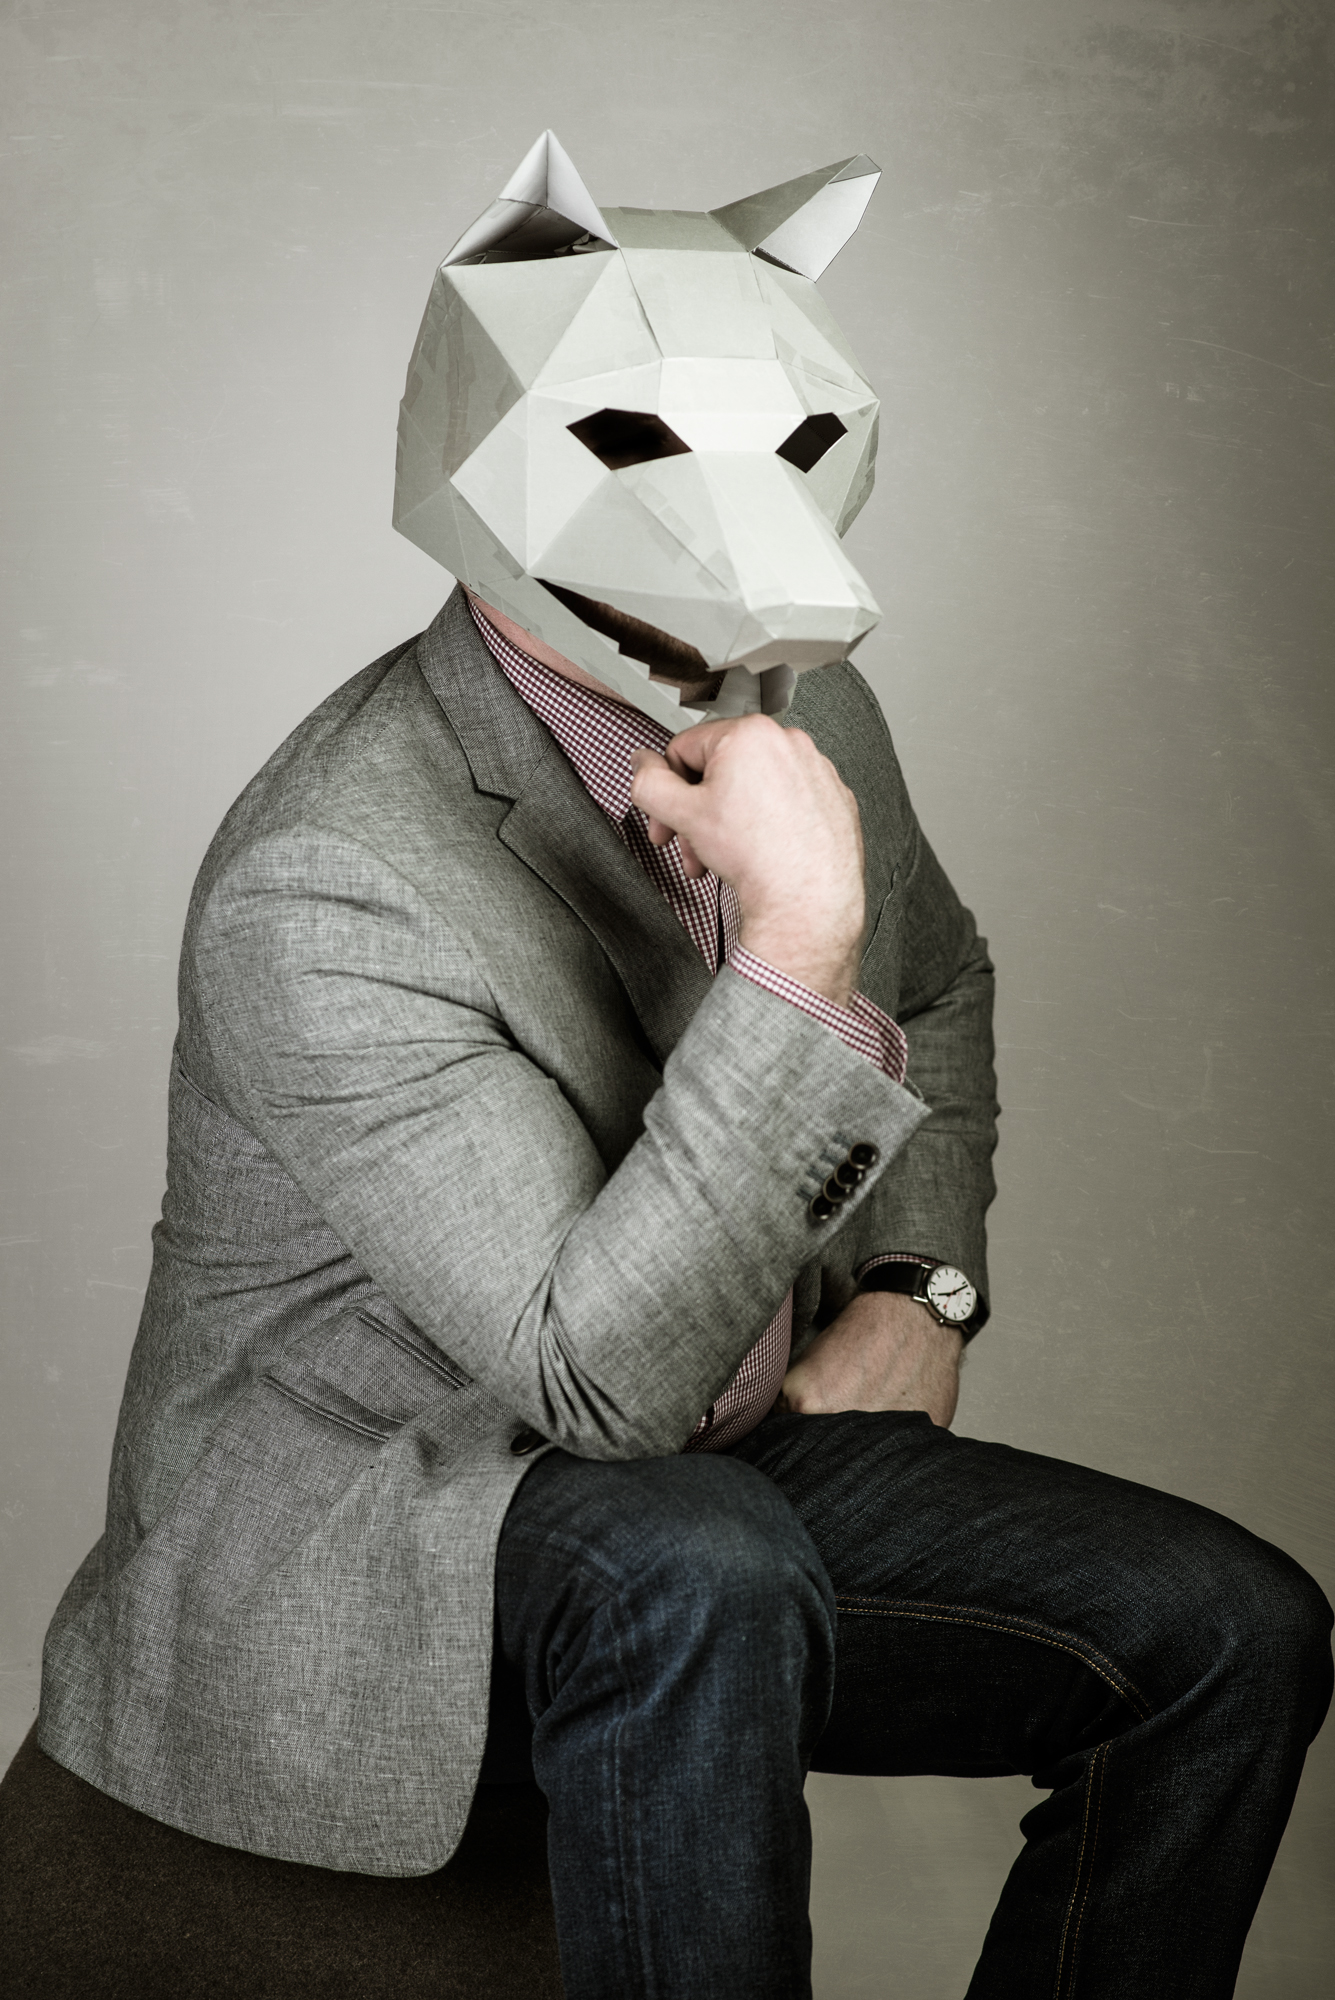
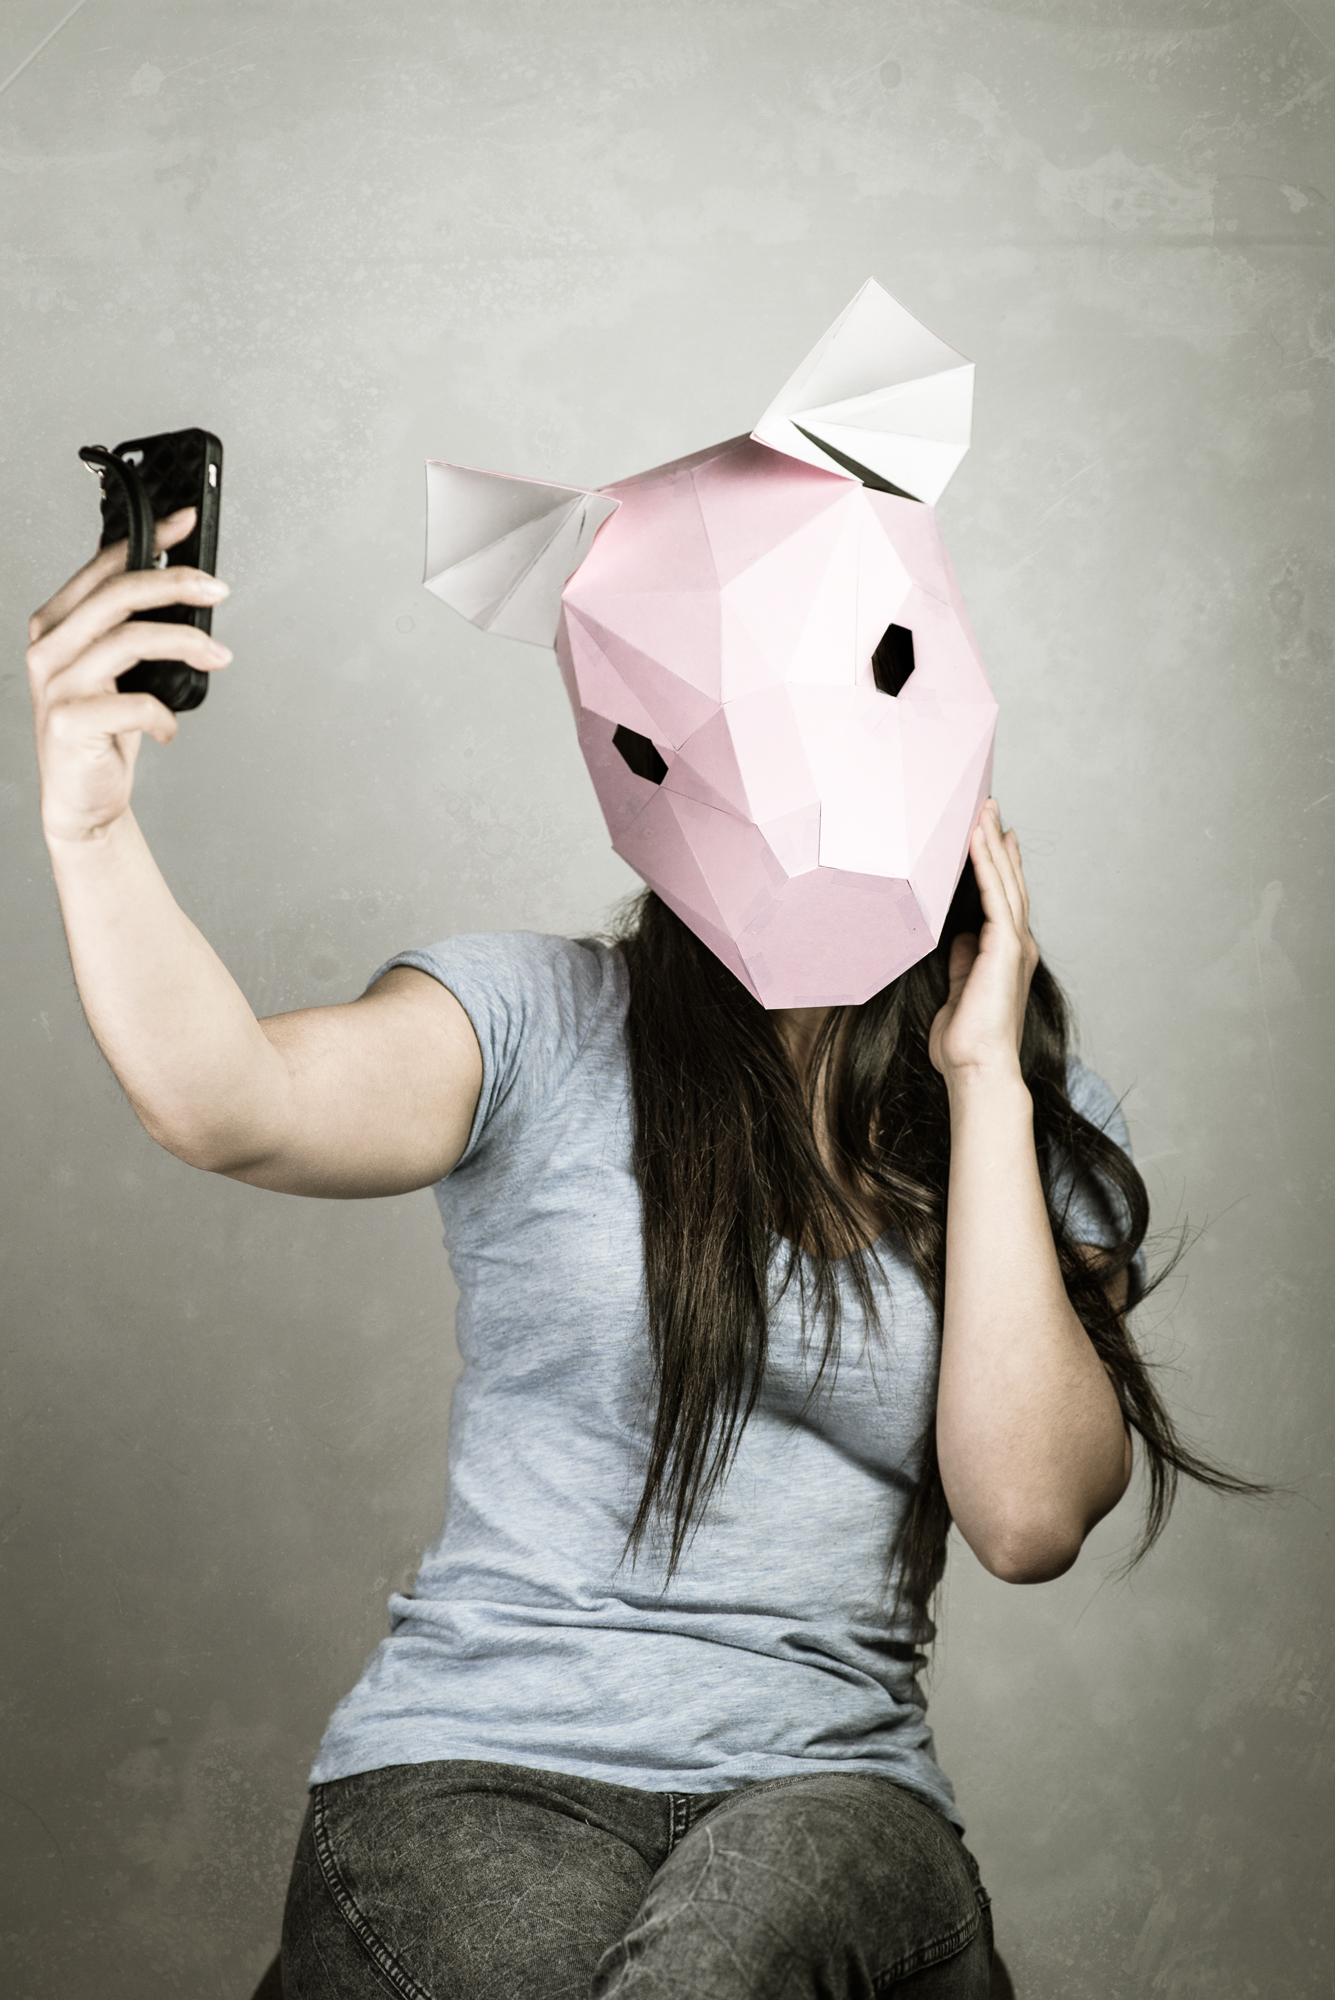
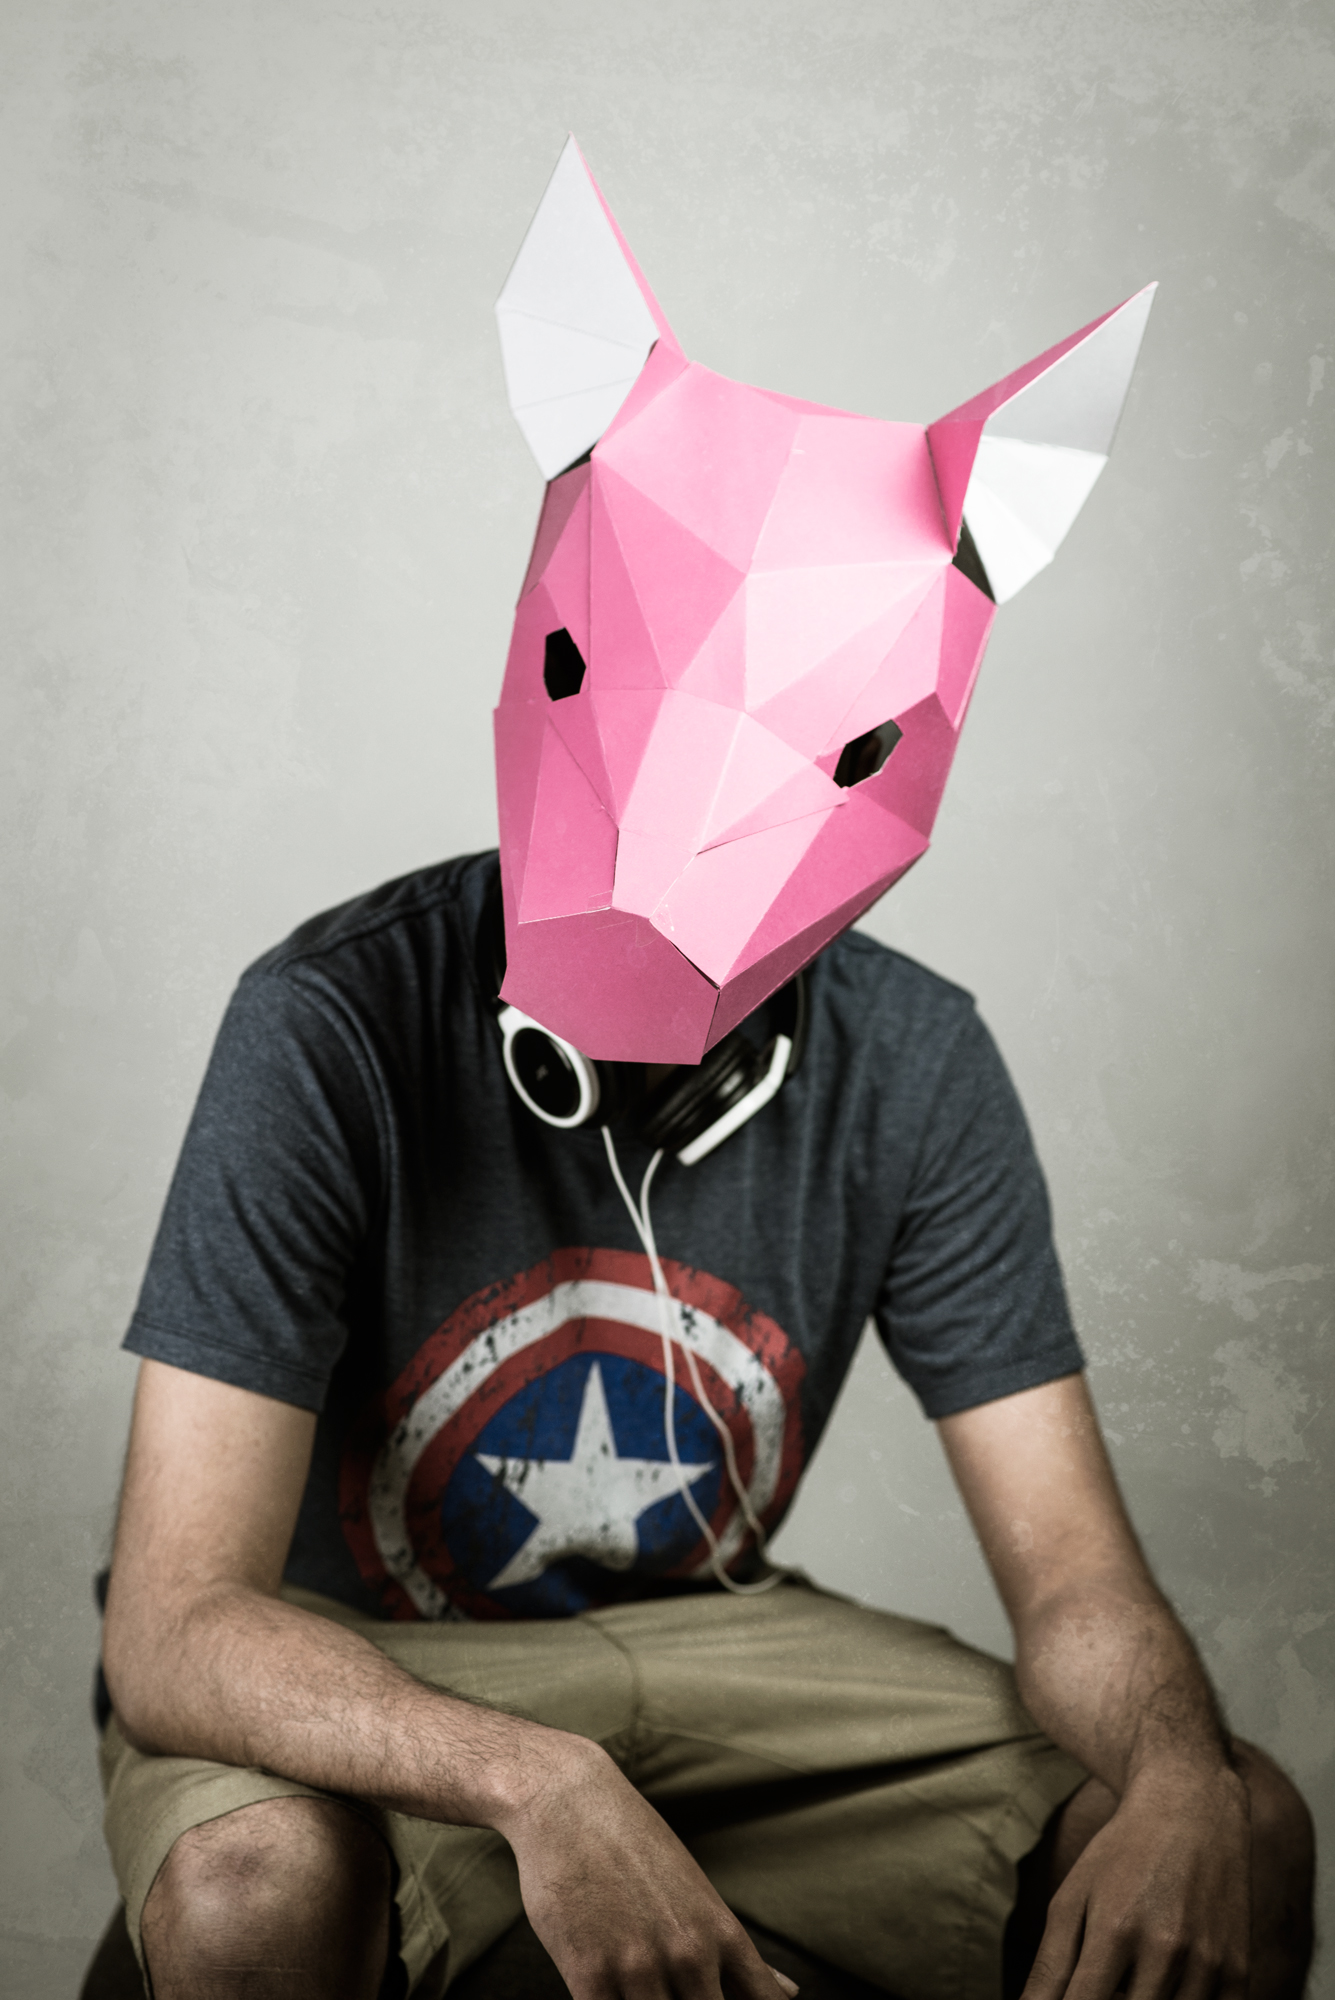
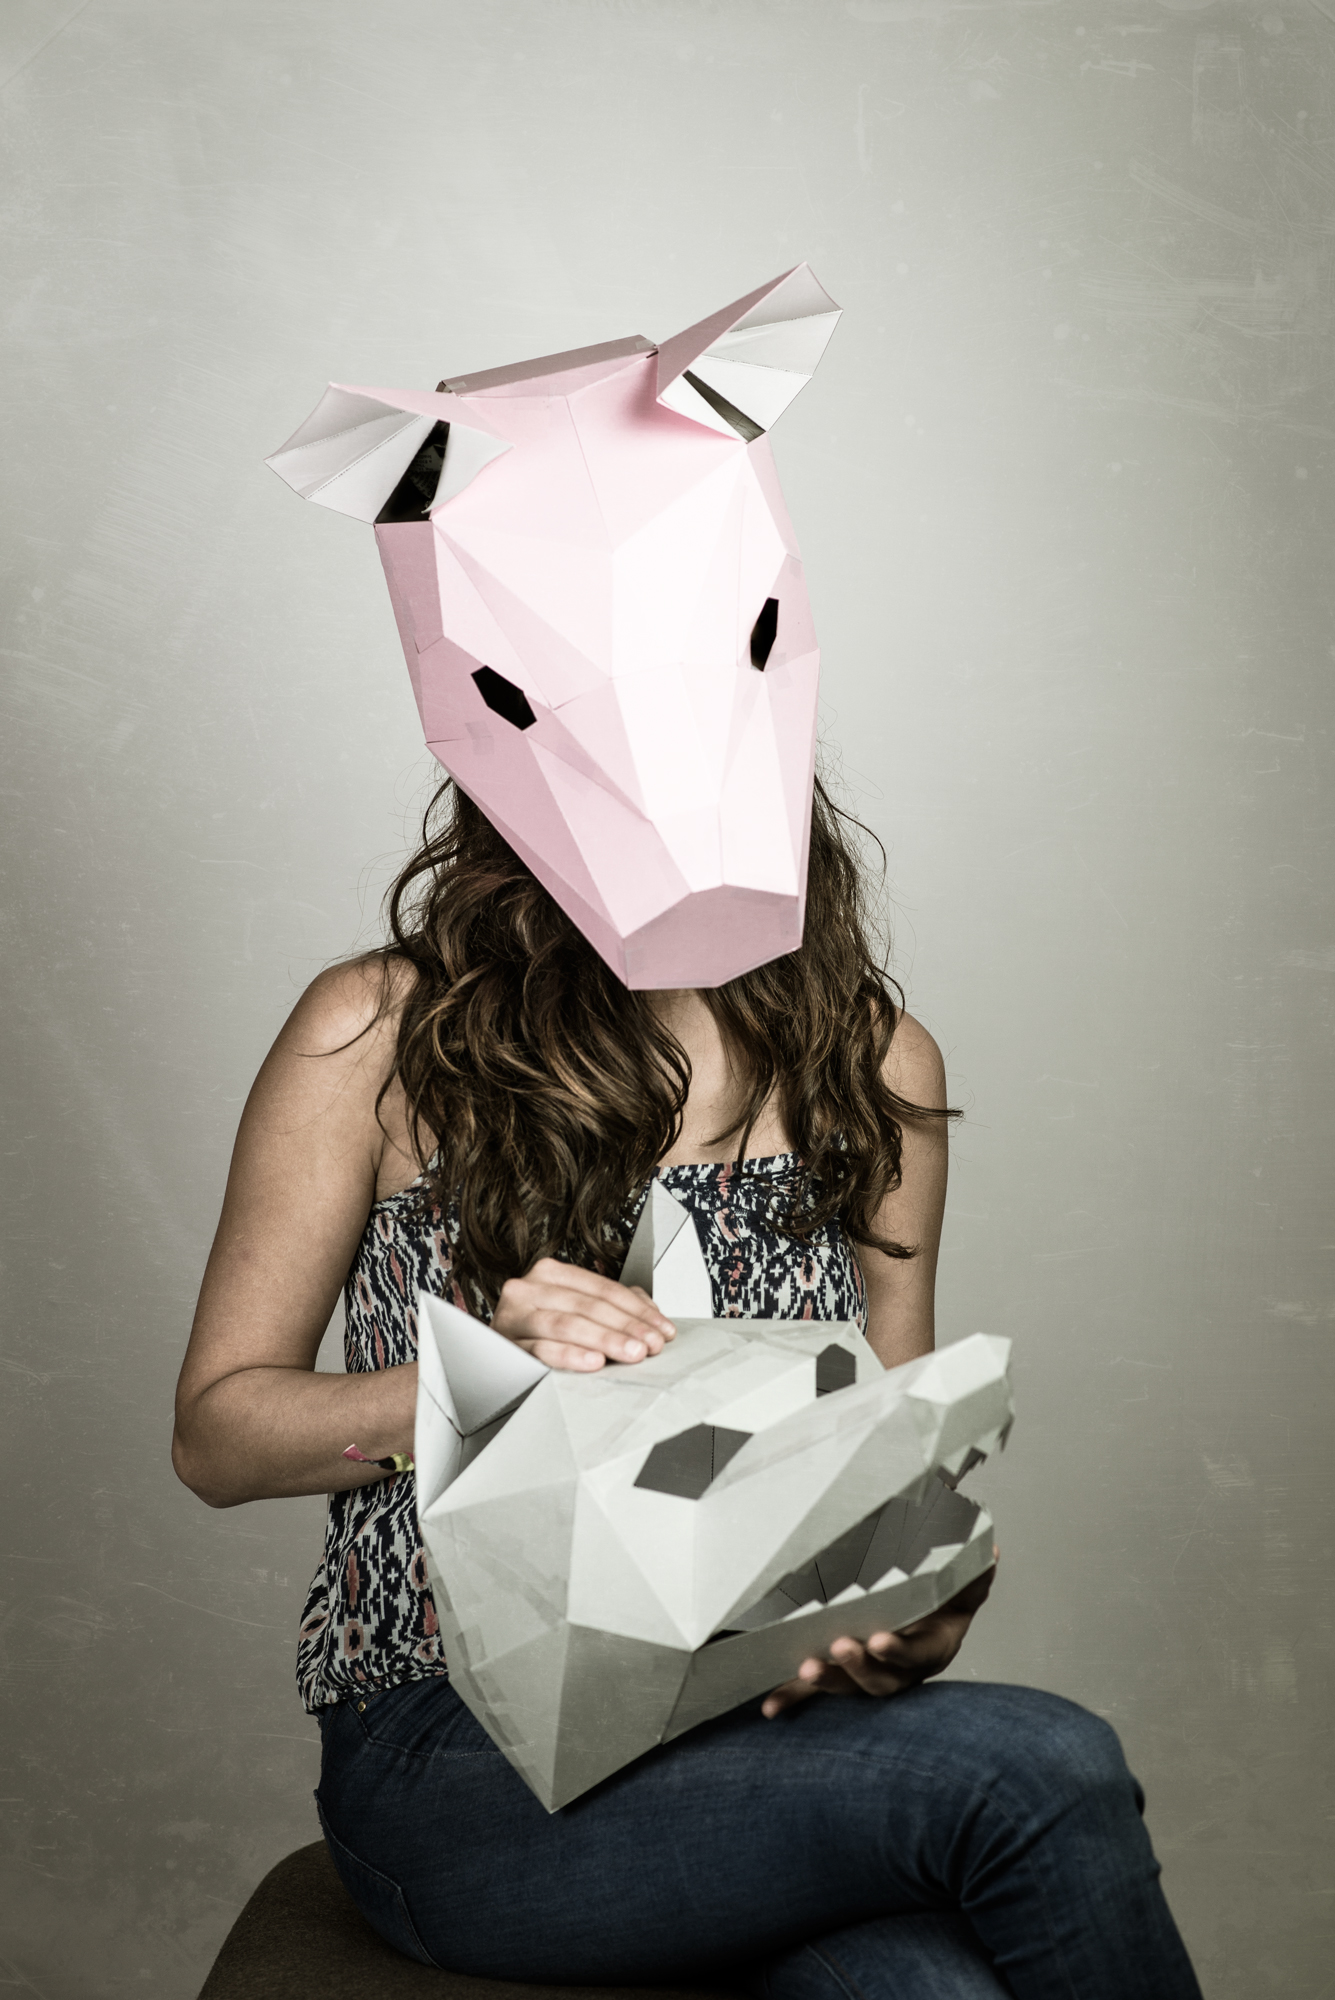
The Masks: The low-poly masks are a component that I have worked with a few times before, and it is a rewarding object to use, as students assemble and decorate the masks however they like, and the ease of which they can be put together makes them very accessible, even to students who claim not to have any skill in the "arts".  The masks come from http://wintercroft.com/ where you can choose from a growing selection of masks.  They are relatively simple to put together, and only require cutting, gluing, and taping (and in some cases using some push pins) and can be assembled in a couple of hours. One of the reasons this element was incorporated into the project was to provide a prop element for the students to use when creating their work.  This provided an added element for their execution of the project, by working with elements that needed to be shot correctly in-camera and balancing the work load from in-camera and post production. 

Below you can see a few of the student projects (in no particular order).

Wolf Mask: Amanda Cochran
Hare Mas: Yogesh Sajnani
Bull Mask: Daniel Cuadra
Owl Mask: Kylie Luteraan
Stag Mask: Valentine Billette de Villemeur
 

2016 Faculty Exhibition - May Gallery

I am happy to announce that I will be showing some recent work in the annual faculty exhibition in January 2016.  The work I have selected to show was from an earlier post on Low-Poly Portraits I created.  

Gallery Dates & Times
January 22 - February 19th, 2016
May Gallery - 2nd Floor Sverdrup Building
8300 Big Bend Boulevard
Webster Groves MO 63119

Opening Reception on Friday January 22nd, 2016 from 5-7pm (CST). 
For more information on the photography exhibition, and a complete list of other artists please visit the May Gallery Website.

For more details on the creation of the portraits, please see the original Low-Poly Portraits post detailing the idea and process of how the images were created and how the masks were made.

8-bit Cinema: Star Wars Original Trilogy

I have long been a fan of the 8-bit (well technically 16-bit) recreations of popular movies and delivered in this suede game-play format. These creative videos are the work of David Dutton and crew from CineFX.  

One of the reasons I enjoy these is the creative process involved to distill a movie down to its core story (or essence) and then retell that story through a new medium.  To achieve this, the crew at CineFX need to draw new pixel-art for all the characters and backgrounds etc. as well as remix the familiar soundtracks into the MIDI styled sound of old video games. 

Like what you've seen so far? Checkout the behind the scenes video on how new 8-bit Cinema videos are created, from pixel drawing, to animation, and sound production. 

For more 8-bit Cinema check out the YouTube channel and see if one of your favorite movies has been given the 8-bit treatment. 8-Bit Cinema Playlist by CineFX.

General Relativity Explained

One hundred years ago, Albert Einstein completed his general theory of relativity, which explains how the gravitational force works. This made Einstein an international celebrity during his time, and the theory is widely recognized as one of the greatest achievements in the history of science.

I recently discovered this great video from Fusion featuring biographer Walter Issacson, in which he narrates a concise explanation of Albert Einstein's general theory of relativity in 3 minutes.  

One hundred years ago, Albert Einstein completed his general theory of relativity, which explains how the gravitational force works. This made Einstein an international celebrity during his time, and the theory is widely recognized as one of the greatest achievements in the history of science.
— Fusion


New Promo Video for BA in Media Comm

To help increase the exposure of the BA program in Media Communications at Webster University the Netherlands, I created a short promotional video to serve as an attention-grabber, and a visual interest tool.  This short video was developed and rendered through Adobe AfterEffects CS6 last spring.  The visual intent was to showcase the four production tracks in the program offered at our campus.  To this end the video rolls through Media Communications, Interactive Digital Media, Photography, and Video Production.

The visual assets in the video are all videos, images, and graphics that are currently in use by the department in some form.  Part of the mission of this video is to showcase not only what students can study, but to show them this by example of using images, and other assets that are actually from the department. 

Low-Poly Mask Project

Low-Poly Mask Project

This short portrait project combined aspects of traditional portriture with low-poly paper masks. The results were rather fun, with a range of portraits that evoke a variety of “personalities” portrayed by the actor under the mask.  The students that were photographed with their masks were asked to "play" a character using some props from their personal items.